• Welcome to H4O! For a reduced ad experience, please login or register with the forum.

FJ4overland

SuperBuickGuy

Well-Known Member
Messages
3,403
Location
Woodinville, WA
I'm so glad I didn't remove the spring mounts (yet)... they are the perfect "measure from" point

so here's 1a


of course, I ran out of wire, but as the migraine is medicated - pushing it too much is a classic way to make for a miserable week... I had to go to the welding shop anyway to pick up the last hose for my cooling system - which I will really need when TIG welding the arms.. so now I have two reasons... I love it when a plan comes together
 

SuperBuickGuy

Well-Known Member
Messages
3,403
Location
Woodinville, WA
tonight's work
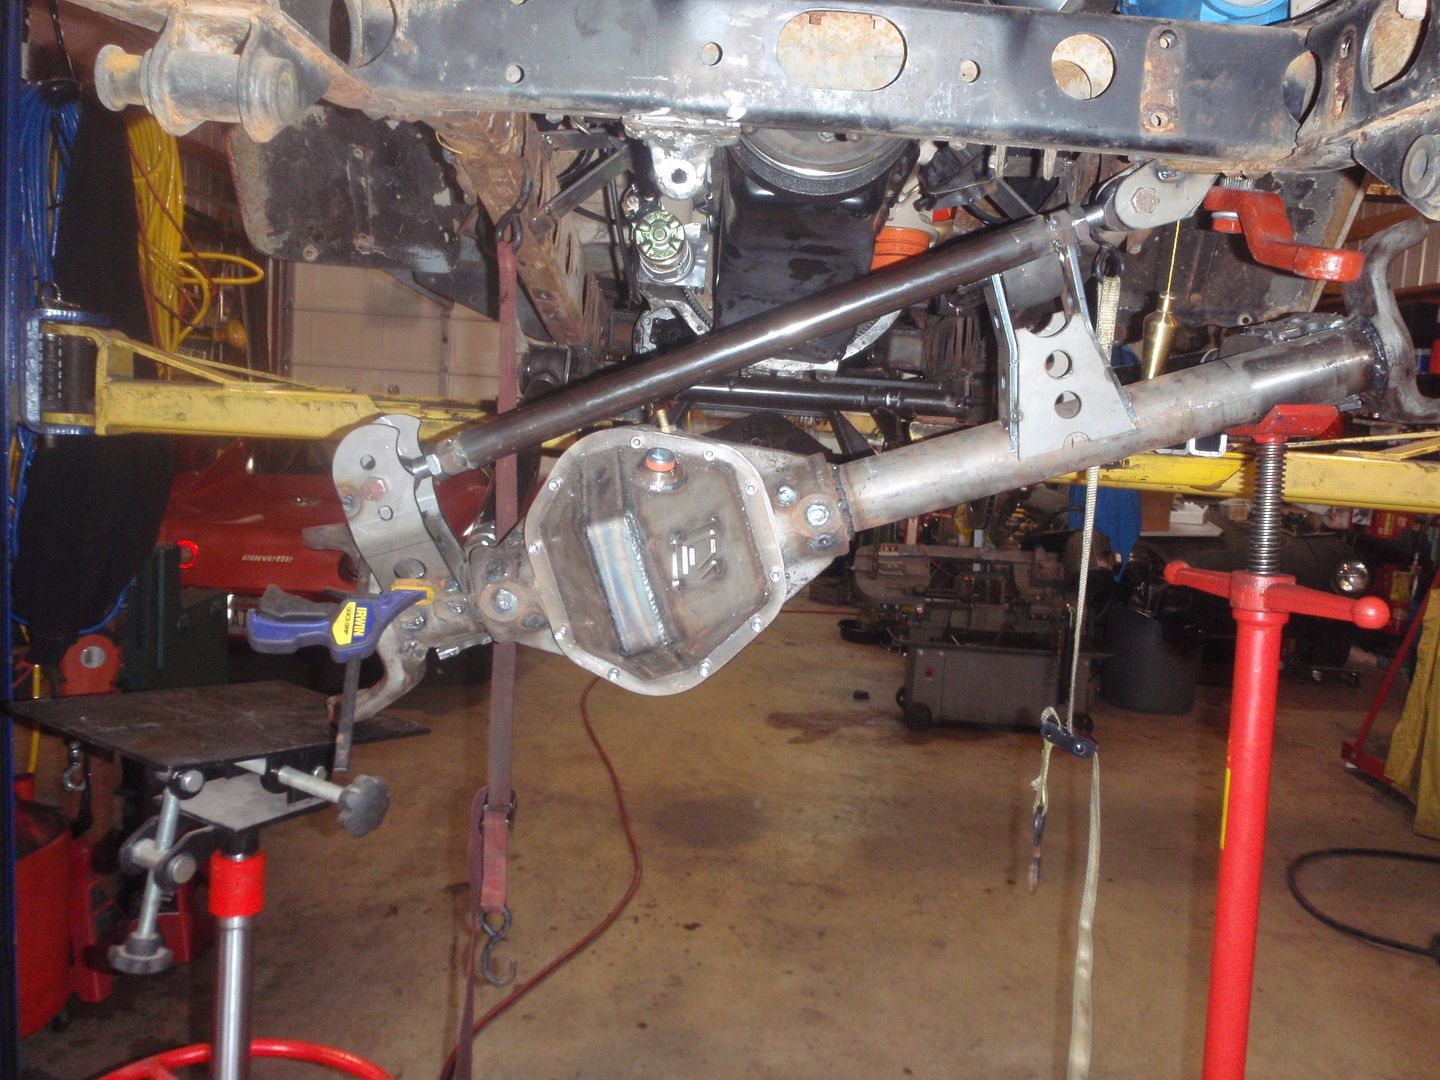
true to form, some assembly is required - these are either end of the panhard bar


time to make the axle end point at the frame end


ends welded on

while waiting for that to cool down... time to make some room


I'm thinking of using this bellhousing instead... dunno yet - I'm going with a hydraulic throwout to gain some needed room (as you'll see in a bit)


panhard bracket


lots of trimming to come


check out where the upper bar landed


I guess Pirate was right... look at this train wreck


SuperBuickGuy

Well-Known Member
Messages
3,403
Location
Woodinville, WA
started here tonight


decided to go the easy route for the bracket


eventually, there will be a bracket that holes this in shear... but I was out of 5/8, fine thread 6" bolts tonight, so it's pinned in place and the oil filter will have to do double duty until I finish this


angle stays within 1/2 a degree through its travel


this is meaningless because without the panhard bar, I've no idea what clears or doesn't. I did the vertical checks and everything was fine


panhard comes on Sunday
thanks for reading
 

SuperBuickGuy

Well-Known Member
Messages
3,403
Location
Woodinville, WA
I will get further tonight, but taking a brief break so time to update.
first a shave

then a guess


maybe

time to get an idea of where things landed


it's put in the spot you will see later tonight

I think I will widen the fender... why not?


plenty of room


time for the box


those are a special prybar power-steering-box shim device... very hard to find


panhard test fit

testing

where the bump stops will stop uptravel

and it clears, barely


clears, again


ride height is 27" to the bottom of the rocker panel


box would be bolted in place if 7/16" grade 8 bolts were available... in other news, 12mm is a bit larger than 7/16


maybe I'll use the coils... they would last longer


there it is... next update the wheels will be on it


can't do the steering shaft because I didn't get the right tube... no biggie
 

Cyouincourt007

Pavement Prince
Messages
542
Location
Miami,Fl
Check it out SBG :woot:

attachment.php

76 FJ40
 

Attachments

  • image.jpg
    image.jpg
    70.8 KB · Views: 269

SuperBuickGuy

Well-Known Member
Messages
3,403
Location
Woodinville, WA
nice, a good clean example

interesting, the marks for the high-steer arms are stock on the knuckle


and the picture with the wheels "on"... there were some slight problems with getting the studs to fit - but no worries, they're on


SuperBuickGuy

Well-Known Member
Messages
3,403
Location
Woodinville, WA
sitting on its own wheels again... can't roll it yet because I don't have the drill I need to put the studs in.... but... closer


stiffer springs


start on bolting on the ps box

and better


I still need to box the inside, but that won't come until after I completely disassemble the chassis (after mockup)... then weld, box, plate and otherwise make stronger

which brings me to another shot at the motor mount (there are some who wondered why I didn't box this when I started, this should answer that question)

cause I wasn't done


and removed some brackets to start on mounting the radiator


Cyouincourt007

Pavement Prince
Messages
542
Location
Miami,Fl
Lol, from the mods here of course, they comes around every so often and order a new round of drinks and some fresh popcorn for us. Lots of butter and lots of salt just like I like it. :corn::drink::corn::drink: Great group of peeps I tell ya.
 

SuperBuickGuy

Well-Known Member
Messages
3,403
Location
Woodinville, WA
SBG, who said you could take a break? Get back to work and to posting on your build thread!

sorry, while your beatings are bad, I was forced to do unspeakable things by my wife and her relatives.... I had to go out to dinner at an indian restaurant with them and I was forced to be nice imagine me being nice... yeah, it was pretty ugly.
 

SuperBuickGuy

Well-Known Member
Messages
3,403
Location
Woodinville, WA
I want the studs to match in size and pitch... which means doing some work


after drilling with a 39/64 drill bit


and now the wheels actually are on solid enough to roll it around the shop


the rotors I'd gotten where the wrong ones, apparently 80 has a larger hub size than 77.... but, the seal, not an 80 - so I'll take that tomorrow to have matched up
 

derian06

Red Rockett
Messages
1,866
Location
Madison, AL
Been following this build for awhile, and wow amazing work here. This really is impressive. I can't wait to see some videos of it on the trail.
 

SuperBuickGuy

Well-Known Member
Messages
3,403
Location
Woodinville, WA
So more Jeep parts
Wagoneer steering arm. Bonus, beside being shorter, is it's bored out for the Ford/GM tie rod end


and other bonus


it aims away from the frame - which solves an interference issue... of course, with the good comes the bad, it also makes my cross shaft longer... but given all of this is pretty flat, hopefully any bump steer issue will be minimal.
 

4speedfunk

Well-Known Member
Messages
4,212
Location
Tardville
Yeah...the problem with high steer is the pitman-to-tie rod clearance. Especially when the LF is stuffed to full compression.
 
Top