• Welcome to H4O! For a reduced ad experience, please login or register with the forum.

FJ4overland

06 H3

a.k.a. "The Jackal"
Messages
9,358
Location
Meridian, ID
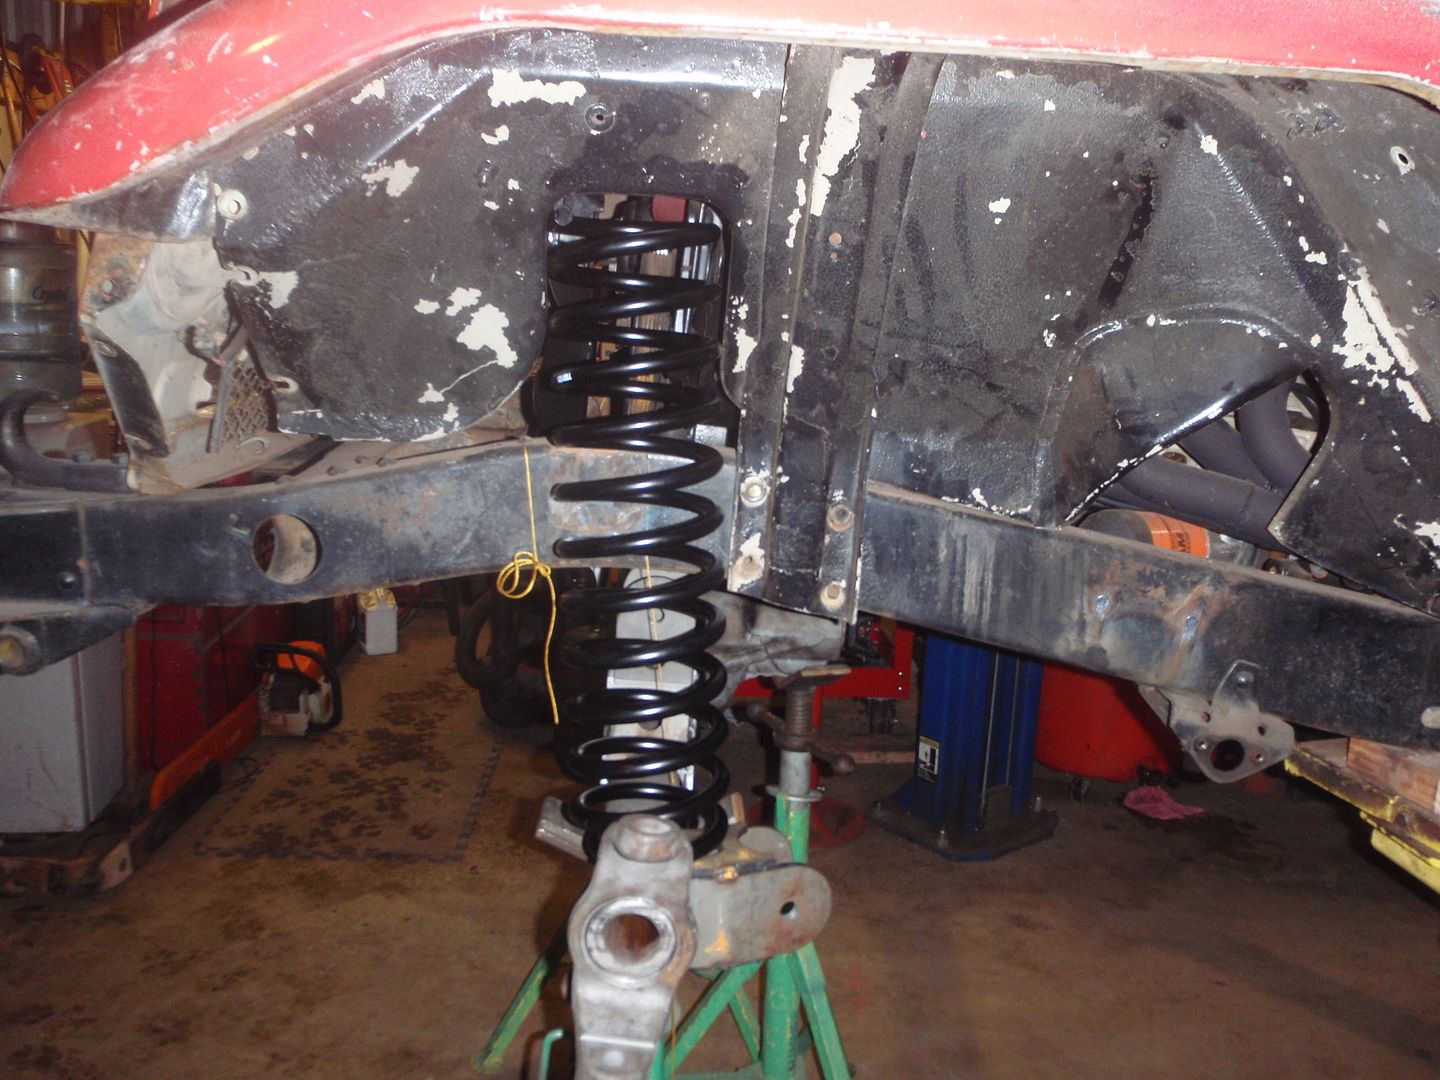
what coil springs are those? Its always tough to find coil springs that match your vehicle when they dont make them for your specific vehicle.
 

SuperBuickGuy

Well-Known Member
Messages
3,403
Location
Woodinville, WA
2007-up JK 4 door, 4" lift springs. I bought them because they're progressive rate springs. At this moment, they are a bit long - so I might be cutting a coil off when it's all said and done. Of course, it's a whole lot easier to shorten a spring rather than lengthen one.
 

SuperBuickGuy

Well-Known Member
Messages
3,403
Location
Woodinville, WA

Superlift

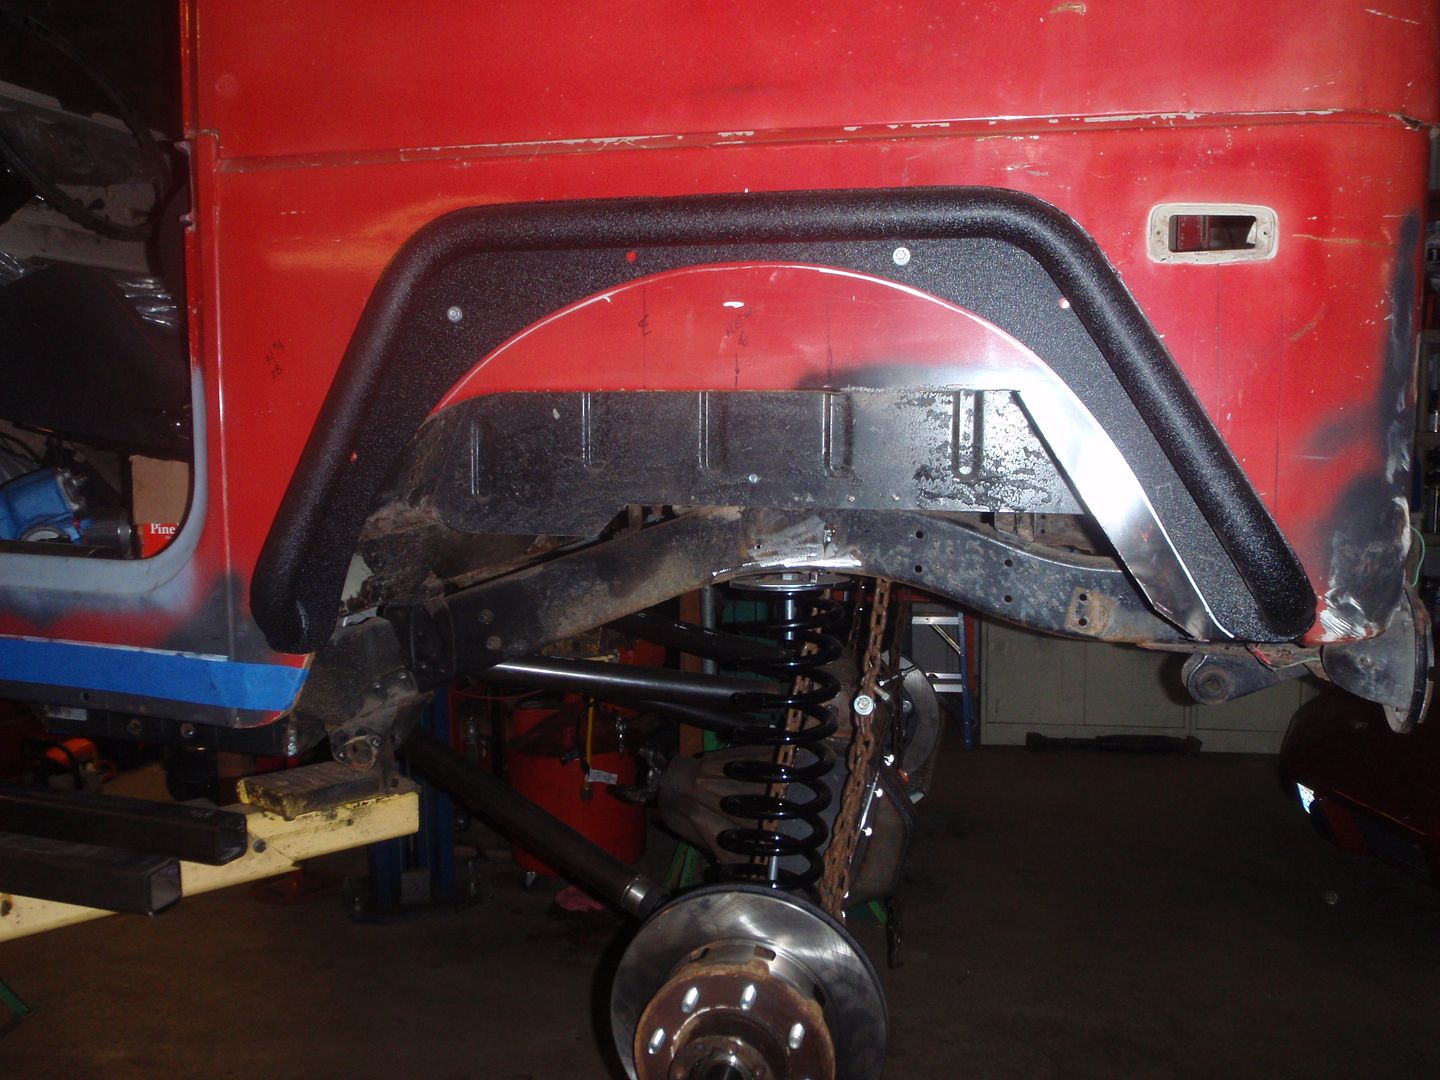
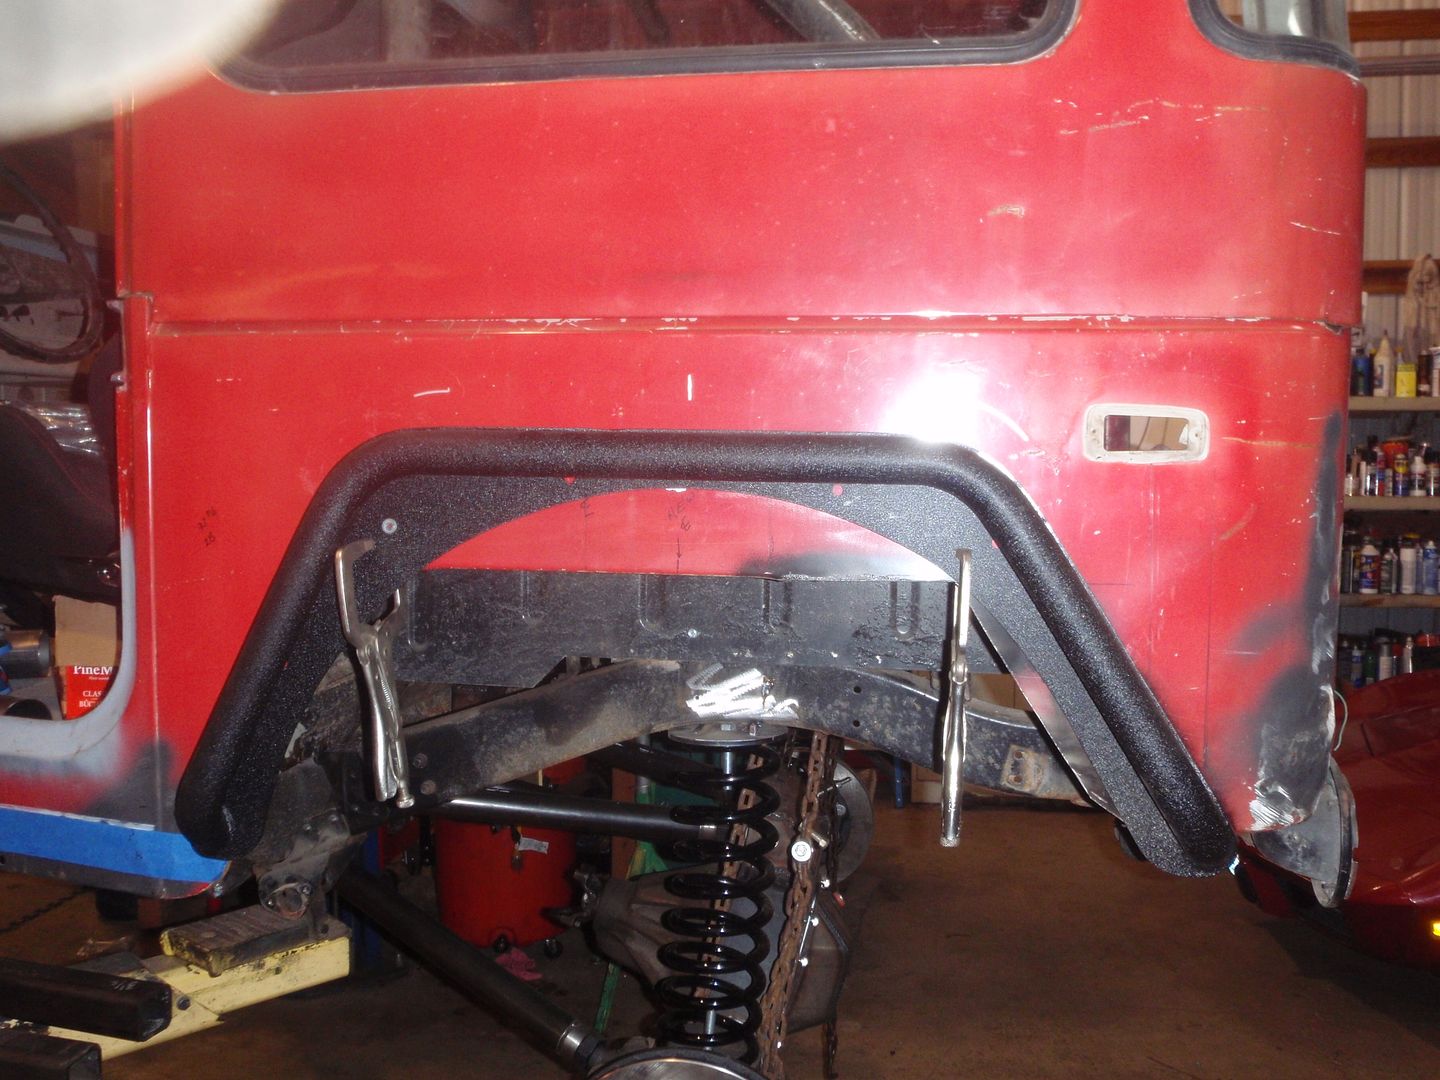
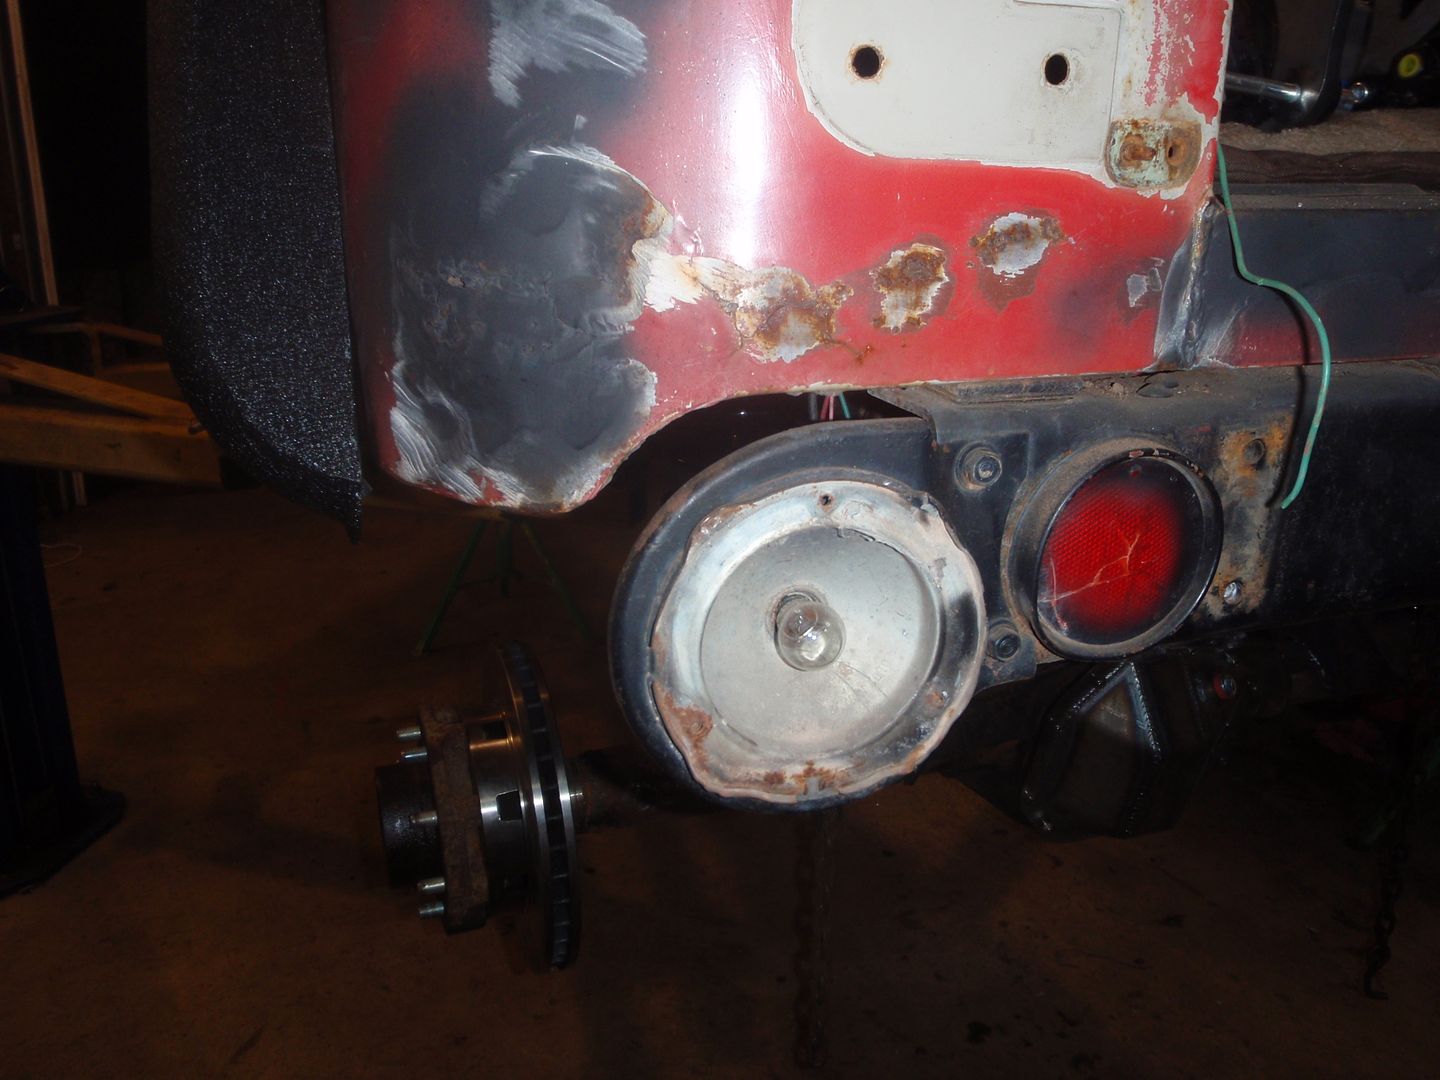
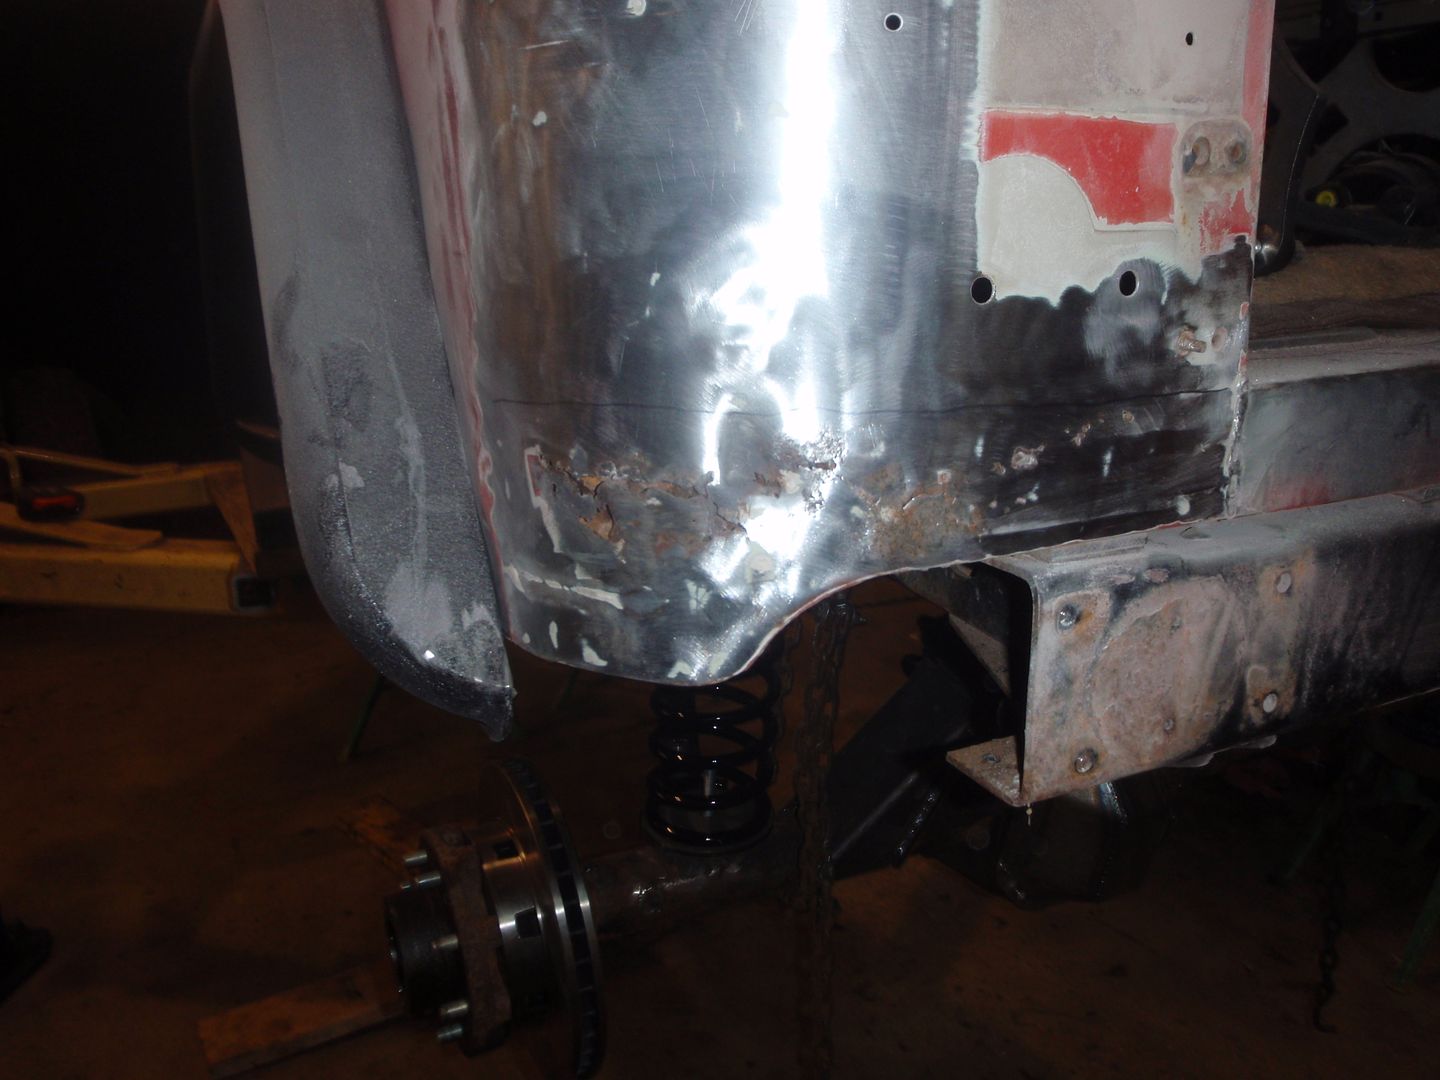
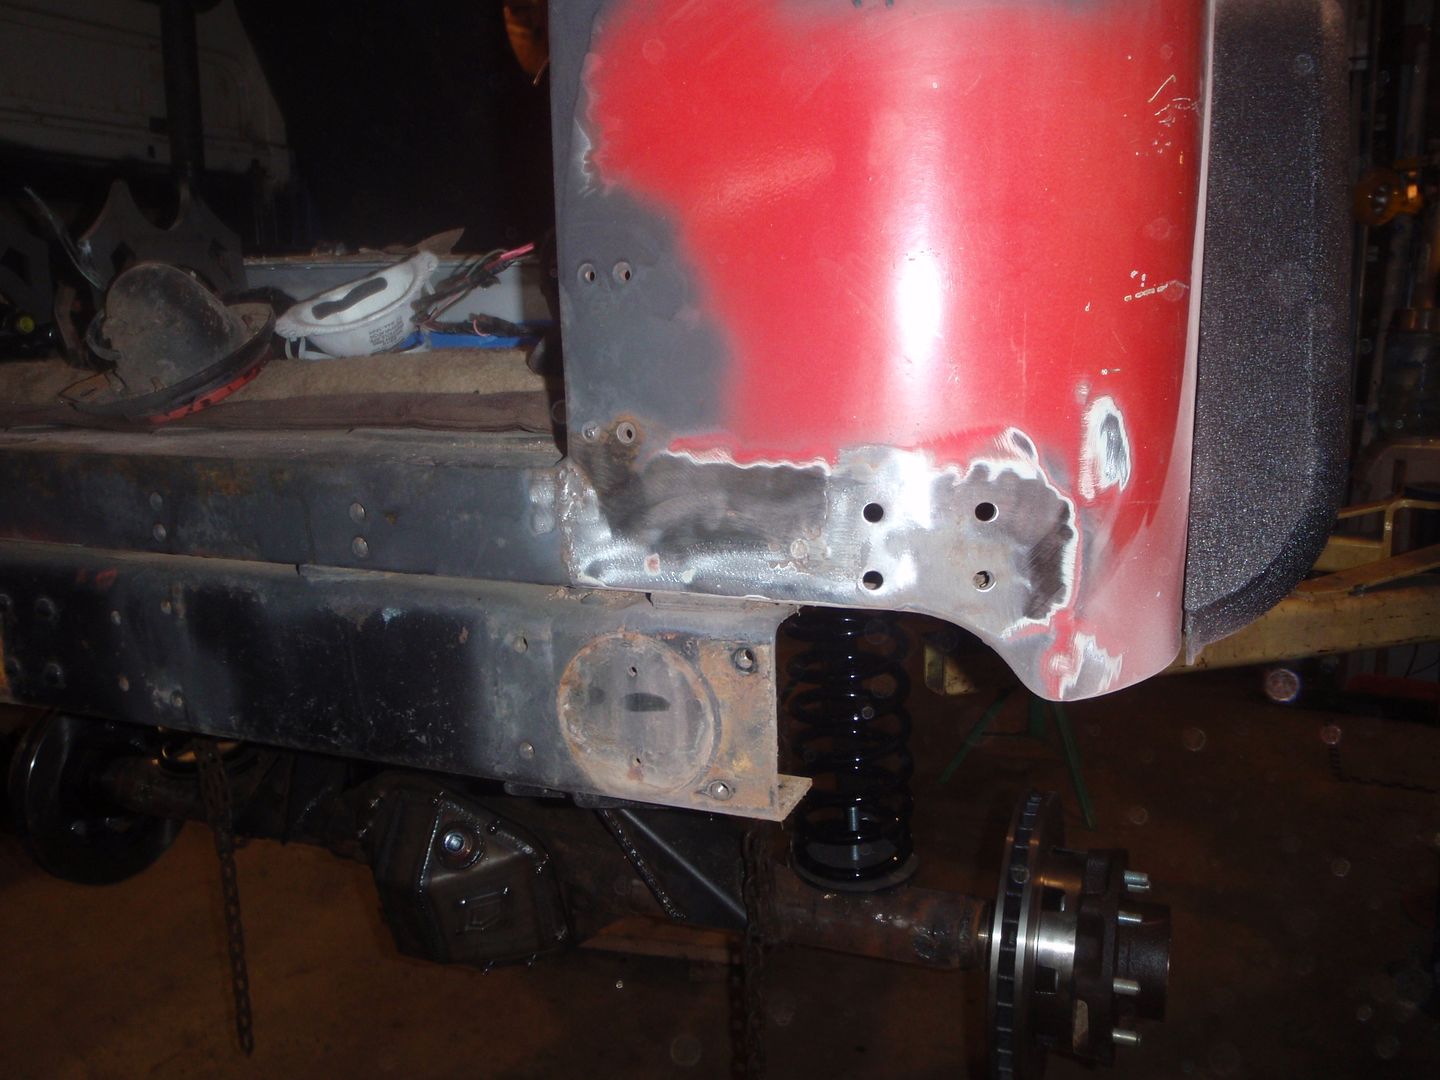
Last night, I didn't have the axle, so I spent some time working on the flare and what's going to happen at the corner... it's not as bad as I originally thought, so I'll simply weld in a couple patches after cutting out the rust

I kept look at this, and feel it is too high


of course, the problem with lowering it is now it's below the rear corner


but I have a few ideas - so stay tuned for those
first is to work on the rust


it's bent in, but it's unnoticable so I'll simply fix the lower spot... of course I'll also move it back out - I'm going to cut the fender from the inner fender anyway because I think on both sides of the wheel there would be a great spot to put some inside-accessible storage boxes


the other side isn't anywhere near as bad


hey, there's the missing axle


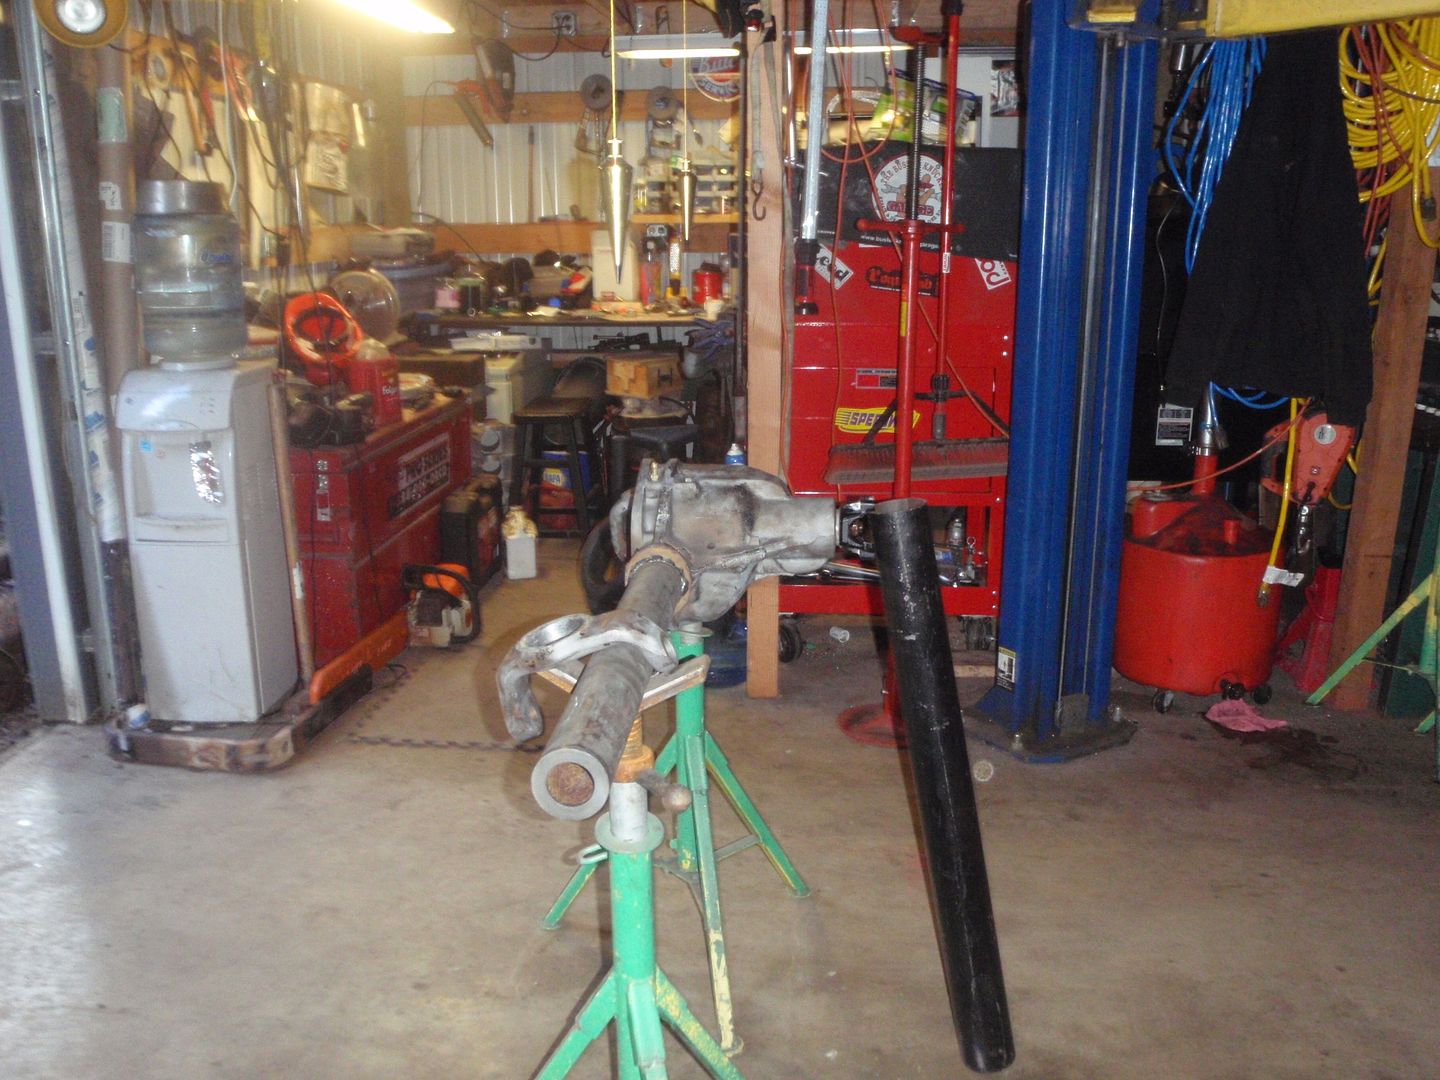
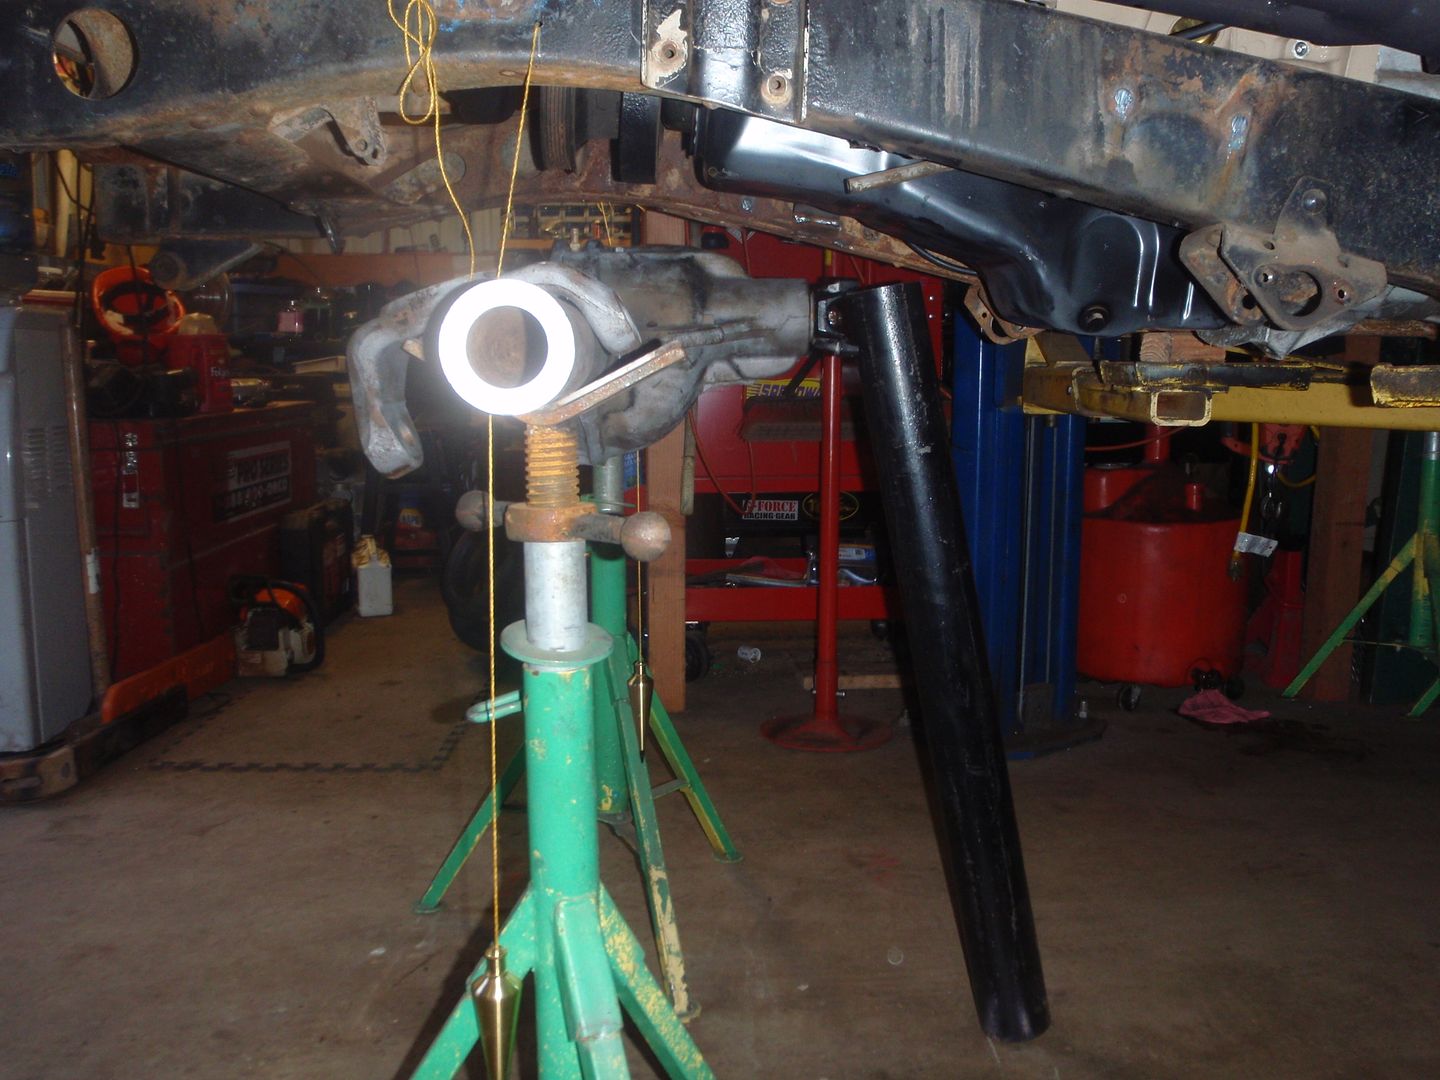
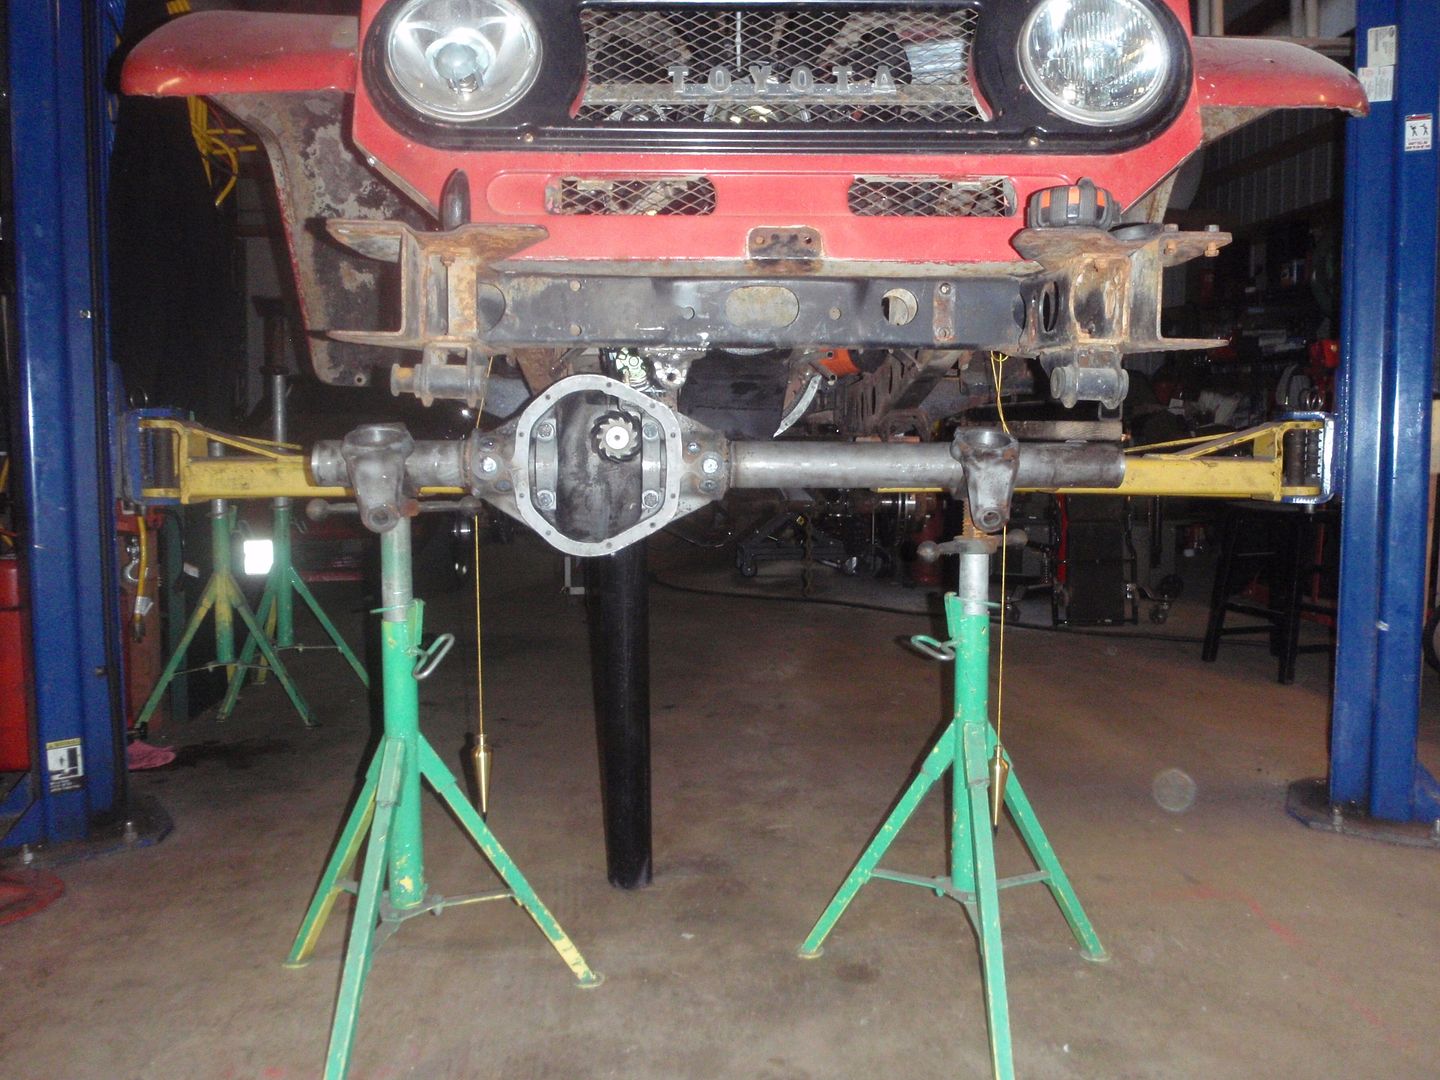
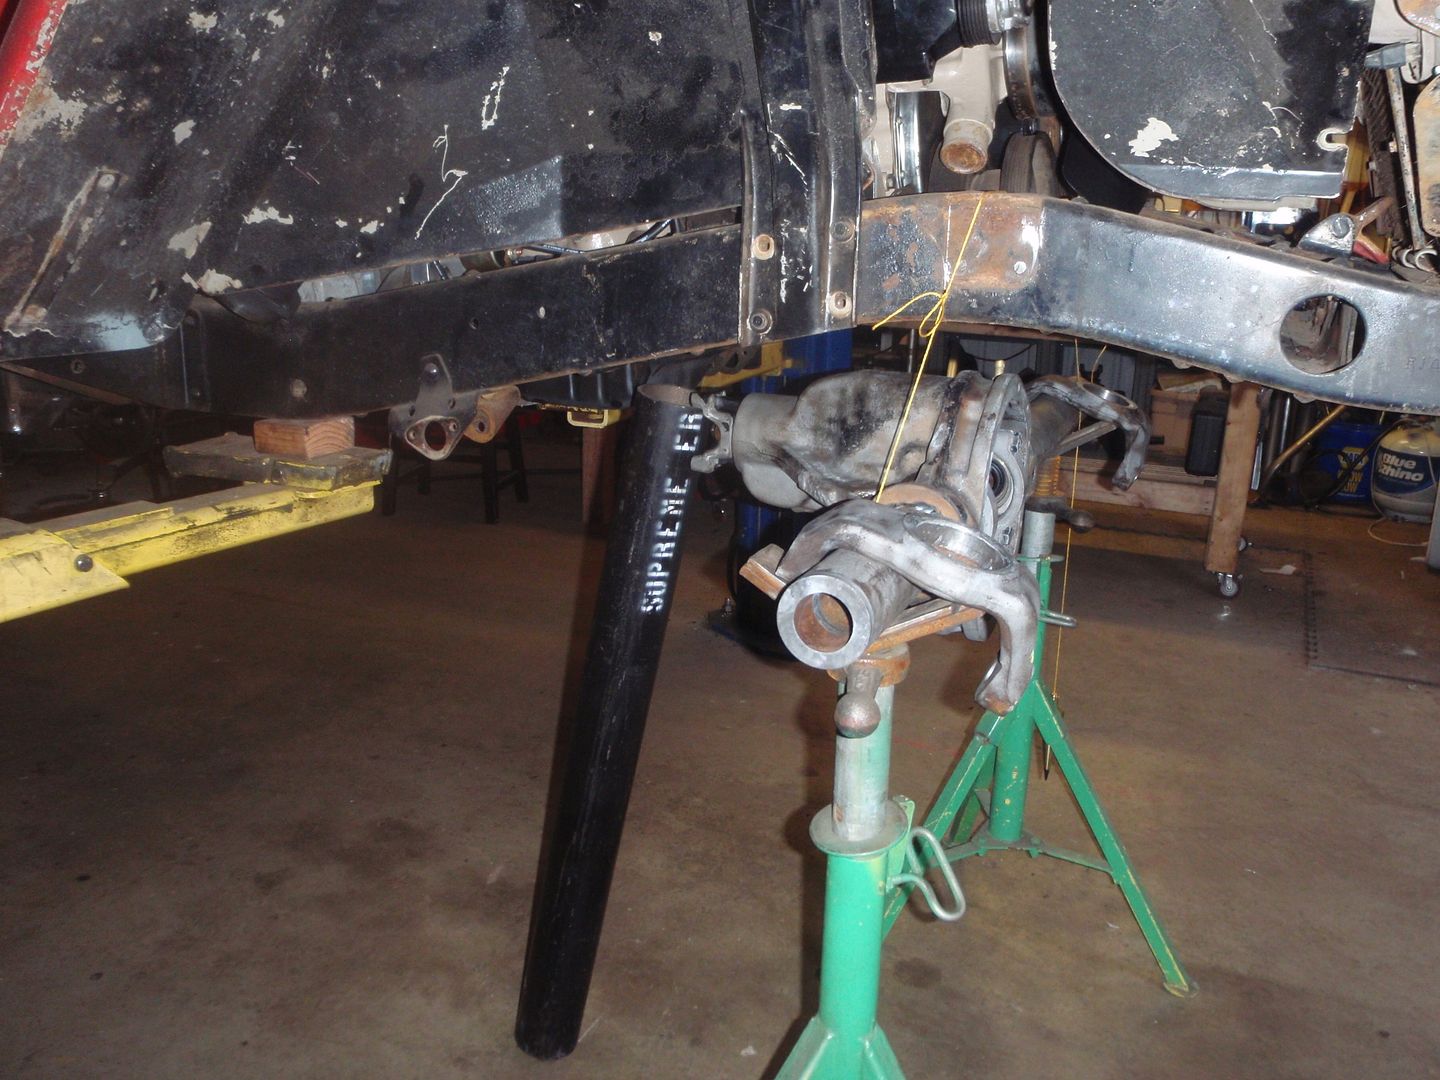
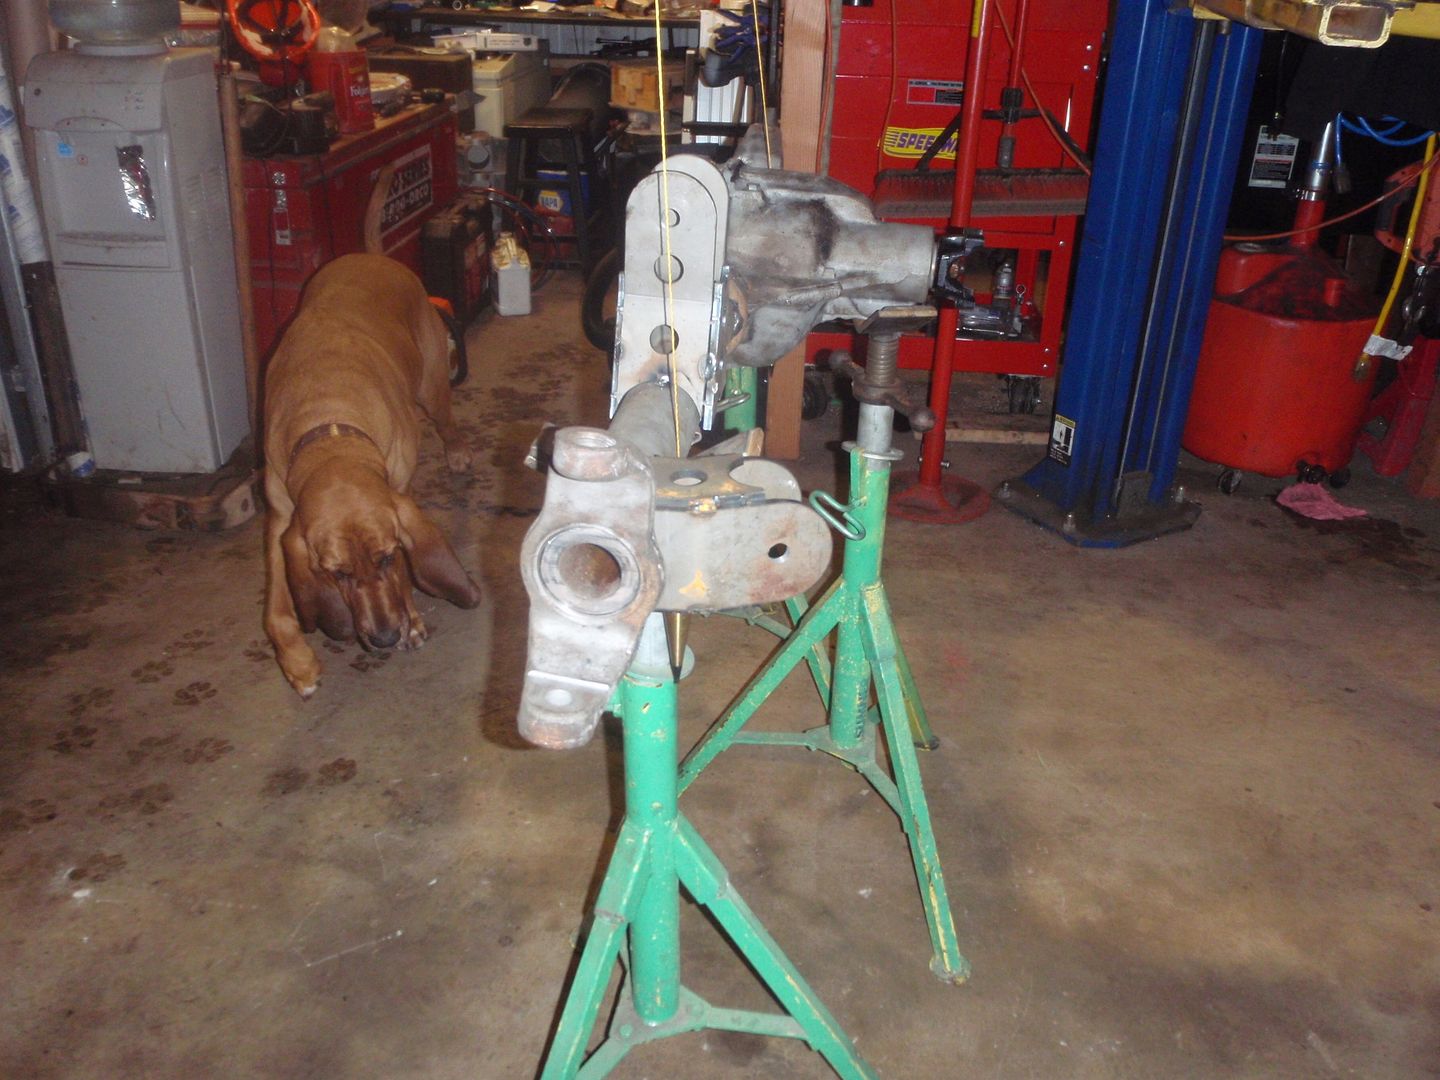
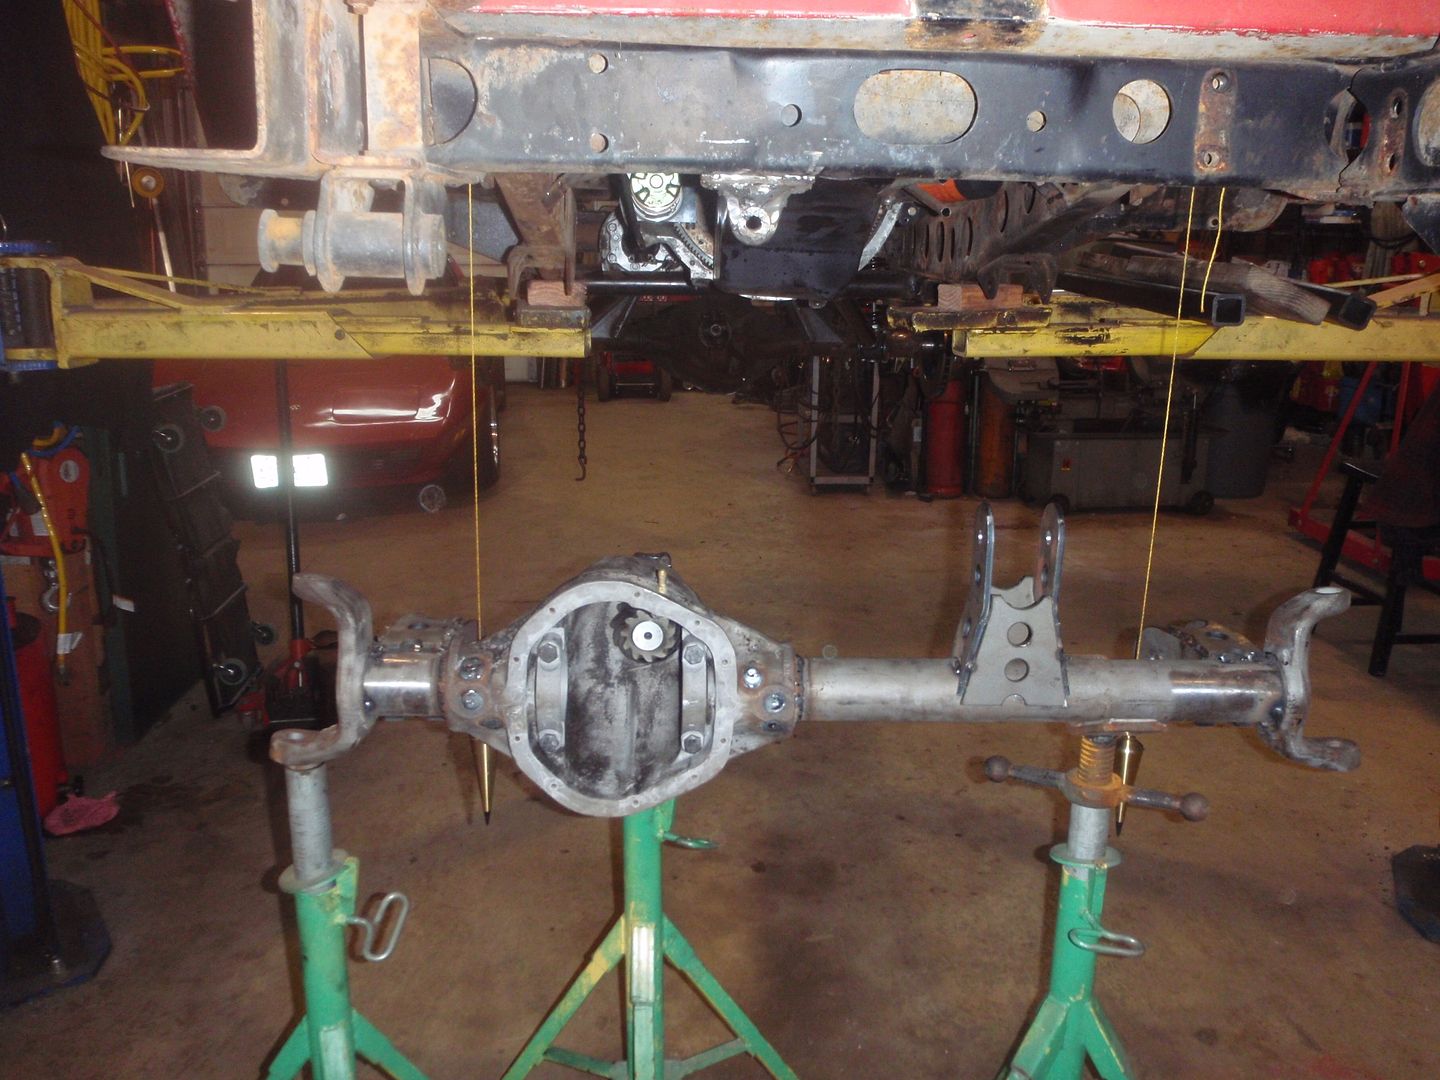
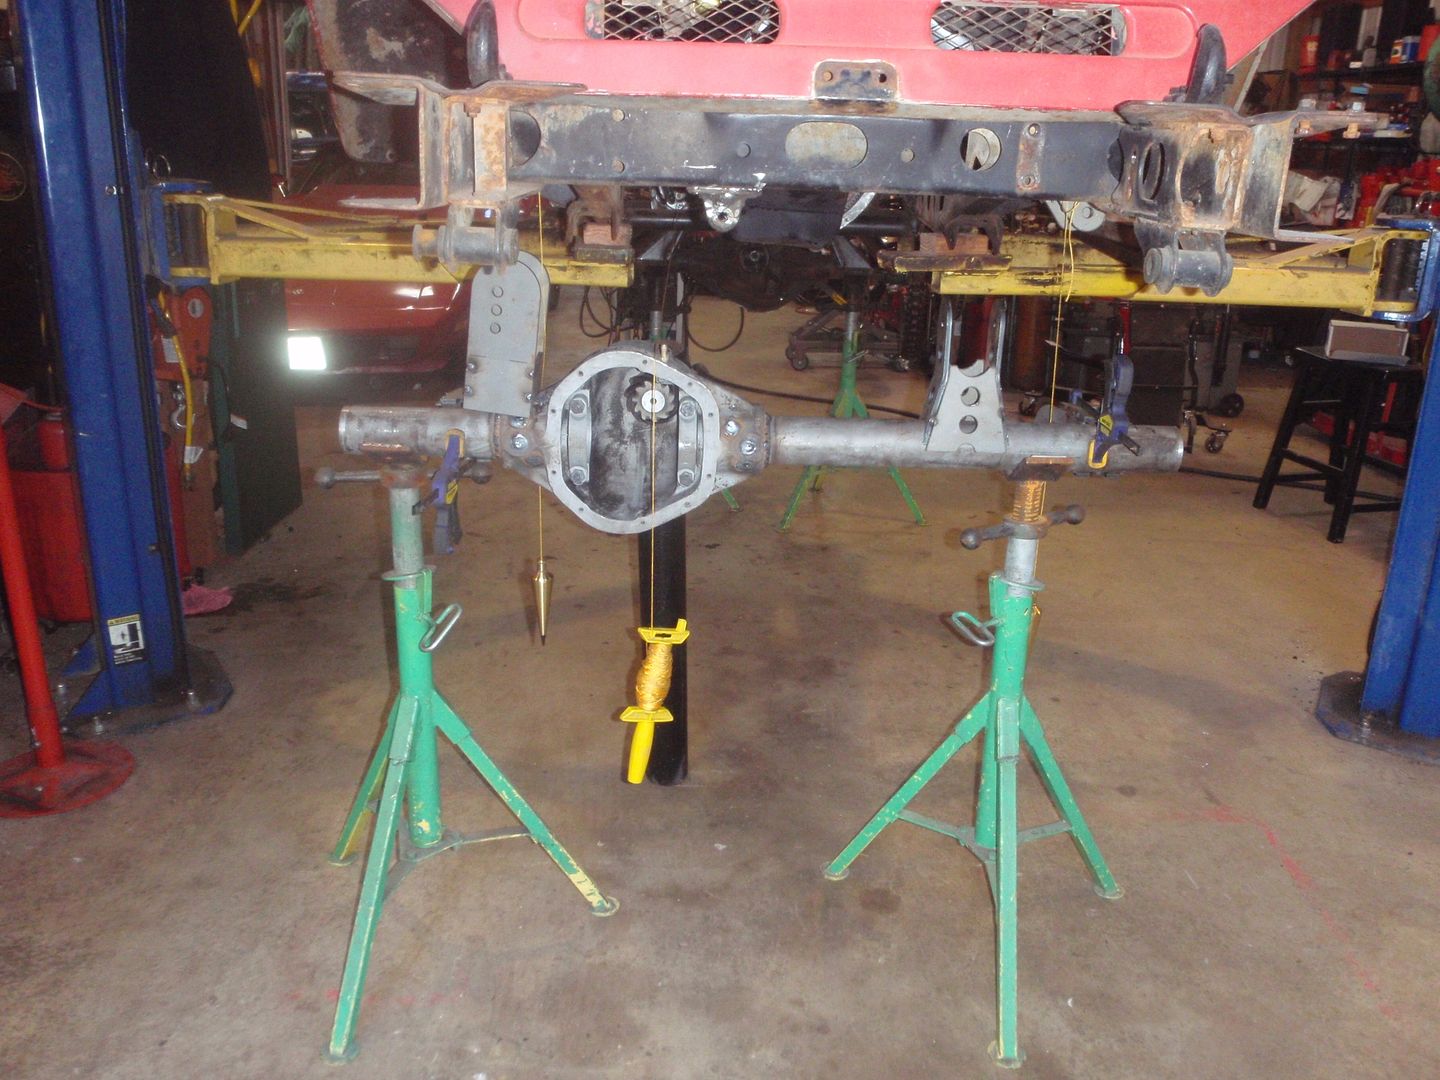
so I started eyeballing it into position


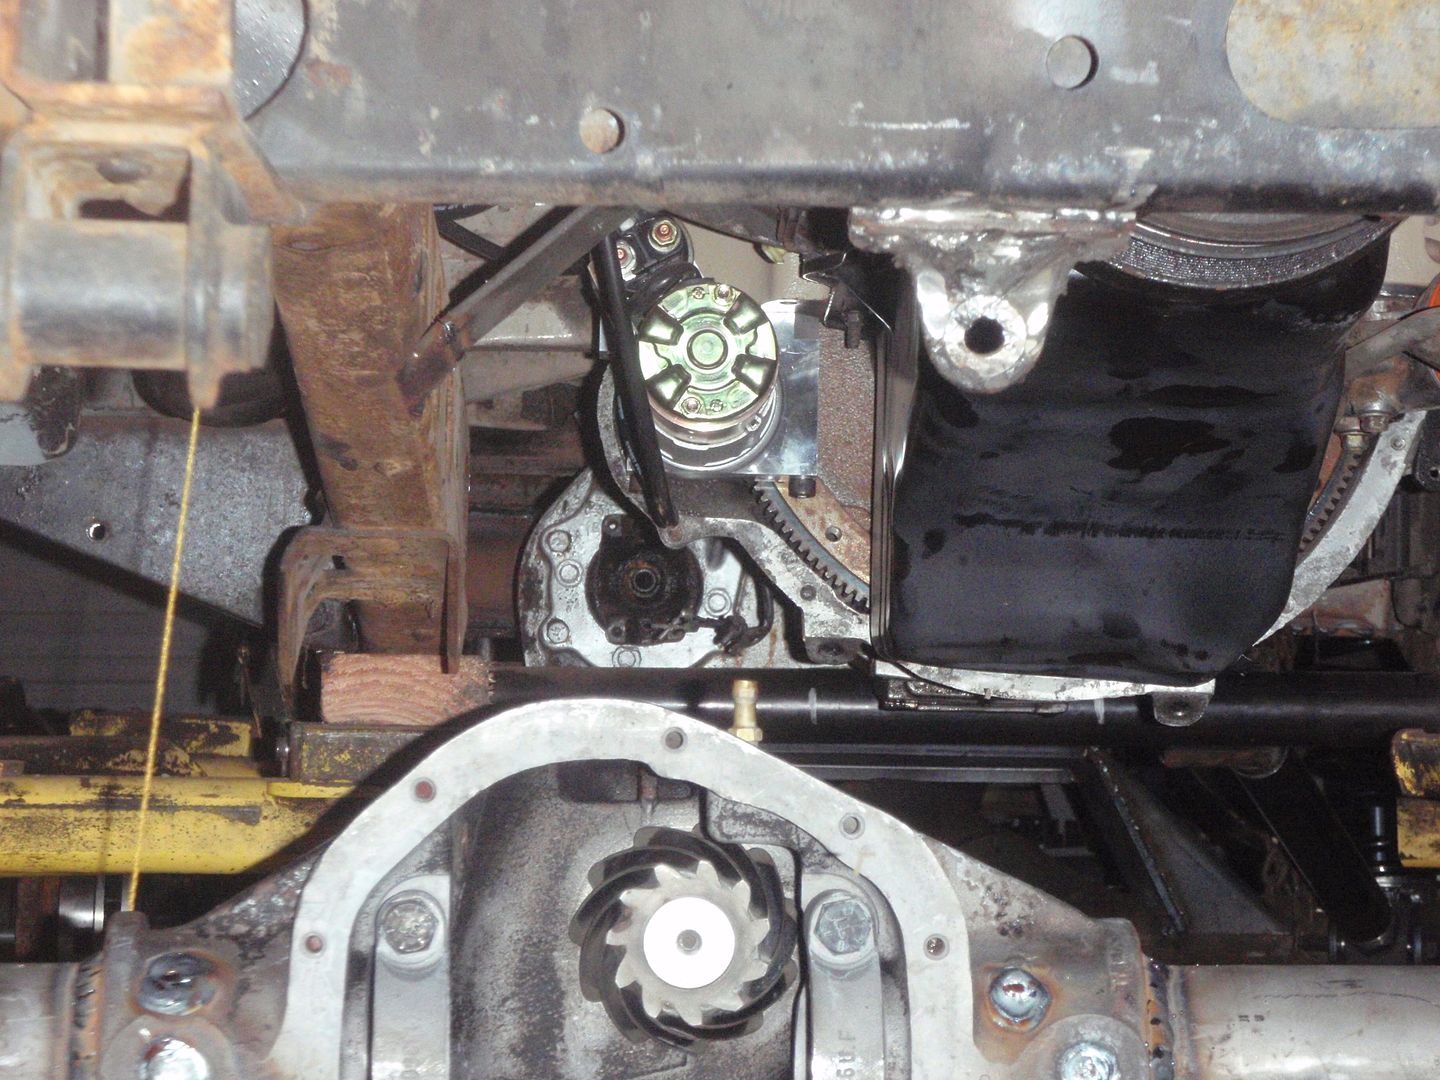
here's where the discussion came with the axle guy - he couldn't figure out why I needed the pumpkin to be under the frame.... because otherwise the driveshaft will be about center of the oil pan


front angles are going to be nice


4speedfunk

Well-Known Member
Messages
4,212
Location
Tardville
Tip for the front diff: RTV THE ENDS OF TUBES INSIDE THE CASE.

I just filled up one of my Frankenstein HP D44s...and it oozed oil out of every plug weld and the welds between the case and the tubes. The issue is caused by scoring marks inside the casting that are a result of pulling out the original tubes. I re-tubed it just like yours, and did a great job welding up the tubes and the original plugs...to no avail. So my first attempt was to simply add more weld. Forget that...it just made a mess and made things leak even more. So I ground it all down, and mixed up some JB, to try and cold-patch them. I'm currently waiting for that to dry before I know if it worked. If that doesn't work...my final plan is to pull the entire thing apart and lay a bead of RTV right up against the ends of the tubes inside the pumpkin. This will seal up the small tunnels (from the score marks) and hopefully stop the ooze.

I really really don't want to pull it apart to do that. So I'm hoping the JB works.
 

SuperBuickGuy

Well-Known Member
Messages
3,403
Location
Woodinville, WA
Tip for the front diff: RTV THE ENDS OF TUBES INSIDE THE CASE.

I just filled up one of my Frankenstein HP D44s...and it oozed oil out of every plug weld and the welds between the case and the tubes. The issue is caused by scoring marks inside the casting that are a result of pulling out the original tubes. I re-tubed it just like yours, and did a great job welding up the tubes and the original plugs...to no avail. So my first attempt was to simply add more weld. Forget that...it just made a mess and made things leak even more. So I ground it all down, and mixed up some JB, to try and cold-patch them. I'm currently waiting for that to dry before I know if it worked. If that doesn't work...my final plan is to pull the entire thing apart and lay a bead of RTV right up against the ends of the tubes inside the pumpkin. This will seal up the small tunnels (from the score marks) and hopefully stop the ooze.

I really really don't want to pull it apart to do that. So I'm hoping the JB works.

thanks for the heads up, I'll come up with a plan... I'm going to use POR 15 (which does a good job of bonding to the metal), but it sounds like, from your experience, I need to get pretty aggressive to make sure it doesn't leak.
do you have pictures of where yours is leaking?
 

4speedfunk

Well-Known Member
Messages
4,212
Location
Tardville
Dude...its sad. Leaking from pretty all plug welds. I really did a great job welding stuff up...and I'm so disappointed. Your welds look great (so did mine) but, trust me...lay a bead of RTV in there before you install the diff.

If I can stomach it...I'll post a couple pics.
 

SuperBuickGuy

Well-Known Member
Messages
3,403
Location
Woodinville, WA
Dude...its sad. Leaking from pretty all plug welds. I really did a great job welding stuff up...and I'm so disappointed. Your welds look great (so did mine) but, trust me...lay a bead of RTV in there before you install the diff.

If I can stomach it...I'll post a couple pics.

I believe you - to say I've been there, done that on similar things would be an understatement (because it implies it's a rare occurrence)

where are you talking about putting the silicone? next to the seal?
 

4speedfunk

Well-Known Member
Messages
4,212
Location
Tardville
Great news SBG. Parked it overnight...not a drip! The JB worked. I have other axles that I have re-tubed and from now on, I will be using RTV (not silicone) on the inside as a "step one". If leaks still appear, I will use the JB on the outside as a secondary fix. I stood at the sealant aisle for 10 minutes reading the info on each product (about a dozen of them) to try and find the correct goo for my application. I settled on "Ultra-Black" do to its oil-immersion and temperature properties. Many RTV sealants are not rated for this type of use, and the Black seemed to fit the bill. As it turns out...I don't need it on this one axle, it will be mandatory around here from now on. Its too big of job not to spend an extra ten-minutes on two small beads of sealant.

On the inside, when you press the new tubes into the housing, they should stop short of bottoming-out up against the carrier saddles. At least mine do. I copied the factory method, and this is how they build them. I keep a tape measure standing by and press the tubes in until they match the shaft length of whatever I'm building the housing for (usually chevy shafts). The gap at the end of the tubes varies but, its usually around 1/4". The seals sit inside the tube about an inch or so from the ends but, thats not where the leak is. The leak is between the metal-to-metal press fit between the tube and the barrel of the casting. The oil migrates past the end of tube, thru the score marks, and makes its way out to the plug welds and the ends of the casting. A bead of sealant up against the ends of the tubes would help tremendously but, you must apply it before you install the carrier. I have taken apart many Dana axles and found remnants of old sealant in this area...several times. I don't if its a previous owner fix, or if the factory actually does this. Regardless...its probably a good idea, especially on re-tubed housings because of the scoring they have inside the barrels. Of course...aerosol Brake Kleen should be used to make sure its absolutely clean (for JB or RTV).

The weird thing is, I would have bet money that the welds would seal everything super-tight. Nope. Even though the welds looked great...the oil weeped right through them. It was leaking out several places before I even drove it! Forget trying to re-weld...it just turns into a total mess. As soon as you strike an arc to start the weld...the oil bubbles to the surface and ruins everything. Five minutes of welding equates to an hour of grinding to get back to where you were before!...so I don't recommend that. I also tried a puddy-like product called "Quick Steel", and it did not work near as well as JB.
 
Last edited:

SuperBuickGuy

Well-Known Member
Messages
3,403
Location
Woodinville, WA
I'm glad it worked, I can understand how it leaks because iron is really porous - then welding the area would actually create more porosity. I also now understand why Currie uses brand new tubes when they do the swap (they're an option, albeit an expensive option at $600 plus freight). You know, I should have asked the guy from Alaska offroad Warriors yesterday (I will ask him, though, since I now have his contact information) what he does. He also puts Dana 50 internals in HP44s - why and how I dunno, I am new to the nuance of differentials. But he said that the 44 has a lot of advantages, and you can really make them quite strong... all I'm planning on doing to add strength is 300m axles, but who knows... I'll have to look, tonight, at that seal area - perhaps I can braze it while it's apart. I'm not a fan of RTV as a permanent repair - but with that said, any pressure on that area would simple force the RTV further into the area... hmmm...

edit, I found an article by Carl on Pirate
http://www.pirate4x4.com/forum/axles-tires-wheels/948996-jana-54-how-install-50-gears-your-hp44.html
 

SuperBuickGuy

Well-Known Member
Messages
3,403
Location
Woodinville, WA
Price comparison...

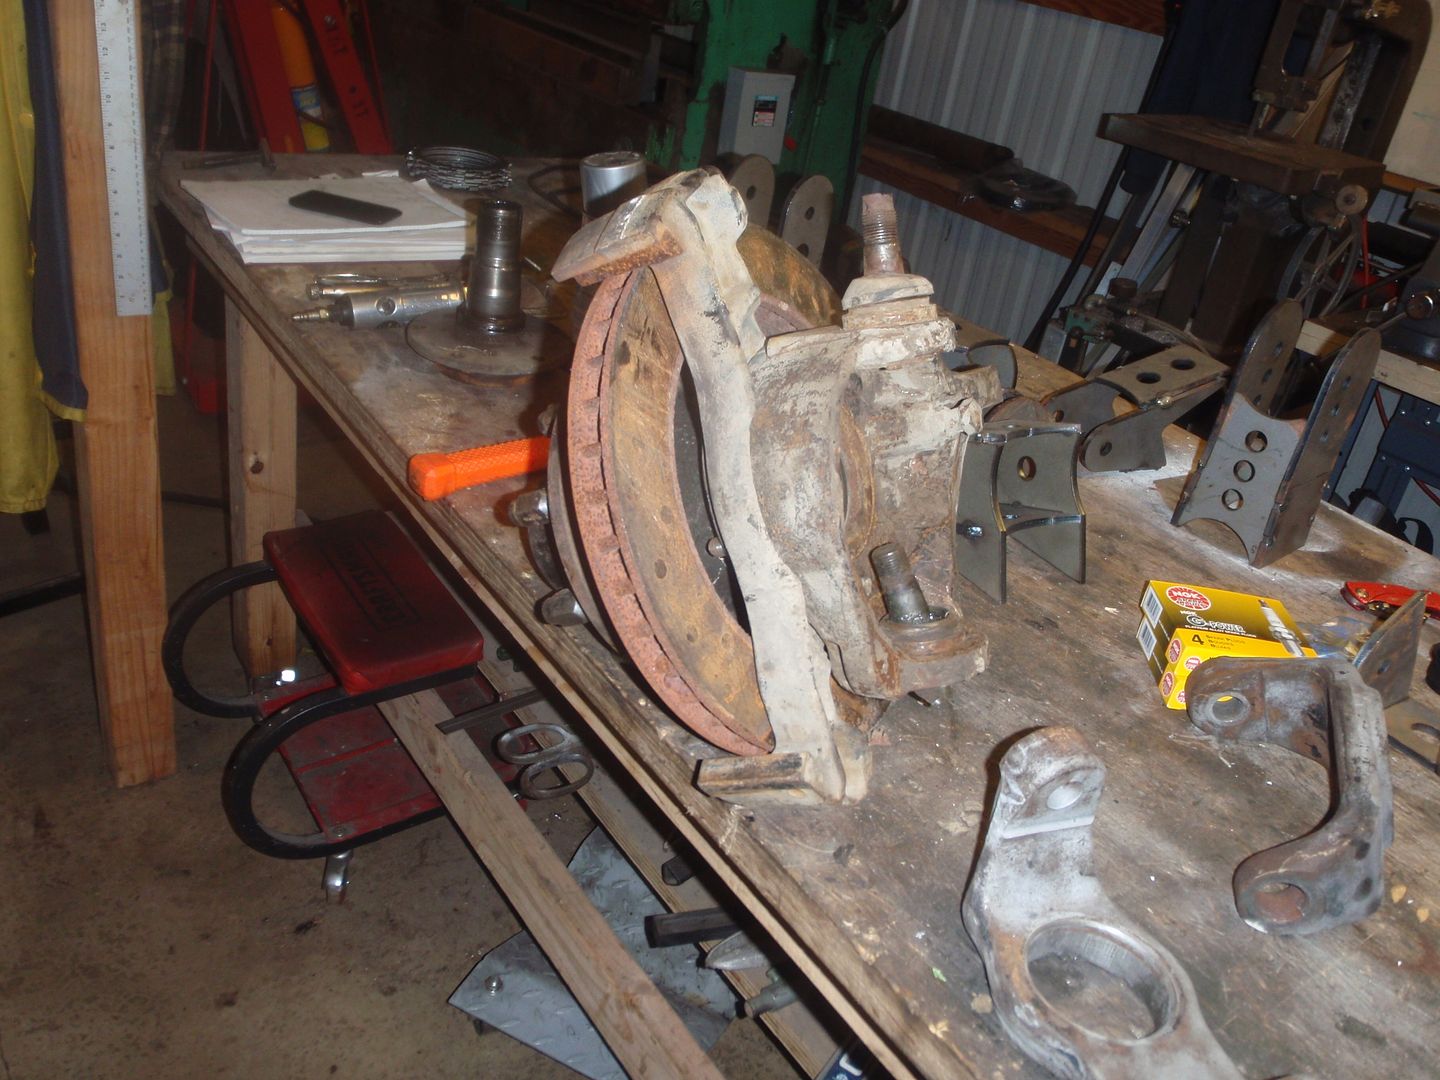
I need to buy rotors and lug studs (though specialized studs).

RockAuto $30.00 plus $15 shipping for the rotors and $2.50/stud but you have to buy a box of 20.... $125.00 plus you get to wait a week
Amazon $42.00, free shipping, $2.50/stud but you can buy "each" plus tax ... $135.00 and I'll have half the order in 2 days, the studs in a week
Napa $50, no shipping, studs $2 each plus tax... $145... best part is I know the studs are right.... odds are, had I ordered the studs, I'd get to order once if not twice more to get the right ones....

Point is, sometimes it's good to compare the relative costs because you'll find that the shop that's close will save you money in the end...
 

RamRod

Well-Known Member
Messages
3,914
Location
AB, Canada
Price comparison...

I need to buy rotors and lug studs (though specialized studs).

RockAuto $30.00 plus $15 shipping for the rotors and $2.50/stud but you have to buy a box of 20.... $125.00 plus you get to wait a week
Amazon $42.00, free shipping, $2.50/stud but you can buy "each" plus tax ... $135.00 and I'll have half the order in 2 days, the studs in a week
Napa $50, no shipping, studs $2 each plus tax... $145... best part is I know the studs are right.... odds are, had I ordered the studs, I'd get to order once if not twice more to get the right ones....

Point is, sometimes it's good to compare the relative costs because you'll find that the shop that's close will save you money in the end...

I learnt this lesson recently as well after Rock Auto sent the wrong parts... took an extra week to get the parts I needed and they took nearly a month to return my money with the added hassle of having to ship the wrong stuff back to them.... found out a shop just down the street had the same parts available for only $20 more...... lesson learned

I noticed the rotors are really inward to the axle, is this where they will be sitting or just for mock up?
 

SuperBuickGuy

Well-Known Member
Messages
3,403
Location
Woodinville, WA
It's just sitting together for mockup. I needed to double check the dimensions for the overall width so I slid them together to accomplish that...

irony, sell the lathe because you haven't used it since you bought it, the next project you'd have used it all the time... oh well, can't have everything.

thank heavens I marked Left - of course, I'd forgotten I'd marked it, so I saw the "L" but then second guessed.... fortunately, the guy who cut the welds on the Cs had marred the left side and that mark was easily identifiable...


I have new rotors coming today along with the correct studs (ford used 1/2" studs, the rear are 9/16 - so I got 9/16 for the front).

If you look closely, you'll see I made a slight error - I tacked the panhard bracket together backward


easier to see here - gives the turkeys something to rejoice about


So I'm still waffling... I could use coil springs for the front, or go the easy route and do coil overs... the issue is that bracket for the panhard bar - it can't go where it's "supposed" to go... so I dunno... at this point I just need to set the pinion angle and the castor for the Cs - once that's done then I'll decide. So far everything lines up like I expected
 

4speedfunk

Well-Known Member
Messages
4,212
Location
Tardville
L & R inner-Cs are the same forging (at least on Chevy axles).

That track-bar bracket is a MONSTER! I have the same issues on H3 solid axle swaps, and they are full-width (68") housings. You may have no choice but to use coilovers, due to the narrow width...looks really tight for coil spring perches. Also, you will probably have to lean the upper link tower rearward...and get an offset (forward) track-bar bracket so the track-bar can pass in front of the tower. I have a very similar layout on the SASH3's and I have found that this track-bar bracket (for the rear of JKs) works pretty good on the front axle. Its around $40...
attachment.php

This Artec bracket allows the track-bar to pass in front of the diff cover and the link tower. I built my first two from scratch before I found this one, and it saves a bunch of fab time (plus it's pretty compact). It also free's up some space on the top of the axle tube for spring perches, coil-over tabs, or bump-stop pads.

Project looks great so far!
 

Attachments

  • rear-tracbar1.jpg
    rear-tracbar1.jpg
    60.8 KB · Views: 218

SuperBuickGuy

Well-Known Member
Messages
3,403
Location
Woodinville, WA
that's a good idea, but will it clear a high-steer setup?

I just remembered I have a support from a Mustang - it might just work for this...


*edit

I bought the other Artec one - it brings the mount closer to the centerline of the axle... of course, that means I have to wait for the part to arrive... ugh.
 
Last edited:

SuperBuickGuy

Well-Known Member
Messages
3,403
Location
Woodinville, WA
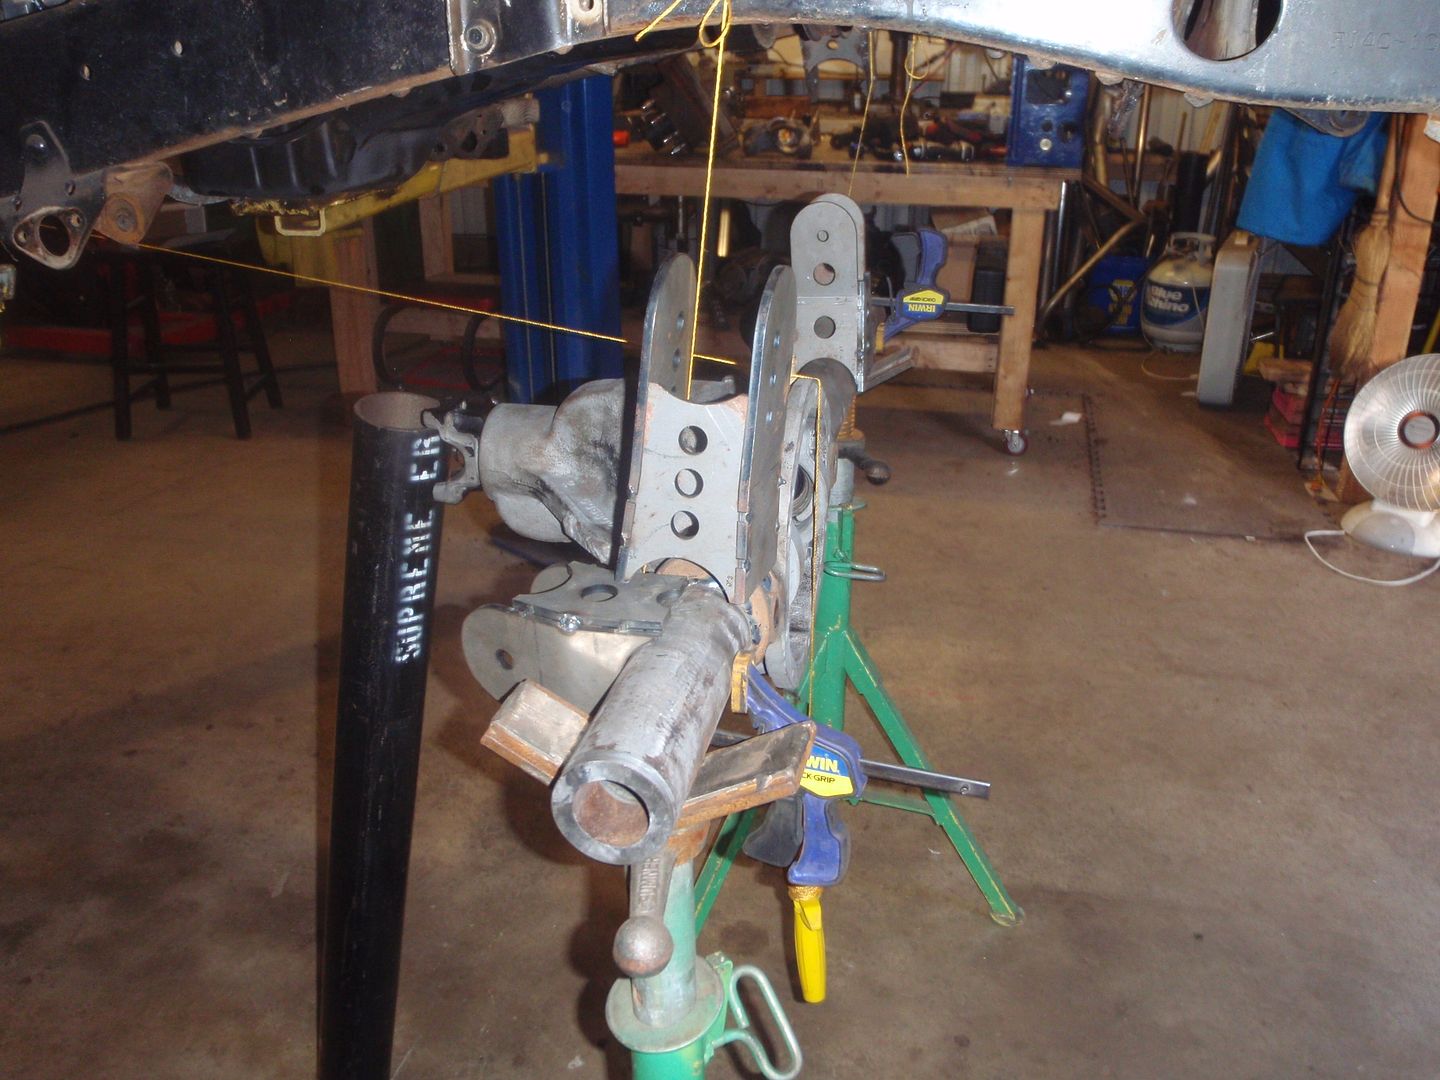
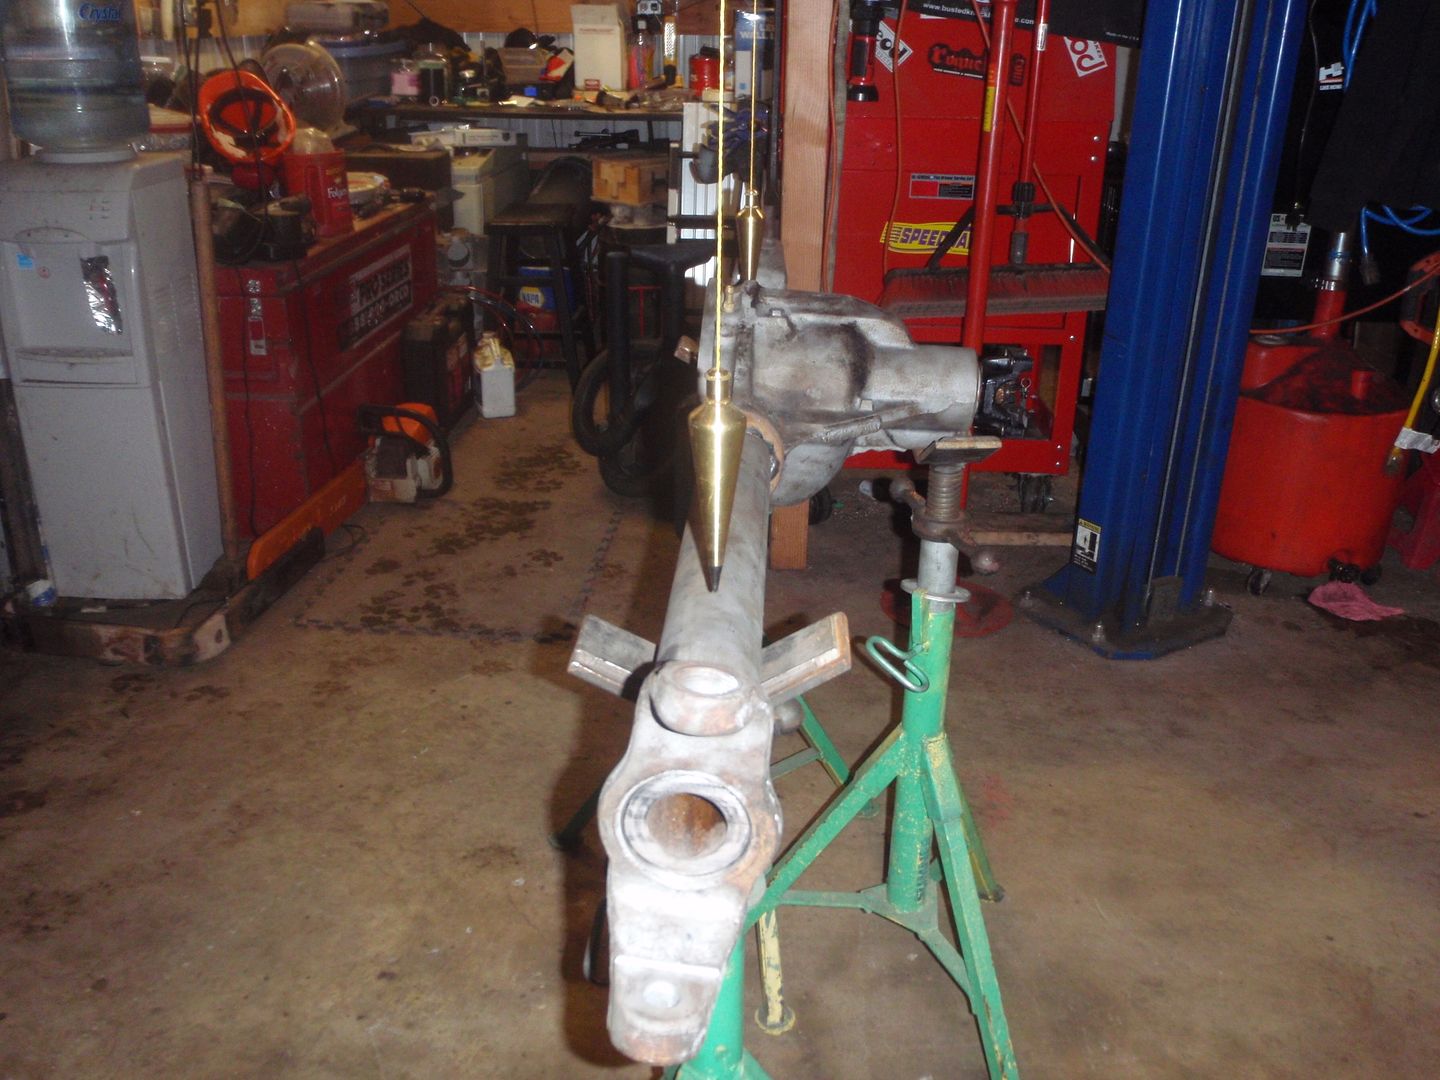
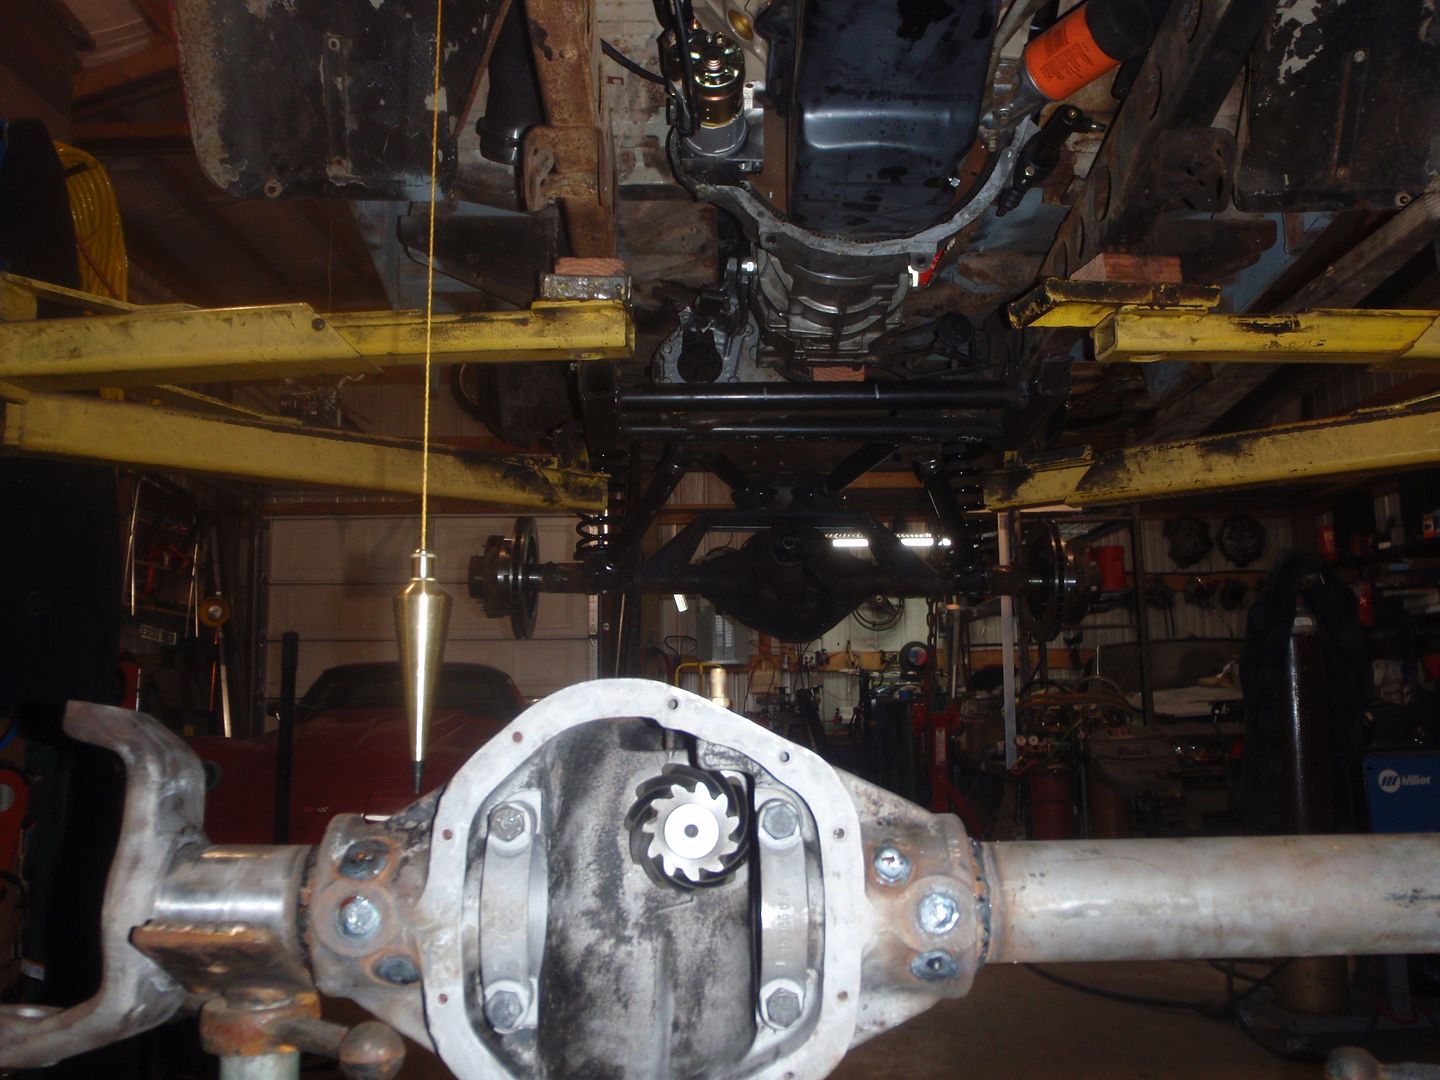
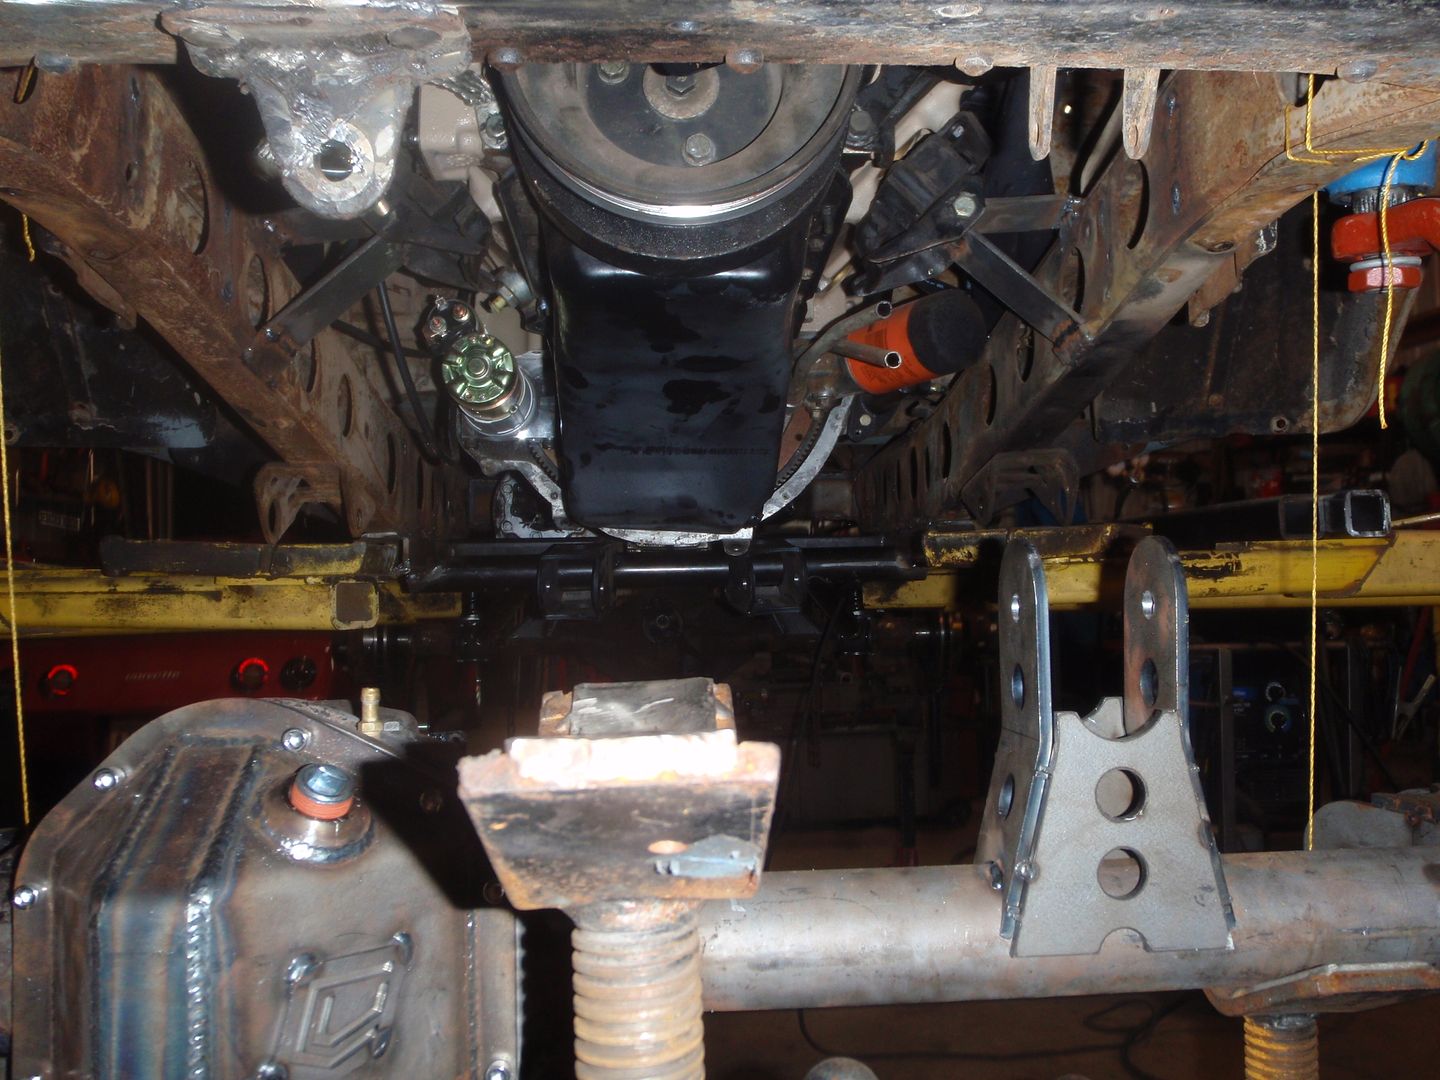
setting the pinion angle

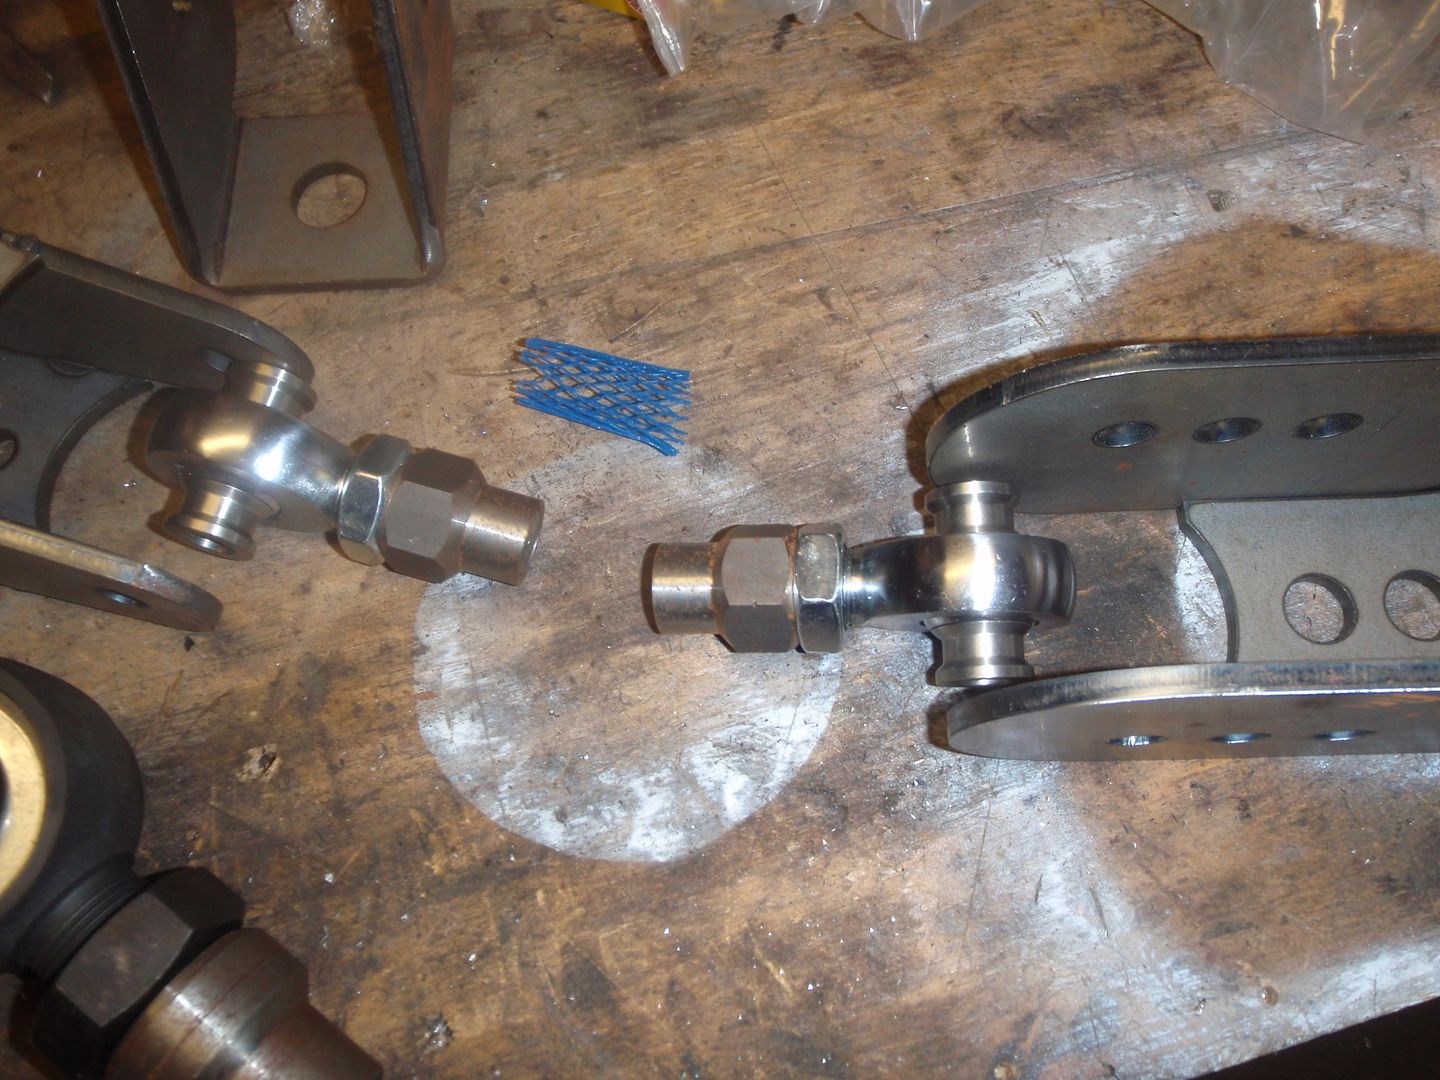
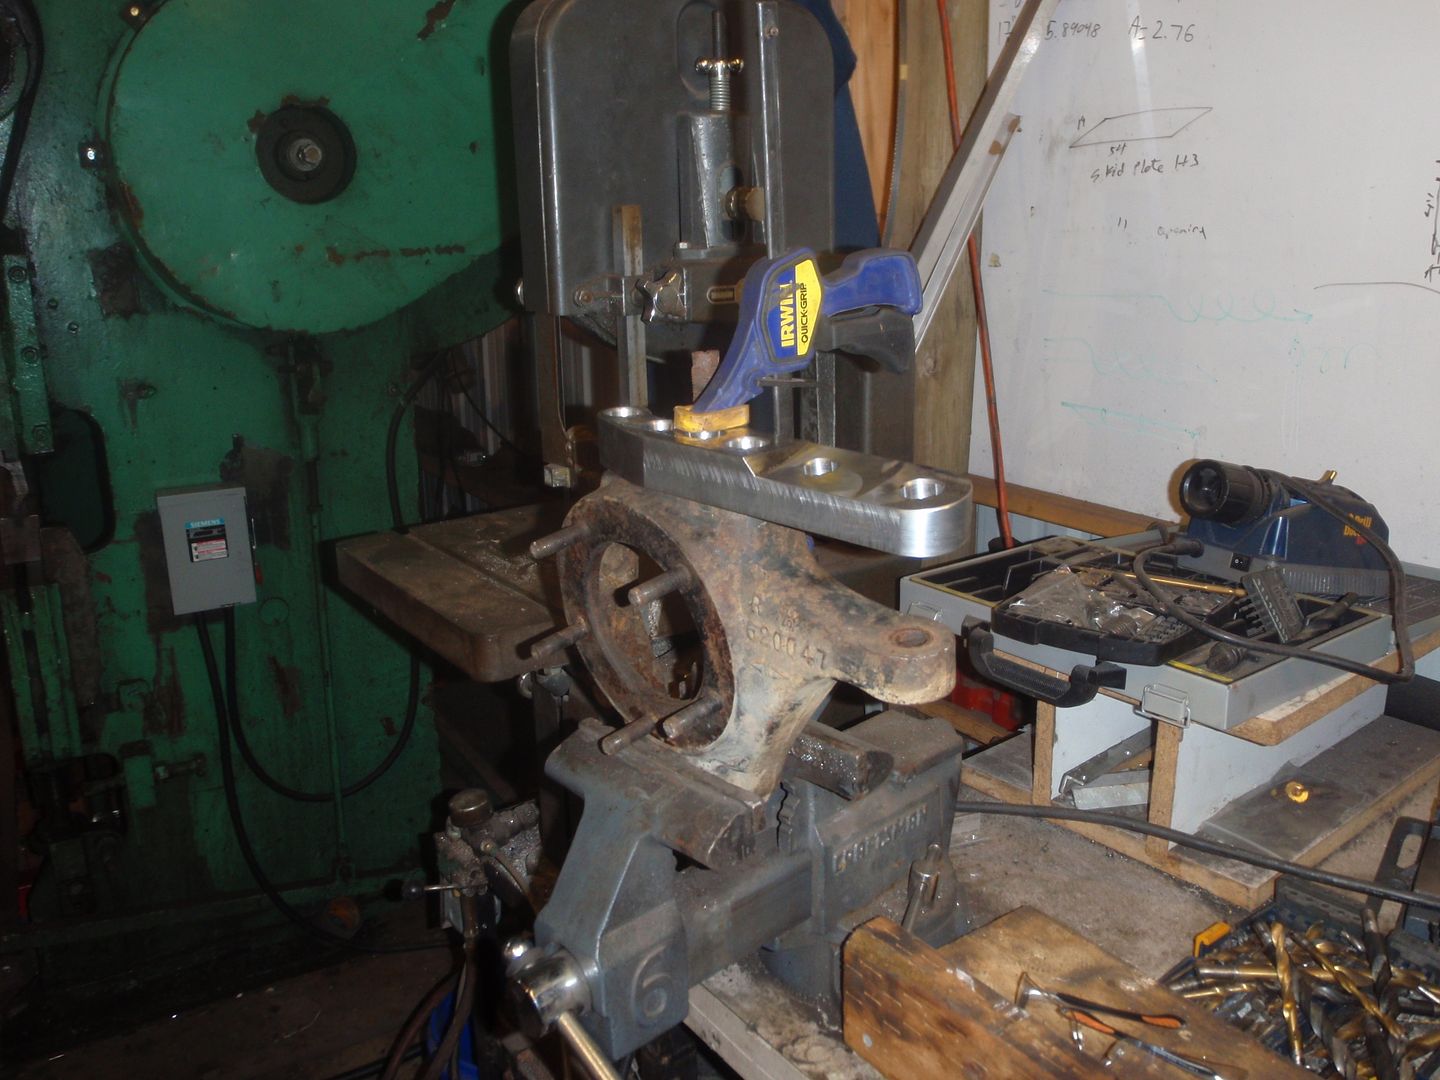
so an annoyance of where I got the brackets - these brackets are not for the heim joints... no big deal to narrow it, but if you sell a "kit", you should make sure all the parts work together.
with that said, the thinner the better as you will soon see


driveshaft lines up


and there's a hole for the upper arm

high steer coming soon


and the brackets


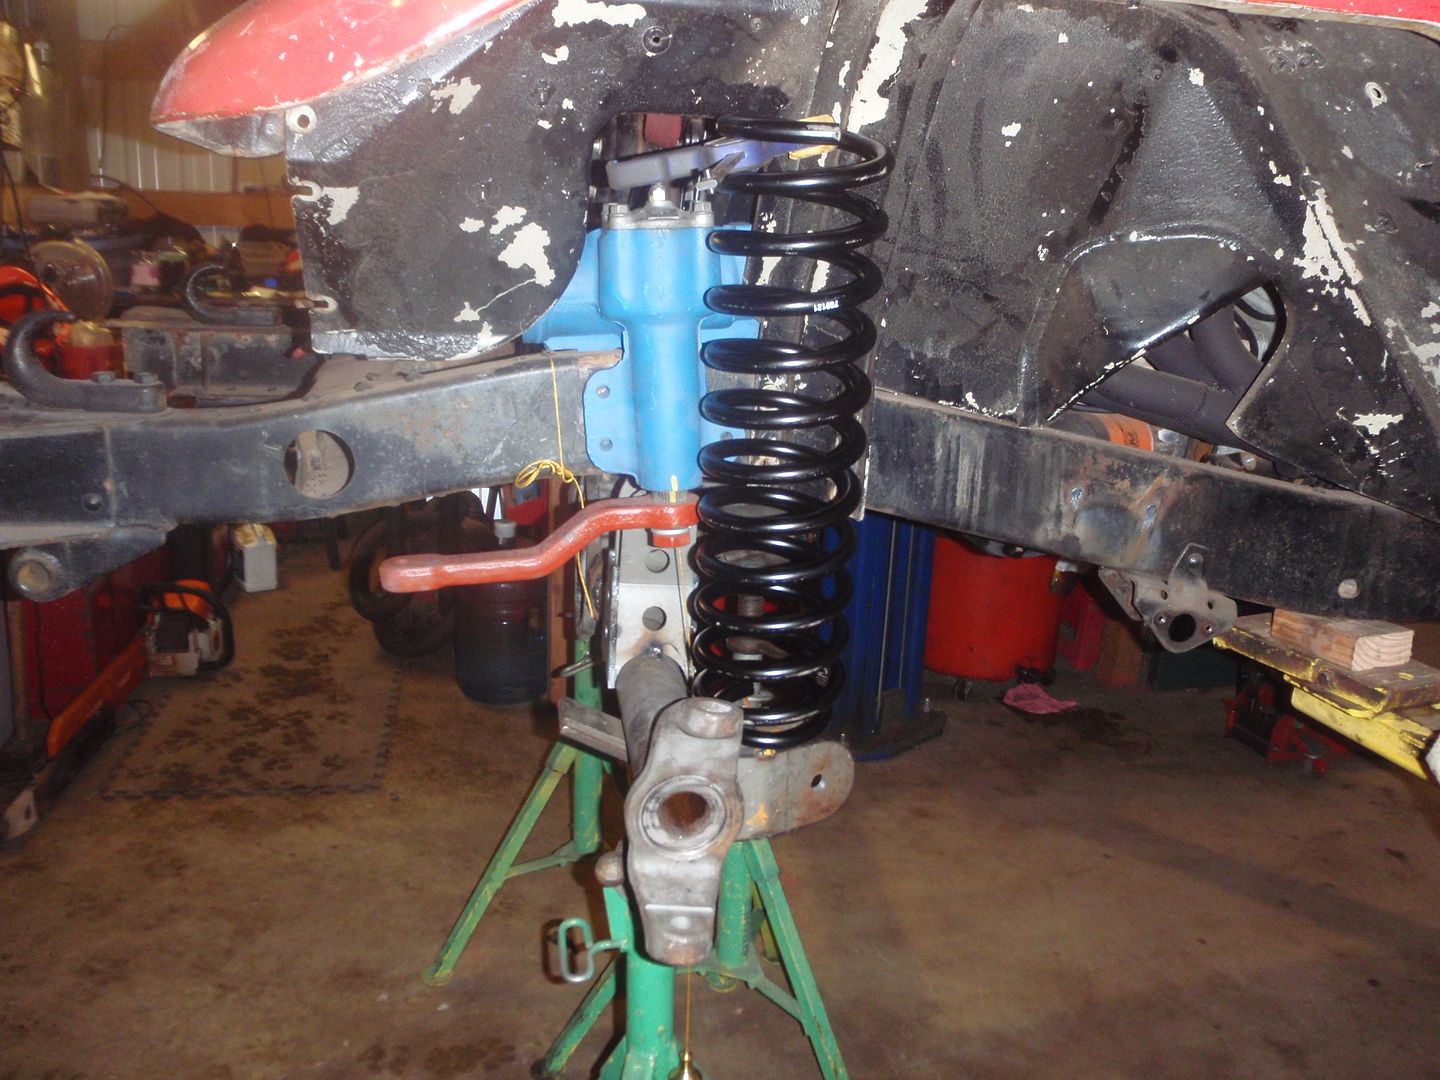
so I could use regular coil springs, but it'd be tight


and there's why it'd be tight, there still needs to be the panhard bar and brace (that bit that is fortunately thinner)


​I think I'm going with coil overs, still. One thing I've found in selling custom cars - despite home-grown not being a bad thing, when you're selling it you might as well figure you're going to sell it for 10% of what a pro-built vehicle will sell for (with pretty brackets and buzz word updates - like coil overs)... would the springs work fine, yes... but I will sell this eventually - and making it more sellable doesn't cost a lot more than doing it the coil spring way now...
 

4speedfunk

Well-Known Member
Messages
4,212
Location
Tardville
I get my track-bar brackets from RuffStuff, (they work with Heims). They offer both inboard and outboard brackets for the frame, and I'm guessing you would use an inboard type, due to the steering box being on the outside.

I think the Artec bracket would clear the high-steer rig. However, the forward swinging pitman is situated so the high-steer tie rod passes directly below it. This might be a problem during up-travel, and it looks like your tie rod could come up and smack the bottom of the pitman arm. You might keep an open mind about the low-steer, as it would give you an additional 2"-3" of clearance on the steering. I wouldn't cut off the factory tie-tod bosses until you know for sure the high-steer will work. If it looks like space is getting tight...you can always relocate the tie-rod to the factory low-steer bosses. I've been stick-building my steering from big fat 1.5" DOM (.250" wall) and using weld bungs but, this size tubing is overkill and really takes up a bunch of space. Next time, I'm going to downsize the tubing and actually thread the tube ends rather than use weld bungs. PartsMike.com can custom cut and thread your drag-link and tie-rod bars (RH & LH threads), to take advantage of the smaller size tube. The only downside is that you must know your exact lengths when you order them....http://www.partsmike.com/index.php?crn=204&rn=501&action=show_detail

That housing is seriously the stubbiest 44 I have seen in awhile...like a Scout or early Bronco. Looks like coil-overs are pretty much mandated due to the available space on the axle tubes. That last photo shows that the steering box takes up the entire space where the coil bucket would mount on the frame. If you ran coil-overs, you could use some hoops that go out, above, and around the box...much easier to cram into that tight space. I personally feel separate coils and shocks are superior on a daily driver but, only if you got space to get them installed. Not only do they require a large footprint but, they also require an additional, separate space for the outboard shock system. Going with coil-overs will certainly take up less space.

Are those Ford knuckles?
 

SuperBuickGuy

Well-Known Member
Messages
3,403
Location
Woodinville, WA
You hit the nail on the head with the issues.

the artec bracket I got should clear because it's just barely in front of the housing - but also it's mount point is on a higher plane than the cross bar. With that said, I could do center-steer. Of course, that would greatly reduce the strength of the cross bar and bring up a whole new set of issues since the panhard bar would be about 1/2 the length I'm proposing now. the best practice is having the panhard bar and the cross-steering arm the same length... but at this point, I think that the panhard bar is going to determine the length of the cross-arm as the panhard bar may mount to the inside of the frame... and that brings up another issue with the top control arm.

The scout box... I simply don't know at this point, I can get a shorter drop arm for it that would probably clear the frame mount... but the box needs to stay right about where it is in the picture about the only thing I could do is rotate it forward (maintaining aim to the center of the axle with the center shaft). I could, still, change to a chevy truck box - that would require modifying the front cross member... with all that said, I still think the scout box will work best.

The WMS to WMS is 61(ish)" and the entire axle is out of a ford something or another though I did take 7" out of the axle - most on the passenger side (like 4")

with all this said, it's still my opinion that the front is easier than the back since the arms must stay equal length (control arms must be the same length; the panhard and cross bar must be the same as well)

the only hope for the separate coil springs is to move them back and mount them on the lower link brackets... but that creates another set of issues - as for the shock issue, I half-plan to run them on the inside of the springs. Keeps the rocks from bashing them.
 
Last edited:

SuperBuickGuy

Well-Known Member
Messages
3,403
Location
Woodinville, WA
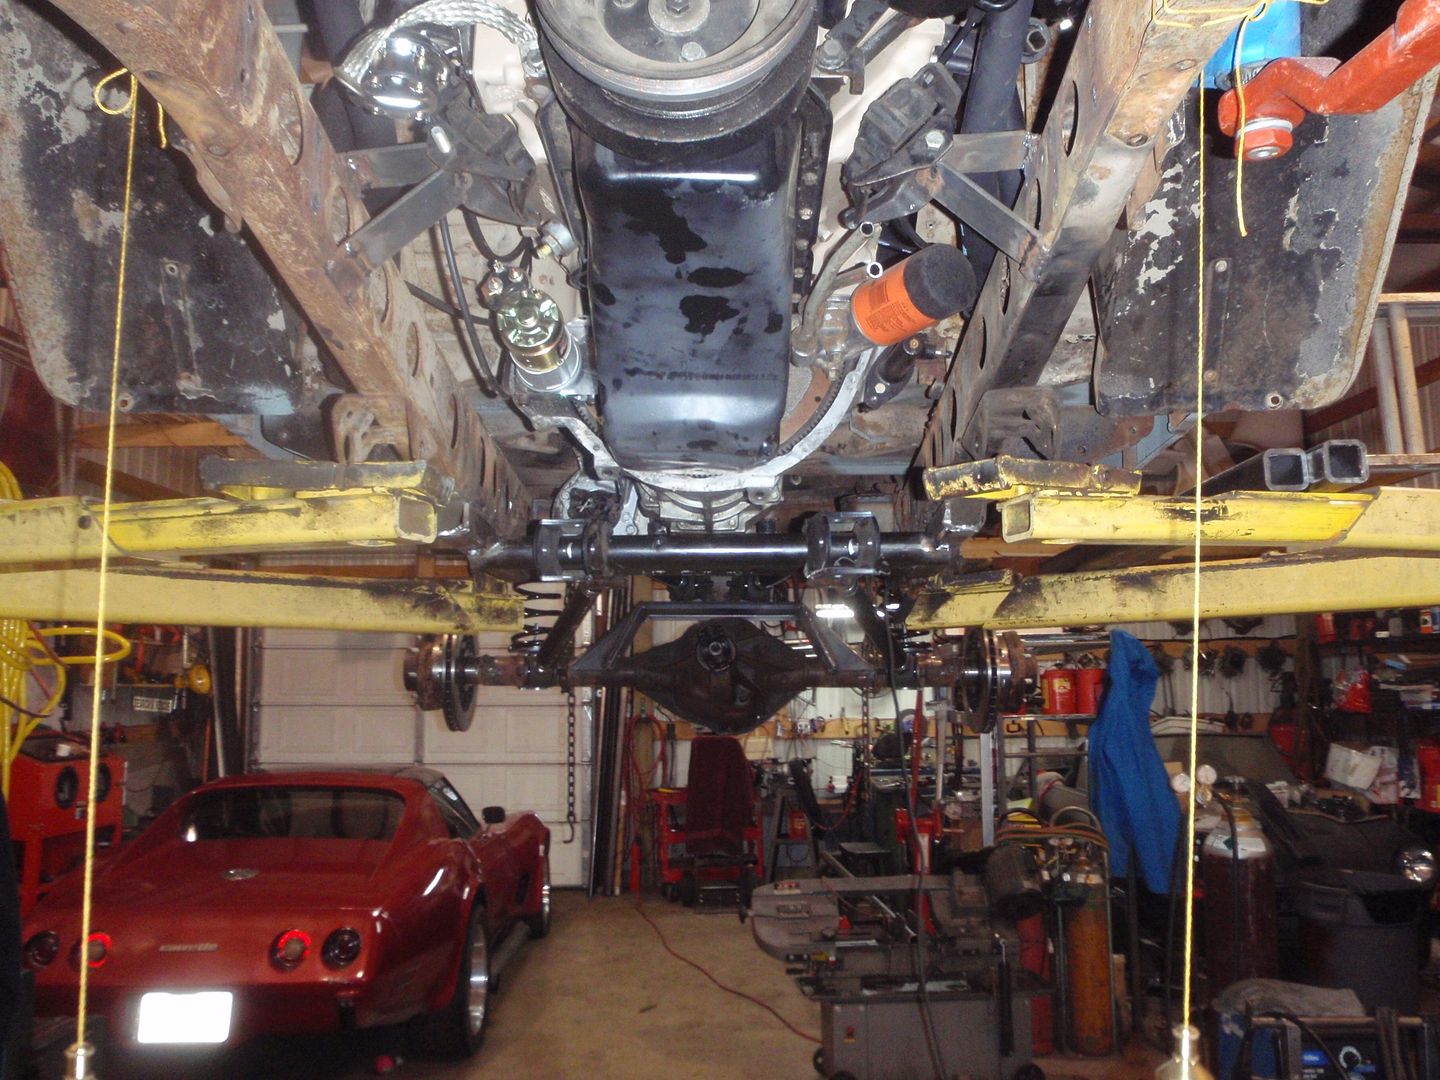
onward and ever upward
links are so much easier with tape

round 1


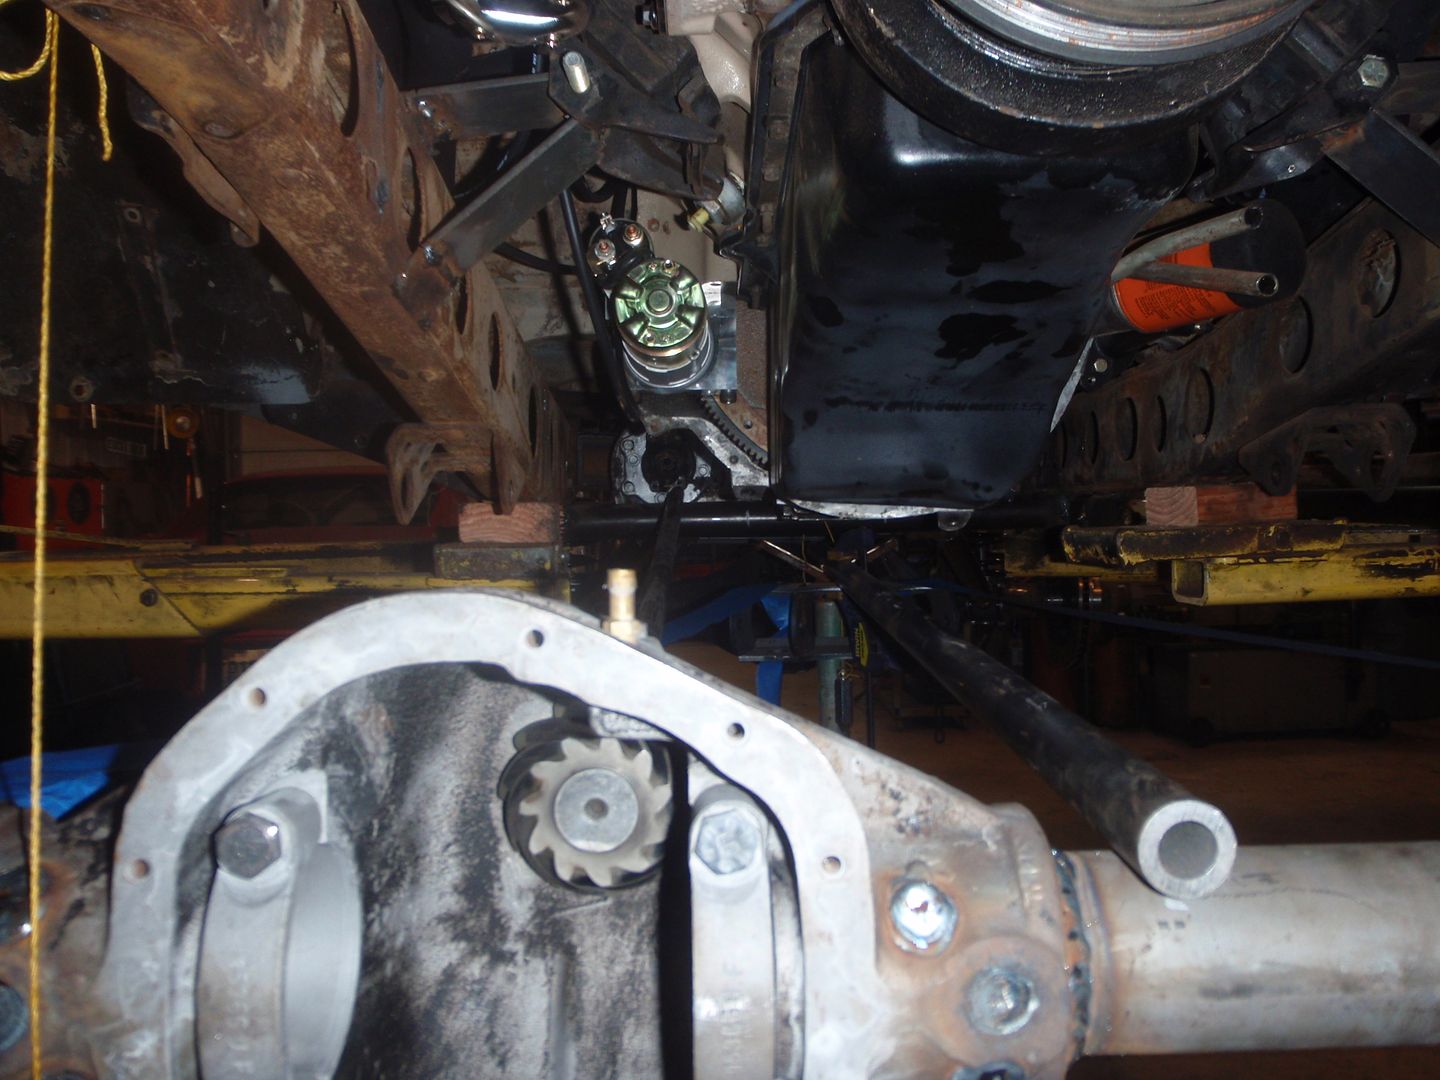
driveshaft clearance


and there it is... it would clear, barely.... I don't like barely
so I'll use these

and modify the triangulation so that it only goes to the frame rails
 

4speedfunk

Well-Known Member
Messages
4,212
Location
Tardville
You should check your "tire-to-lower link" clearance before you get too deep into the bracket welding. This is something that can dramatically limit the turning radius, and you don't really think about it until its too late (which I've done before).

On my latest SASH3 project (Big Red), I offset the lower link frame mounts about 1.5" to the inside. This meant that they were no longer centered on the bottom of the frame rails, and instead they were positioned with only about half of their footprint actually in contact the frame. The inner half over-hanged off the inner face of the frame rails. So I made some small triangular gussets to weld to the top side of the brackets, to get more support off the side of the frame. This minor change gave me some much needed extra tire clearance at full lock.

Another redneck tip I sometimes do...instead of tape, go grab some 2"x2" furring strips from the hardware store. These are white pine...full of knots...and cost about $1.50 for an 8' stick. You can cut these to various lengths, drill a hole in each end, and then bolt them into your link brackets. This will allow you to do an actual "flex-check" on the suspension without cutting or drilling on pricey DOM tubing. If something needs adjusted...you can cut the tacks on the brackets, move them around, and/or try some different length fur strips, until you are satisfied. And you get some great kindling when you're done with them!
 

SuperBuickGuy

Well-Known Member
Messages
3,403
Location
Woodinville, WA
good points - I'm going to stay on the geometry of the triangulated bar, just shorten their length - for turning radius, there's quite a bit of clearance since it's the Ford spindles have something like 7 1/2" from the pivot to the wms... the arm, at its current geometry, crosses under the frame at a point prior to where the tire will hit the frame... Bonus is the cross member will go right under the transmission and give me a forward mounting point for a skid plate.

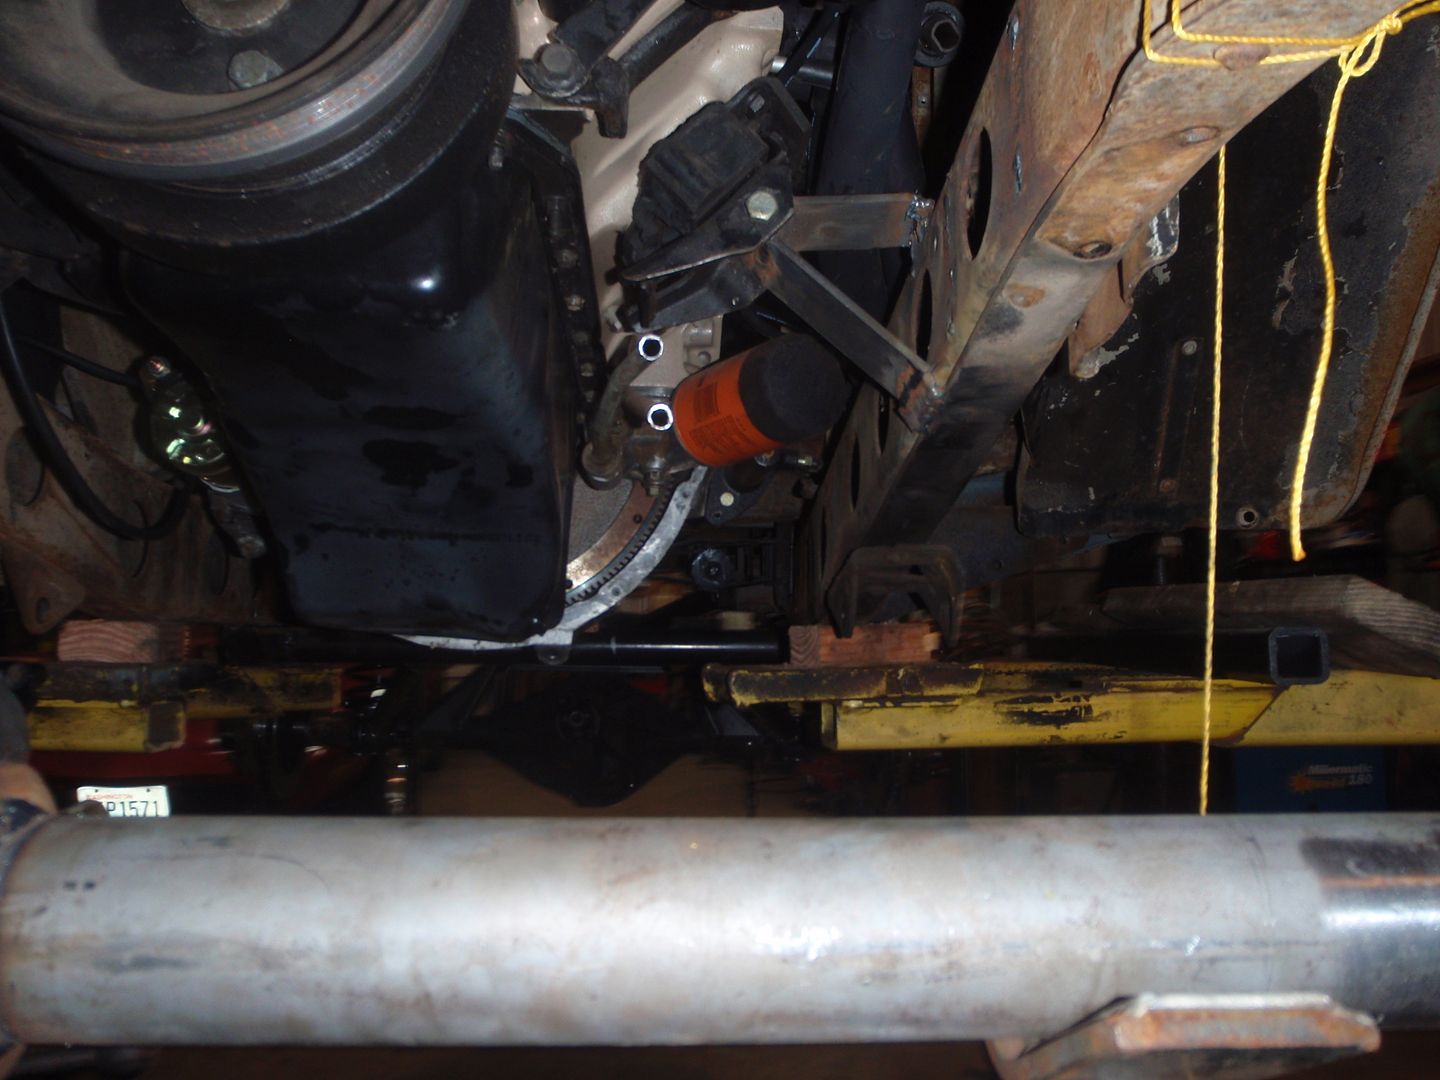
I'd like to use the full triangulated set up, but there's just too many issues to make it work - hangs too low; the upper arm can't be the same length since the oil filter is in the way. Surprisingly the driveshaft will clear it... but that's only because I can't move the bracket up far enough to be on the same plane as the rear, lower arms.

we get hemlock for furring strips - they're useless for that and for firewood... but they are amazing at crushing tree houses.
 

SuperBuickGuy

Well-Known Member
Messages
3,403
Location
Woodinville, WA
more impediments to progress


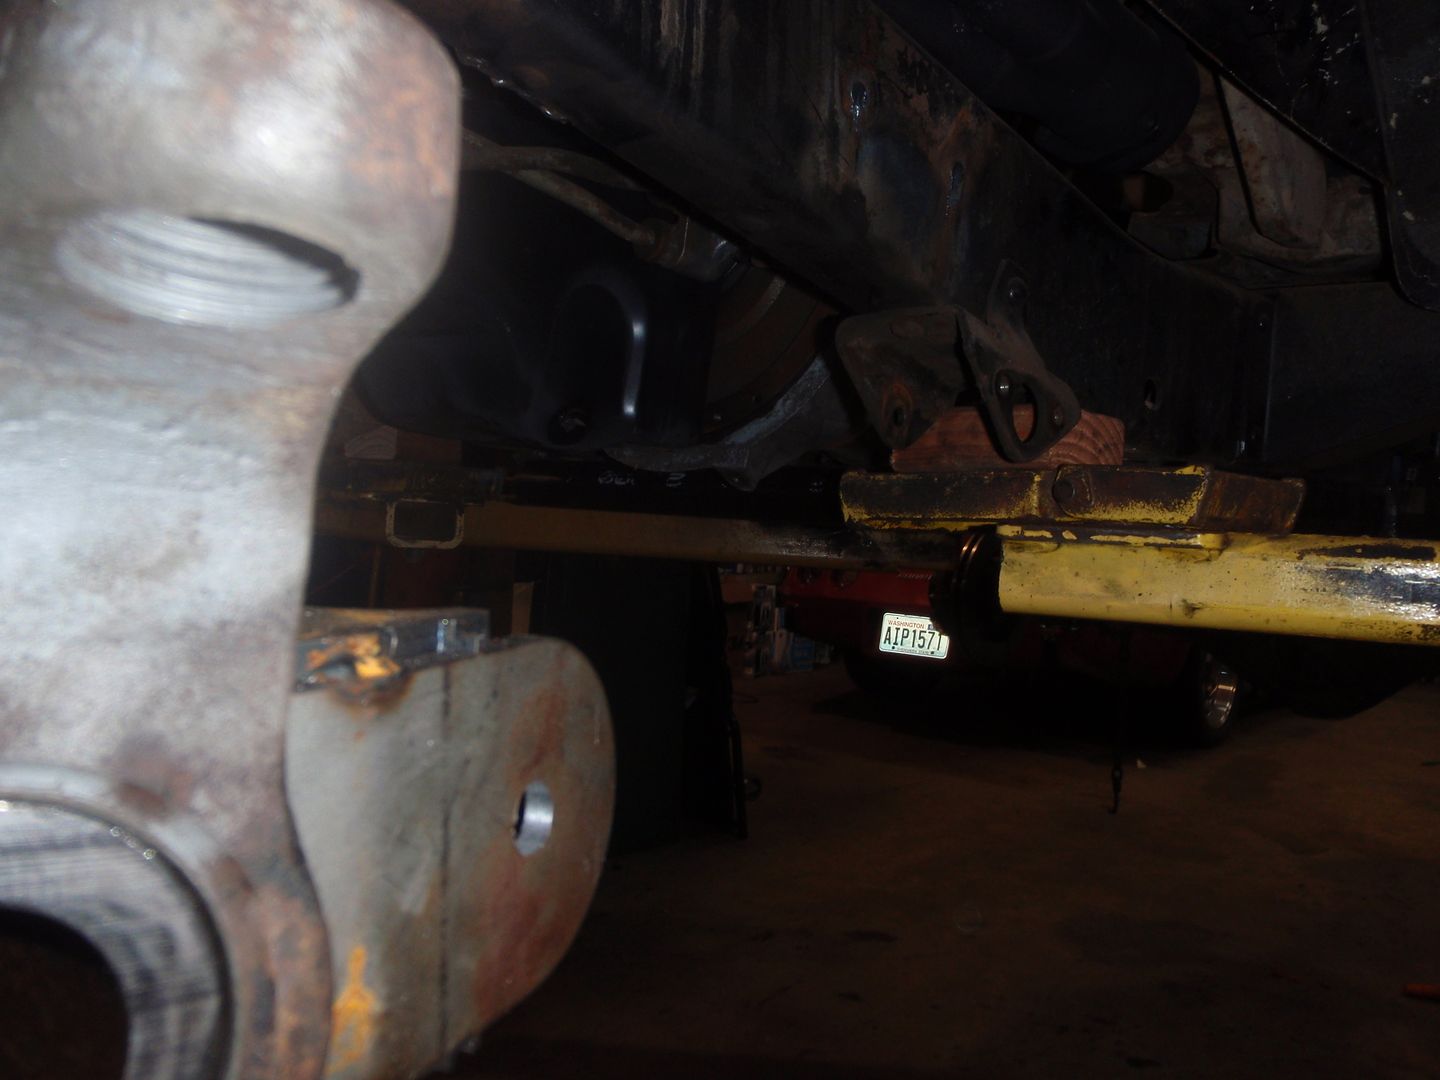
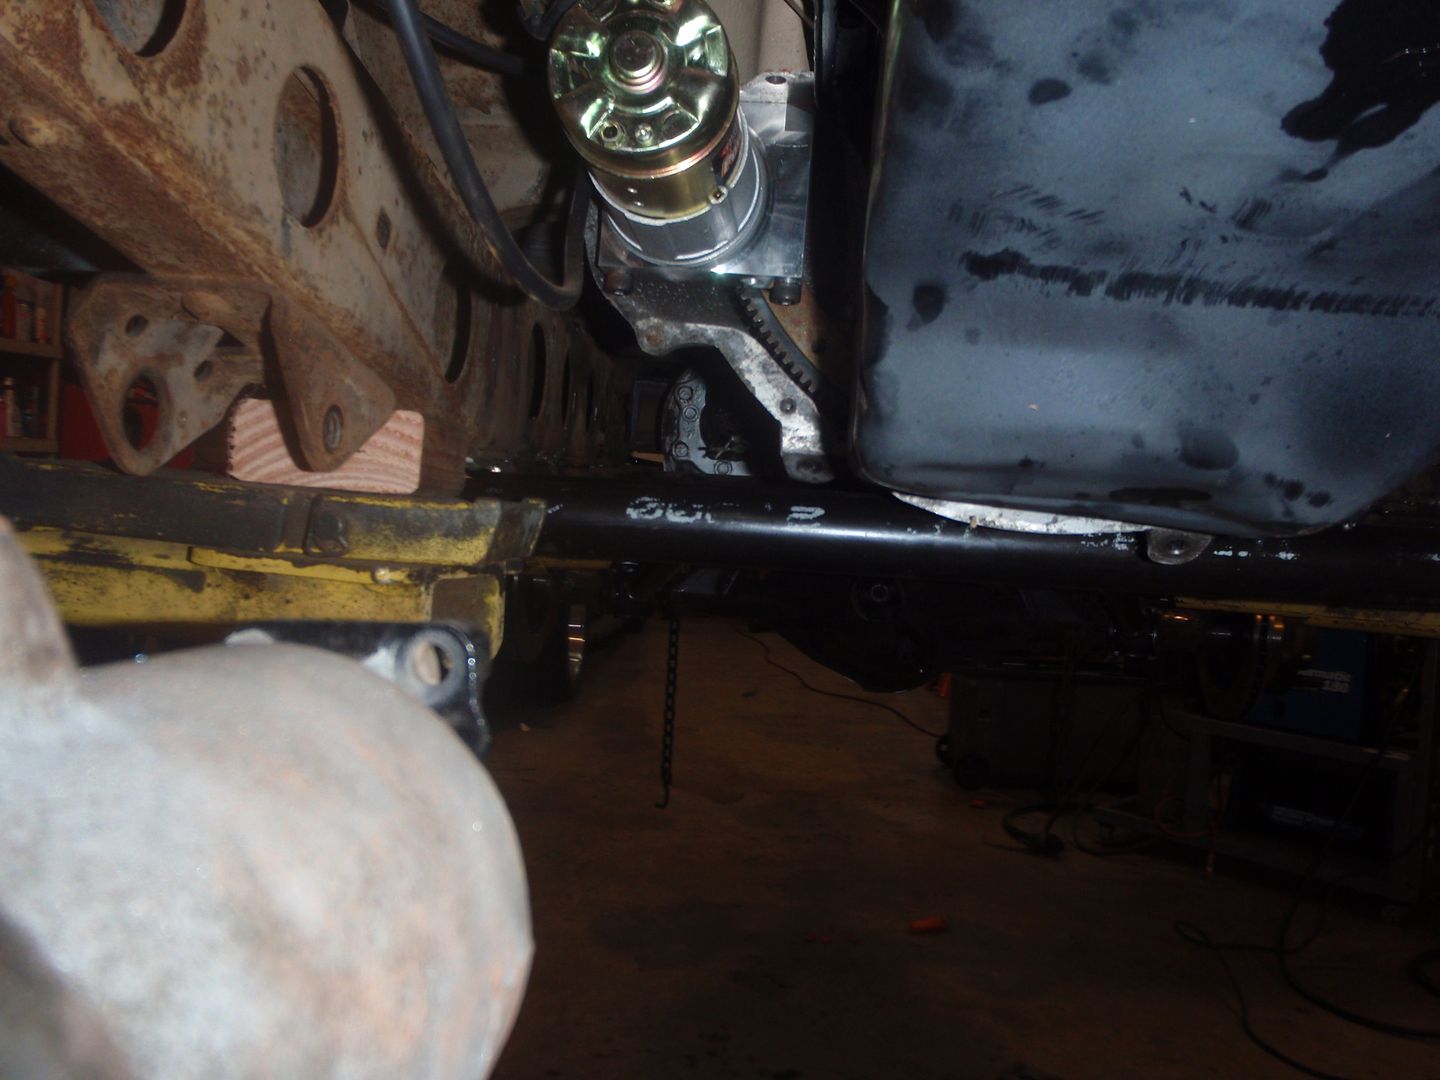
so here's where I started


and a really dark picture of where I ended


the forward part of the cross member is permanent


to remind, along with its issue


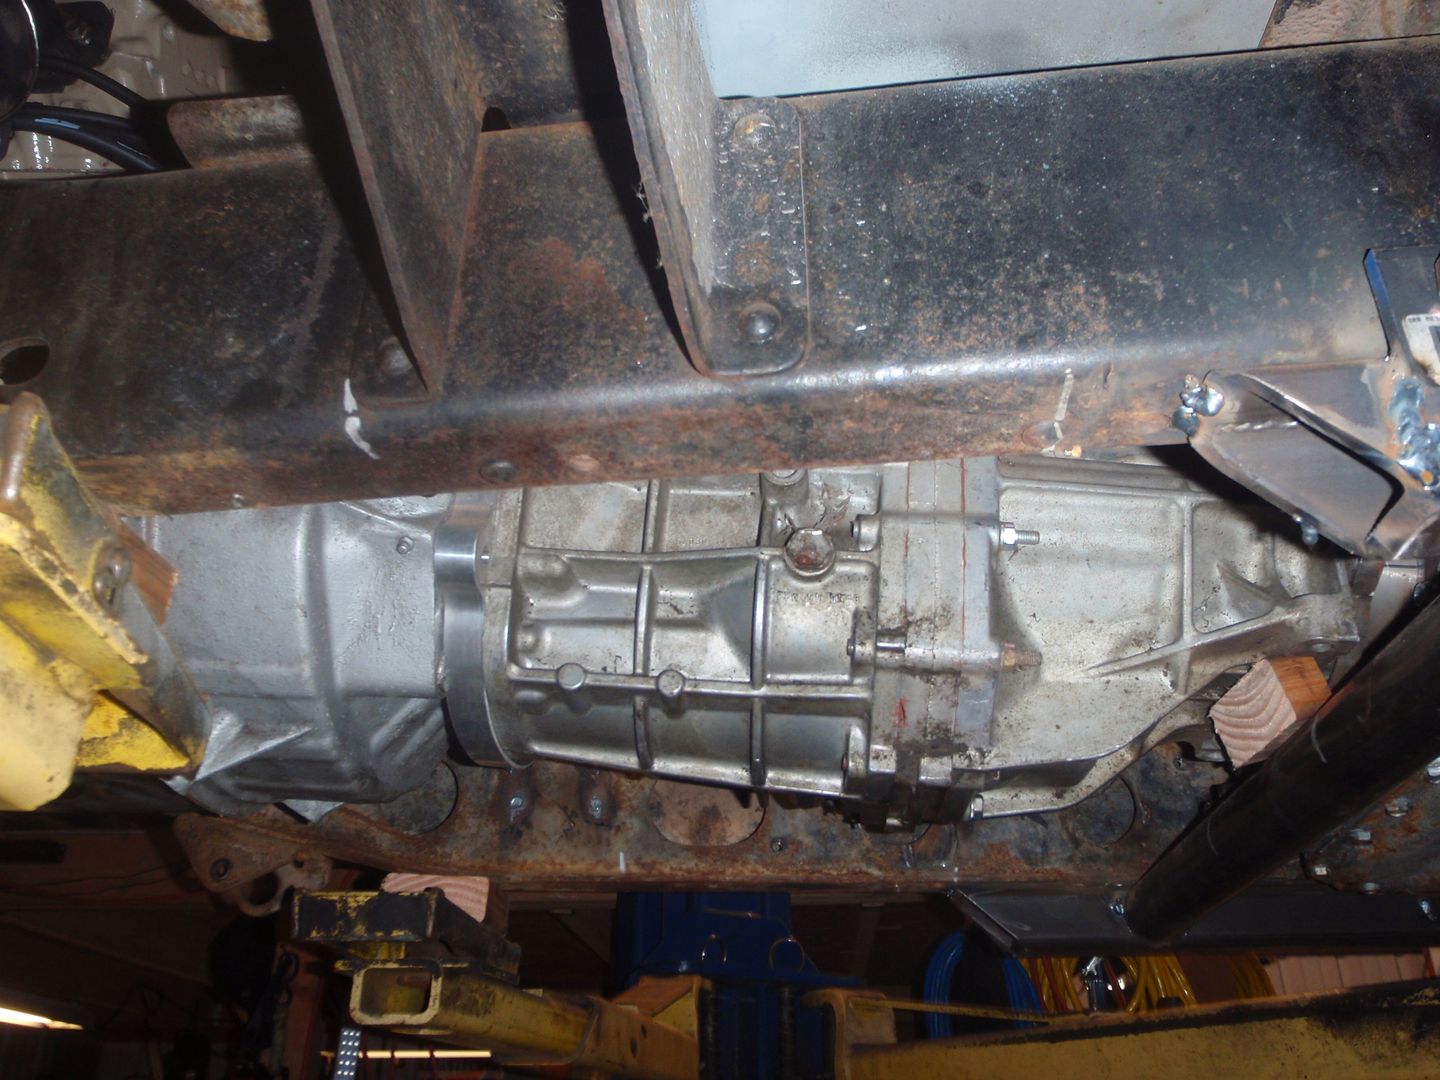
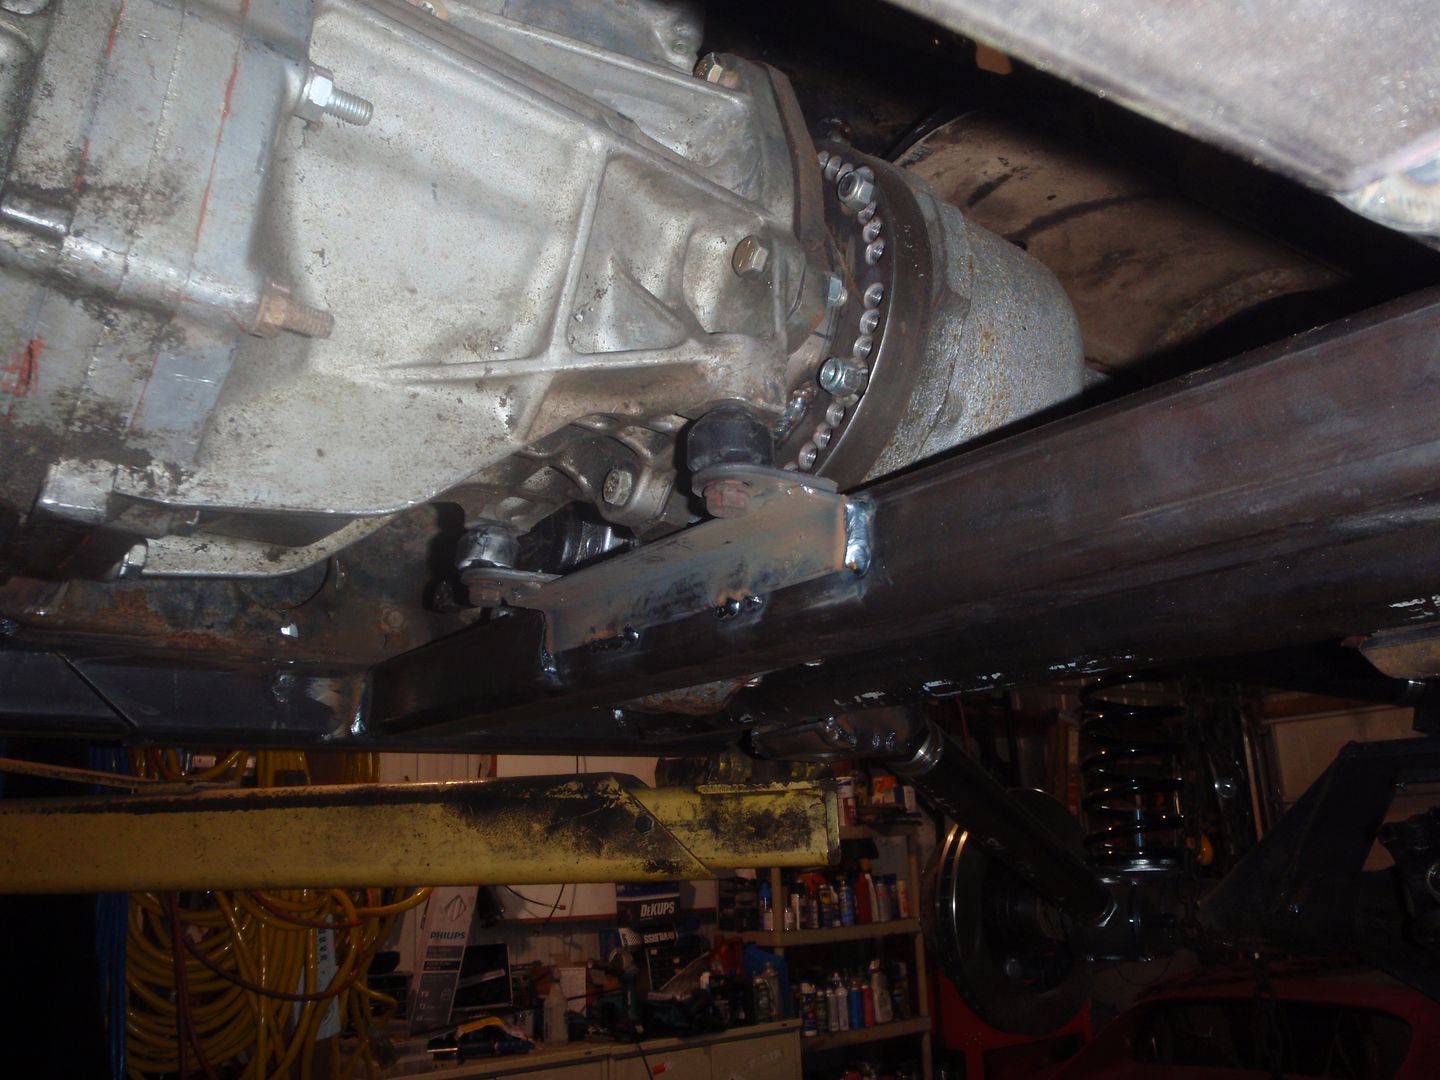
I don't like that this FJ40 frame has only 2 permanent cross member - thus the decision to make the forward link mount permanent - it also should help if I need to do remove the transmission (but it will be a pain for the bellhousing as it sits)
there are some plans, though
1) the driveshaft won't have to be rubber, but it will, likely be two piece
2) I'm going back to the original mounts, cut in half like I did with the rear
3) the way this all goes together, it shouldn't be too hard to work on it - there will be a 3/8" skid plate under the transmission and transfer case, but once it's removed - everything can come out the bottom
4) the transmission bellhousing... is probably going to change to an open under side since it will be protected by the skid plate that's going to protect the oil pan... I'm also going to use a hydraulic throwout bearing so I have room to run the upper link. I'm also going to change to the 2wd oil filter so I get some room there as well....
5) I'm going to triangulate the front mounts as well

​thanks for reading.
 

Cyouincourt007

Pavement Prince
Messages
542
Location
Miami,Fl
Looking good! I can't quite get the jist of everything but I get most of the big picture and I do see it getting closer and closer to taking that maiden voyage :woot:.
 

SuperBuickGuy

Well-Known Member
Messages
3,403
Location
Woodinville, WA
still trial fitting
transmission mount is better


round 2


round 3


still not sure that's what it's going to look like when it is done... at this juncture, it'll need a carrier bearing for the front driveshaft right at the passenger side link mount... not a death blow, but certainly not optimal either.
 

SuperBuickGuy

Well-Known Member
Messages
3,403
Location
Woodinville, WA
and I've decided I'm overthinking this - this stuff is stupid easy, and I'm making it way too complex... tomorrow, I'll cut all that back off and do plan a or was that plan b? screw it... the other brackets are going to be used
 
Top