midnightgravity
Active Member
- Messages
- 39
- Location
- Austin, TX
ECT sensor Removal and Replacement.
I'm not sure if everyone knows but If for some reason your thermostat gauge stops working, Your A/C will automatically turn off until the problem is fixed. Sucks if you live in a hot state like Texas. For the longest time I could not figure out what was causing my 2008 H3 thermostat gauge to intermittently shut off all of a sudden and randomly. At first it only occurred on random moments like once every other day or so. Then the problem became a daily thing. I searched the entire internet for answers, but no luck.
After much research, apparently it was the ECT sensor.
I cleaned the throttle body as I did this. My thermostat now works fine so far.
There is already a Great write up on how to clean the throttle body, so this is a write up after the removal of the throttle body and air intake.
The tools I used (with a pic of old ECT sensor and New ECT sensor):

For photos of air intake removal with votec resonator go to this Great write up on this forum!
http://www.hummer4x4offroad.com/for...sor-cleaning&highlight=cleaning+throttle+body
1. Disconnect the Battery
2. Disconnect plug at MAF sensor.
3. Loosen 2 clips on the air box lid and the hose clamp on the air outlet hose between air box and resonator.
4. With the air intake out of the way you now have access to the vortec resonator. Loosen and remove the 2 bolts (10mm) that hold the resonator to the valve cover and loosen the hose clamp where the short air outlet duct attaches to the Throttle Body. There us a rubber tubing underneath the vortec resonator. make sure to unplug it from either end to have the vortec resonator removed and out of the way.
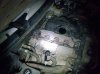
5. The Air intake and Vortec resonator should now be out of the way to have room to work with the ECT sensor.
(In this picture the ect sensor is already removed)

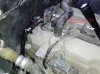
6. Separate ect connection from main connection. To remove plastic piece. pull out light grey top plastic piece first. I did this by wiggling outward each corner then inserted a flat head screw driver in center of plastic clip, then whole little thing slid out. This small piece serves as a lock for this other plastic button. Squeeze the center of the plastic end where the small light grey clip came out from. This will allow you to wiggle each connector apart.
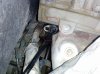
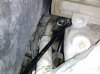
If you follow the ect cable you will see that it is in a tight corner. I accessed that tight corner area near the coolant reservoir with a 3/8 drive 9" extention attached to a crows foot wrench (15mm). Turn Counter clock wise to remove the sensor, clockwise to tighten. It only took a small effortless wedge to remove mine.

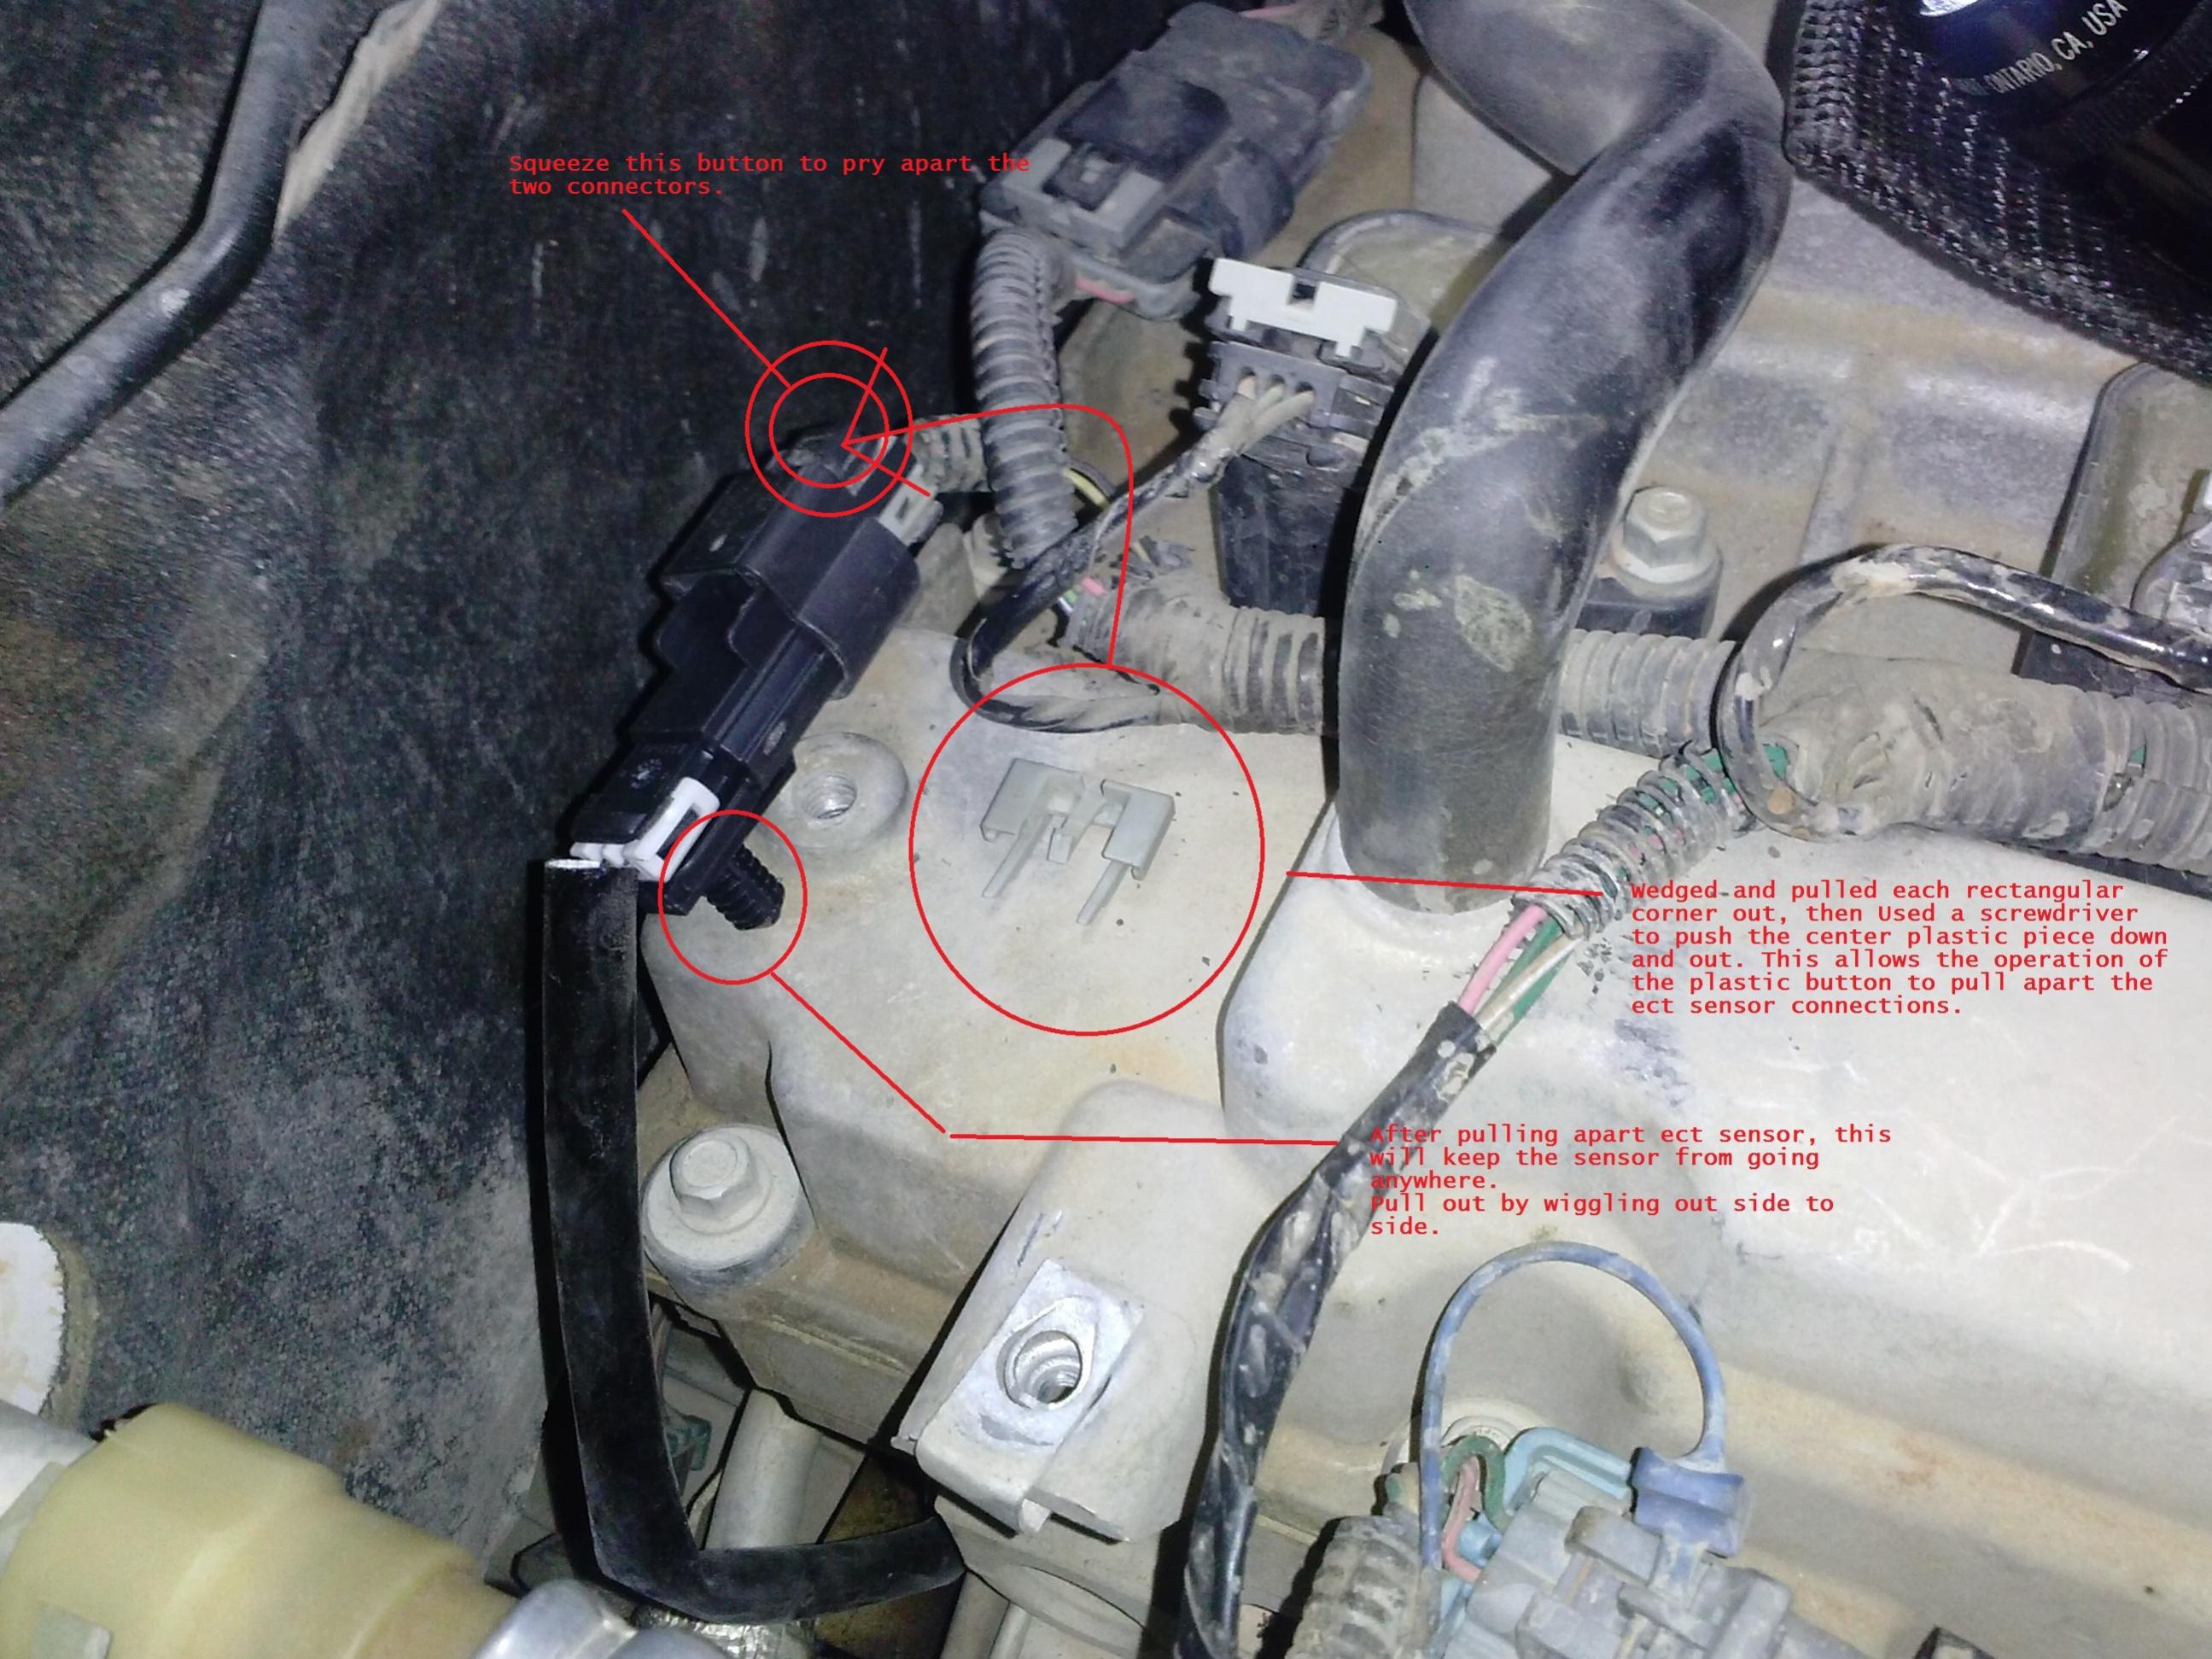
[On a side note. I had broke off one of the bolts from the throttle body due to too much torque on a weak bolt. so at this point I was careful to get the torque right.]

7. I accessed that tight corner area near the coolant reservoir with a 3/8 drive 9" extention attached to a crows foot wrench (15mm). Turn Counter clock wise to remove the sensor, clockwise to tighten. It only took a small effortless wedge to remove mine.This is me measuring the position of the ect sensors hex position to torque it to it's original hex position.

8.Once loose, Remove the ECT sensor. It can be removed by simply twisting it out with your hands. Once removed a moderate amount of coolant drains.

9. Allow coolant to drain if needed, Install New ECT Sensor. Reconnect in reverse order and add remaining coolant. 1 gallon dex-cool 50/50.
10. Add roughly 1 gallon dex-cool 50/50.
11. Reconnect batery
12. Done!
I'm not sure if everyone knows but If for some reason your thermostat gauge stops working, Your A/C will automatically turn off until the problem is fixed. Sucks if you live in a hot state like Texas. For the longest time I could not figure out what was causing my 2008 H3 thermostat gauge to intermittently shut off all of a sudden and randomly. At first it only occurred on random moments like once every other day or so. Then the problem became a daily thing. I searched the entire internet for answers, but no luck.
After much research, apparently it was the ECT sensor.
I cleaned the throttle body as I did this. My thermostat now works fine so far.
There is already a Great write up on how to clean the throttle body, so this is a write up after the removal of the throttle body and air intake.
The tools I used (with a pic of old ECT sensor and New ECT sensor):
For photos of air intake removal with votec resonator go to this Great write up on this forum!
http://www.hummer4x4offroad.com/for...sor-cleaning&highlight=cleaning+throttle+body
1. Disconnect the Battery
2. Disconnect plug at MAF sensor.
3. Loosen 2 clips on the air box lid and the hose clamp on the air outlet hose between air box and resonator.
4. With the air intake out of the way you now have access to the vortec resonator. Loosen and remove the 2 bolts (10mm) that hold the resonator to the valve cover and loosen the hose clamp where the short air outlet duct attaches to the Throttle Body. There us a rubber tubing underneath the vortec resonator. make sure to unplug it from either end to have the vortec resonator removed and out of the way.
5. The Air intake and Vortec resonator should now be out of the way to have room to work with the ECT sensor.
(In this picture the ect sensor is already removed)
6. Separate ect connection from main connection. To remove plastic piece. pull out light grey top plastic piece first. I did this by wiggling outward each corner then inserted a flat head screw driver in center of plastic clip, then whole little thing slid out. This small piece serves as a lock for this other plastic button. Squeeze the center of the plastic end where the small light grey clip came out from. This will allow you to wiggle each connector apart.
If you follow the ect cable you will see that it is in a tight corner. I accessed that tight corner area near the coolant reservoir with a 3/8 drive 9" extention attached to a crows foot wrench (15mm). Turn Counter clock wise to remove the sensor, clockwise to tighten. It only took a small effortless wedge to remove mine.
[On a side note. I had broke off one of the bolts from the throttle body due to too much torque on a weak bolt. so at this point I was careful to get the torque right.]
7. I accessed that tight corner area near the coolant reservoir with a 3/8 drive 9" extention attached to a crows foot wrench (15mm). Turn Counter clock wise to remove the sensor, clockwise to tighten. It only took a small effortless wedge to remove mine.This is me measuring the position of the ect sensors hex position to torque it to it's original hex position.
8.Once loose, Remove the ECT sensor. It can be removed by simply twisting it out with your hands. Once removed a moderate amount of coolant drains.
9. Allow coolant to drain if needed, Install New ECT Sensor. Reconnect in reverse order and add remaining coolant. 1 gallon dex-cool 50/50.
10. Add roughly 1 gallon dex-cool 50/50.
11. Reconnect batery
12. Done!