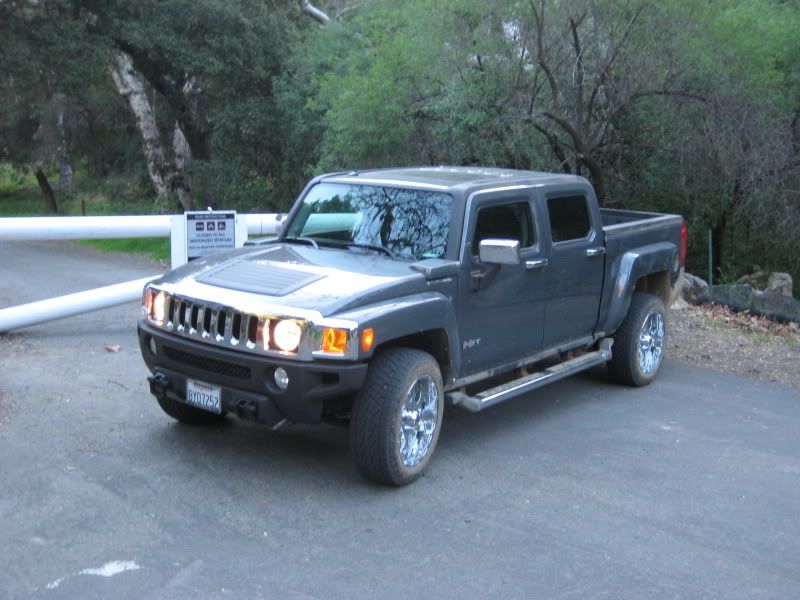
I started with a Boulder Grey Metallic 2009 H3T Alpha Luxury (leather seats, …) with the off-road package (front and rear lockers and 33” wheels), but the dealer had replaces the OEM wheels with 20” chrome wheels and 32” A/T tires.
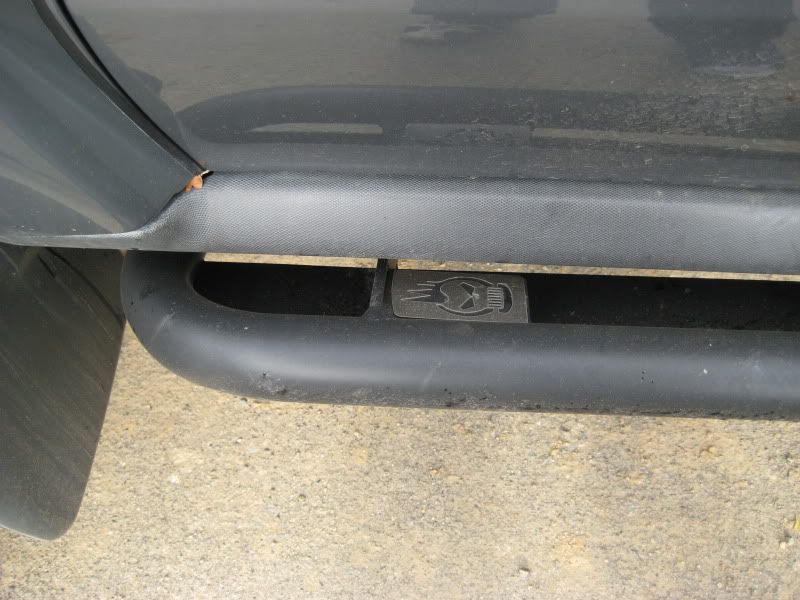
Everybody says I need to "Ditch the nerfs & crank the t-bars!", whatever that means, so I guess I’ll start moding. I had planned to use my 3 day weekend (due to 9/80 work schedule) to install my upgrades before our trip to Nevada, but work got in the way and I spent all 3 days working uncompensated overtime. So I decided to have American Camper Shells do the installs when they installed the SlantBack topper.
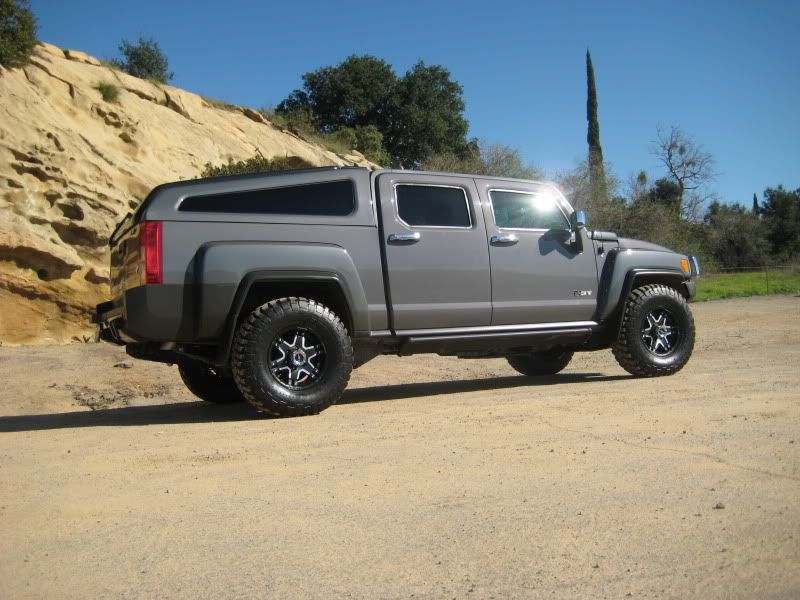
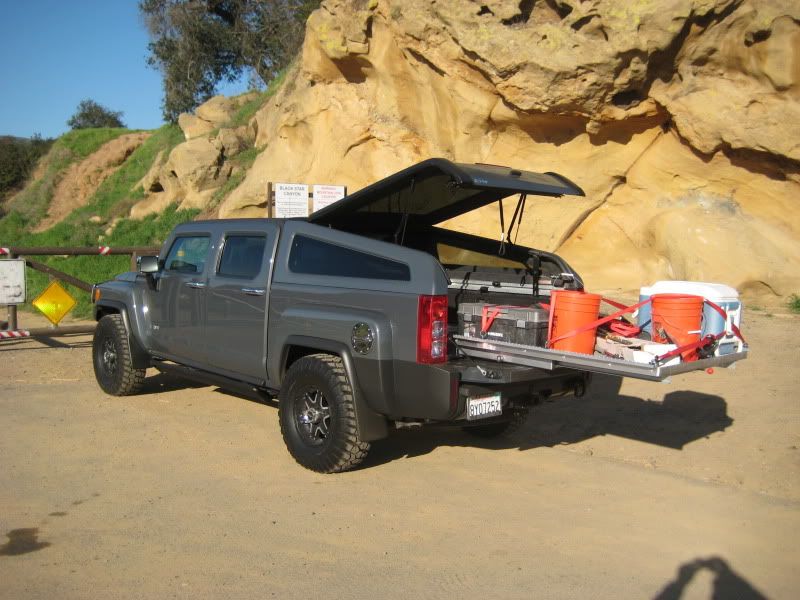
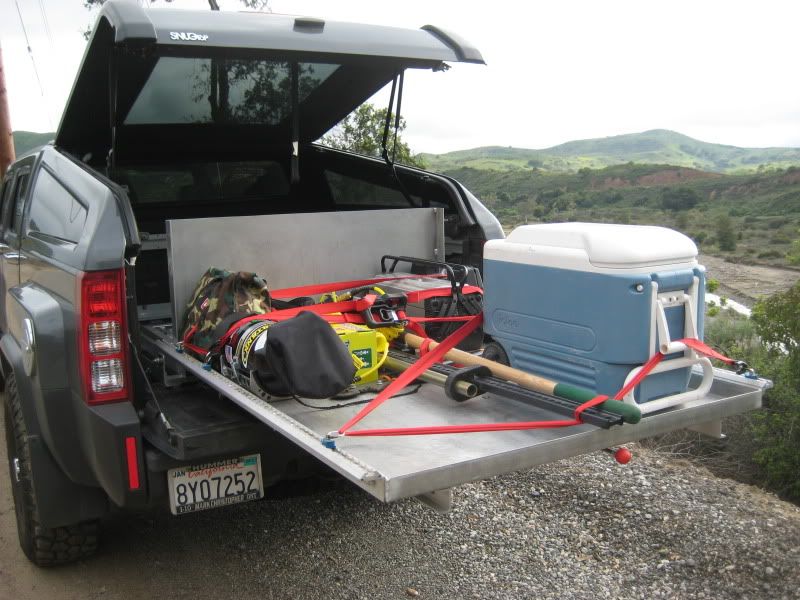
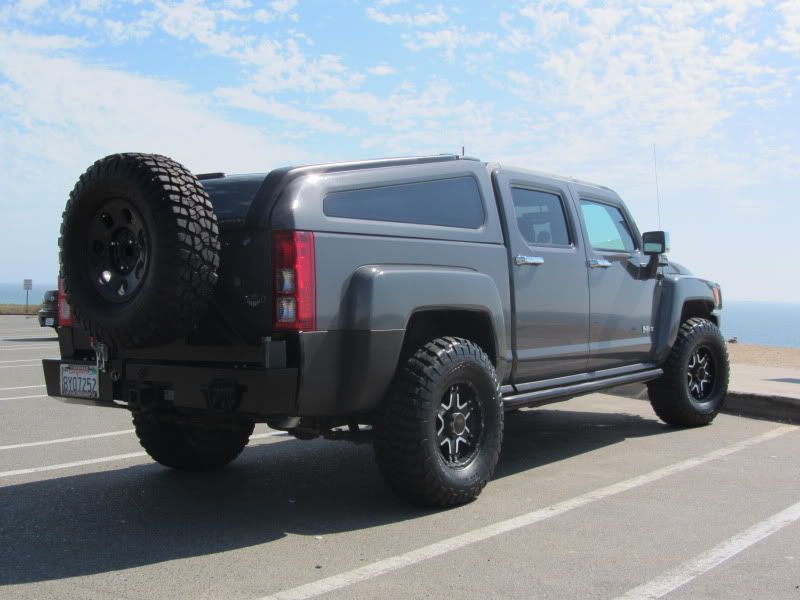
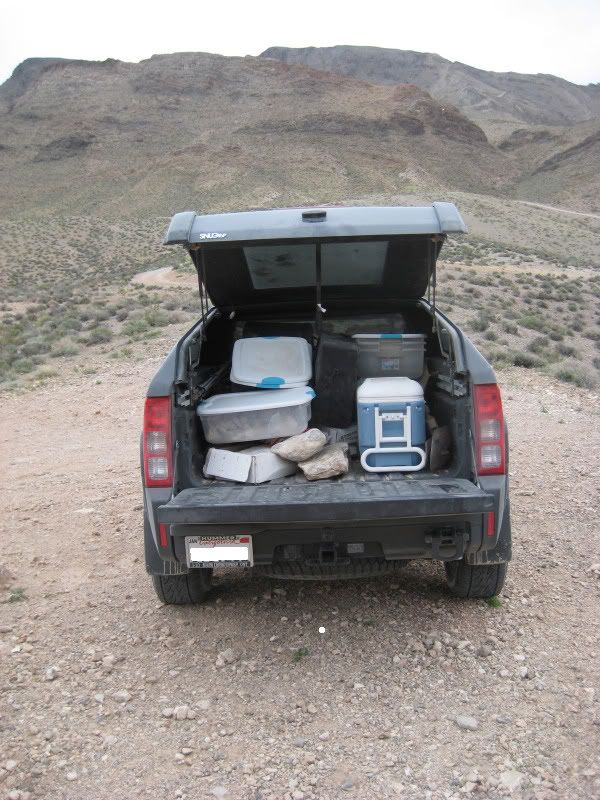
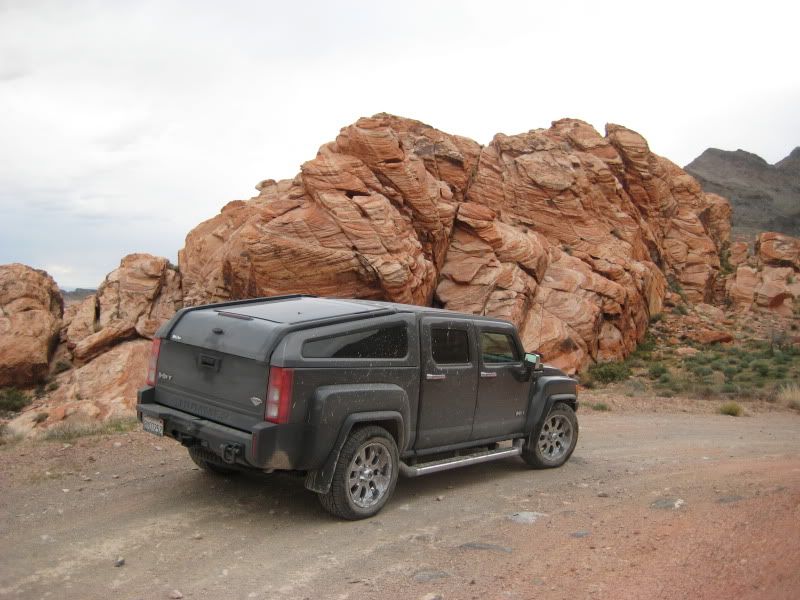
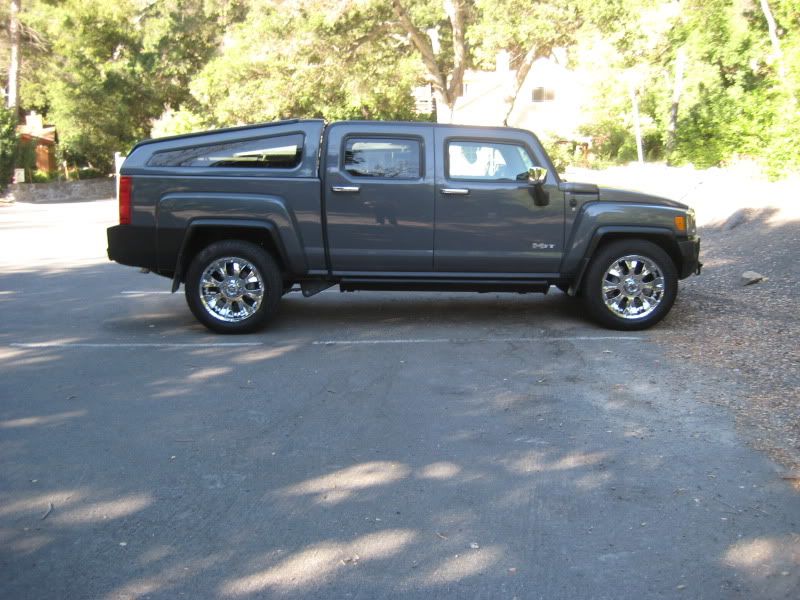
The SlantBack was about a week late based on their 2-3 week ETA because the back window glass was back ordered and I started getting very nervous that it would not arrive in time for the trip. Since I'm going to have thousands of dollars worth of equipment in the back, not being able to lock it up was a major concern. Well it finally showed up so below are some before and after photos.
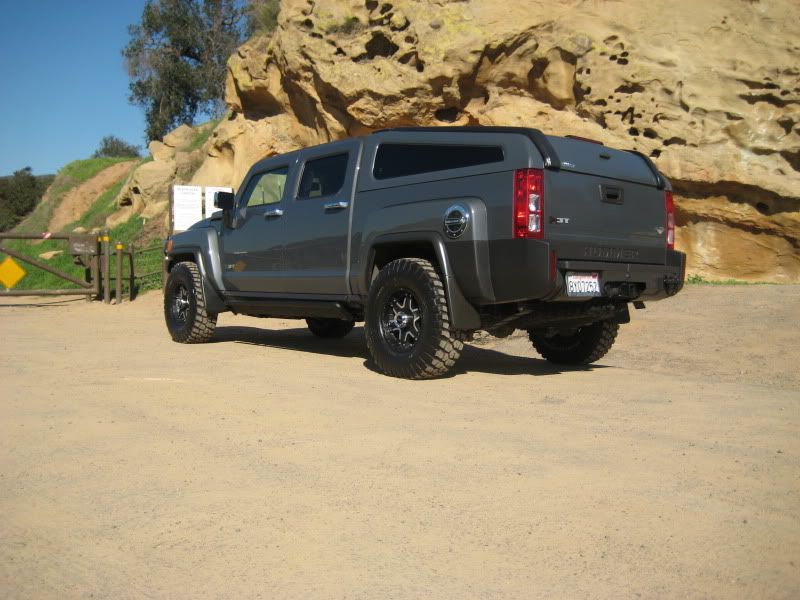
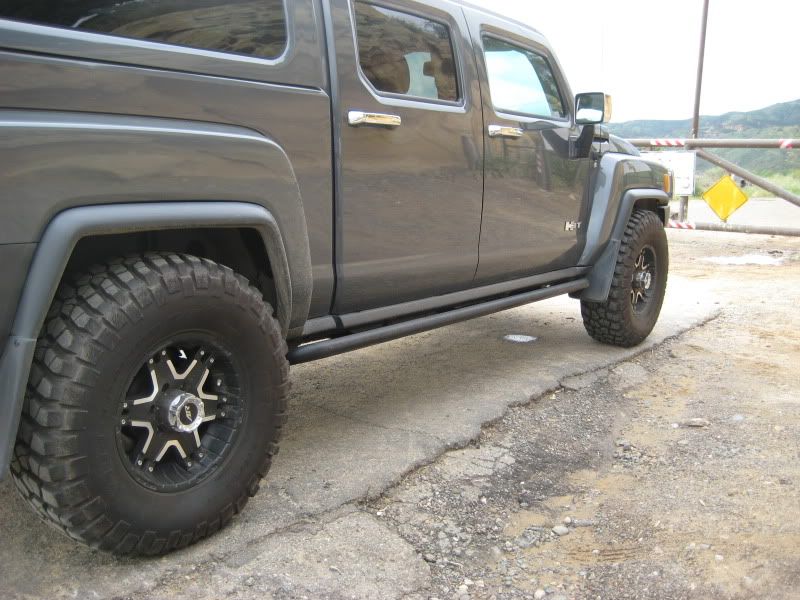
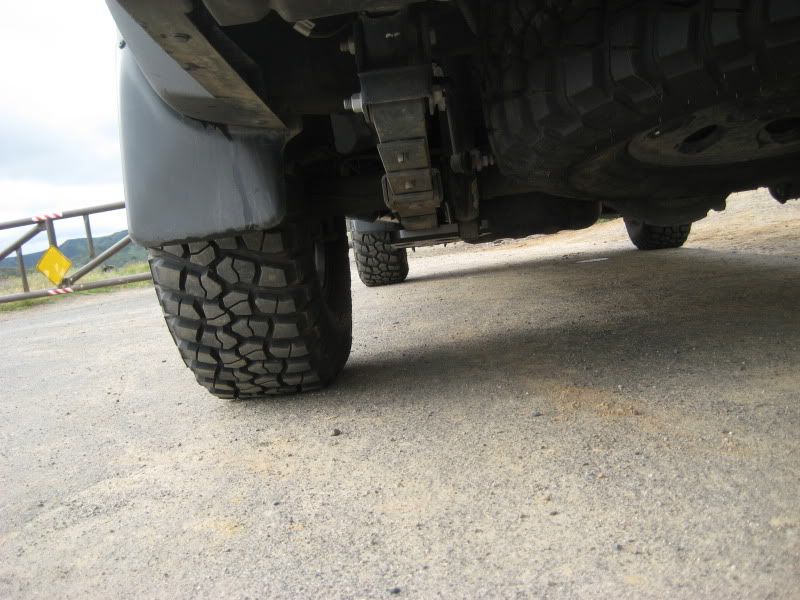
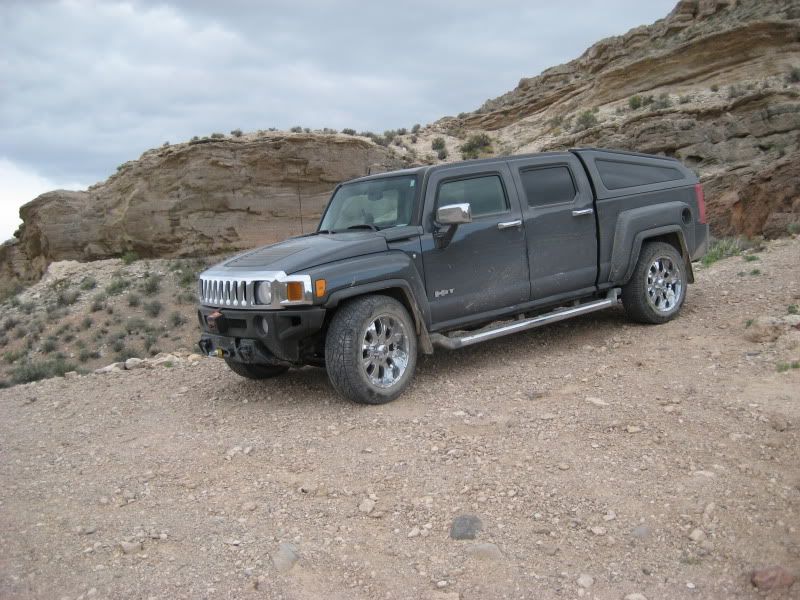
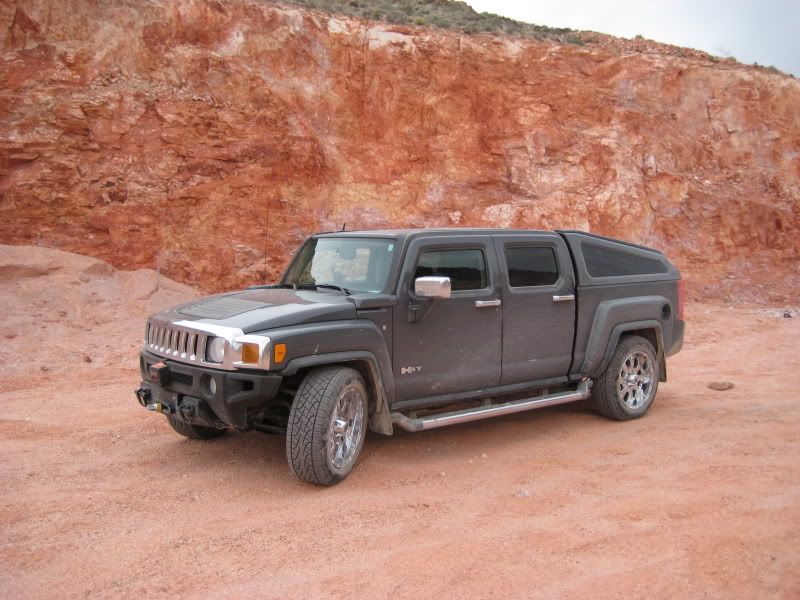
You will also note in these photos that I have the E&G Classic fender flares installed. I wanted the fender flares to cover the tread on the wider than stock tires to cut down on pebble damage on the rear fenders and to make the vehicle legal in California. I liked the look on the fender flares in the photos online, but I think they look even better in person. In my opinion, they give the truck a more finished look.
The boulder grey metallic paint was not my first choice, but one benefit I have noticed is it is close to the color of the plastic bumper parts, so it doesn't have the two tone look of other colors. Also, the paint color is very close to the color of the fender flares.
Here is the left front corner shot before the install.
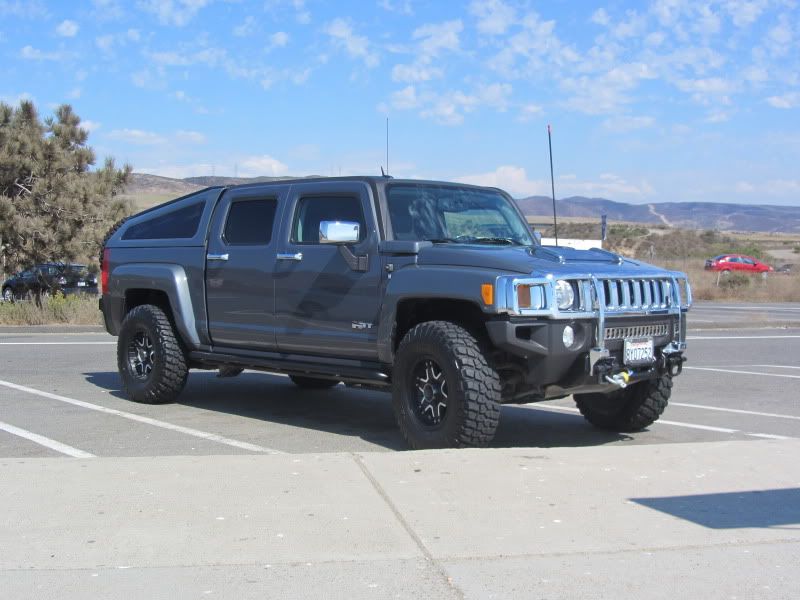
and here it is after

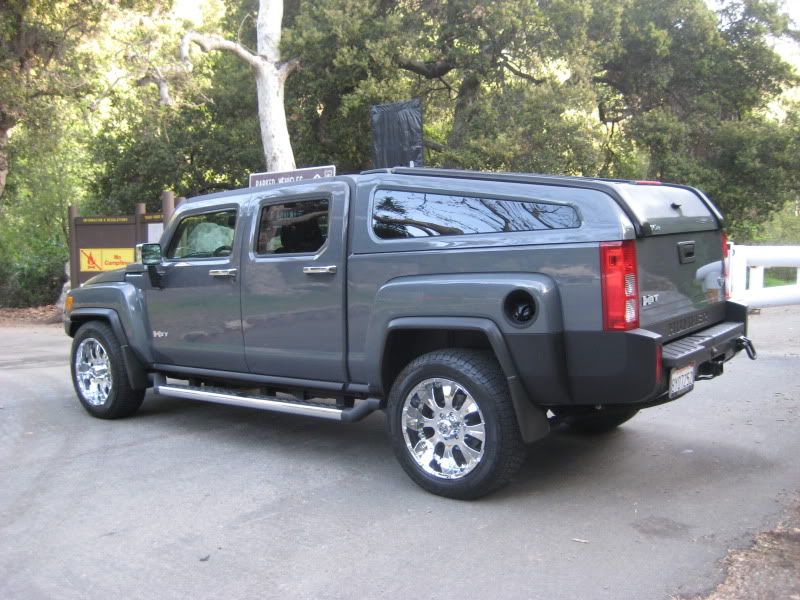
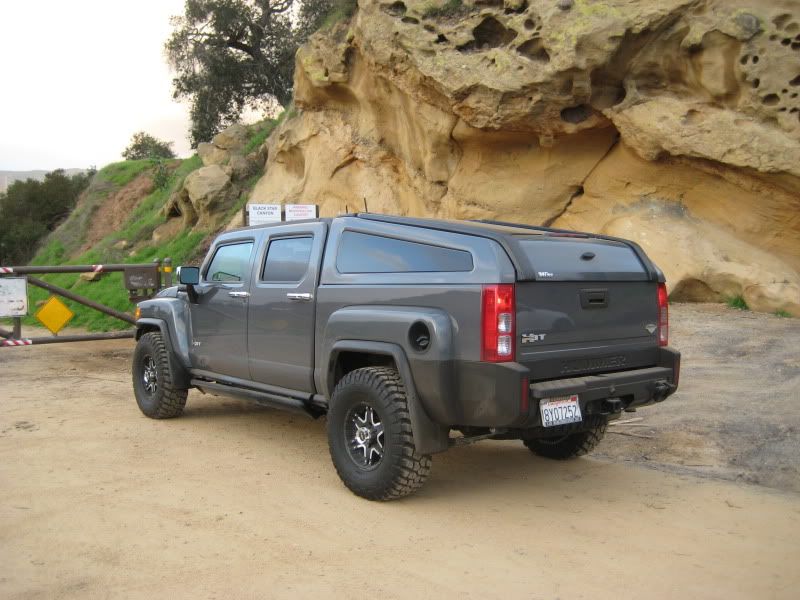
Here is the left rear corner before:
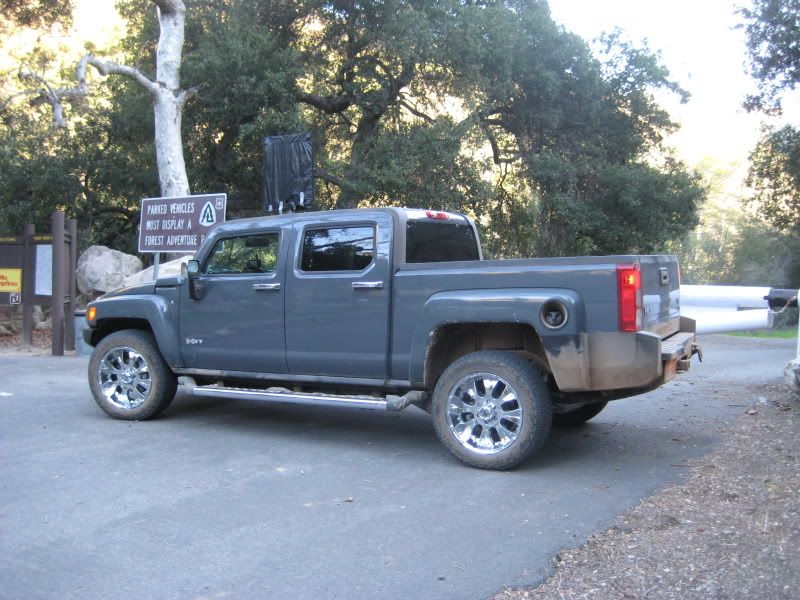
and here it is after
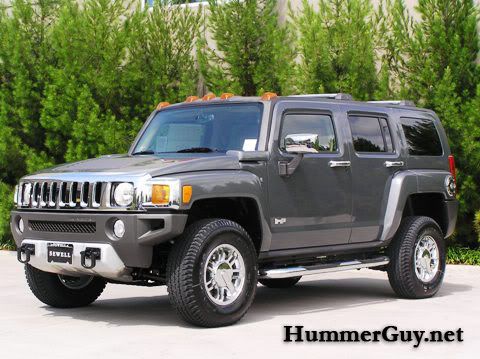
Here is the right front corner before;
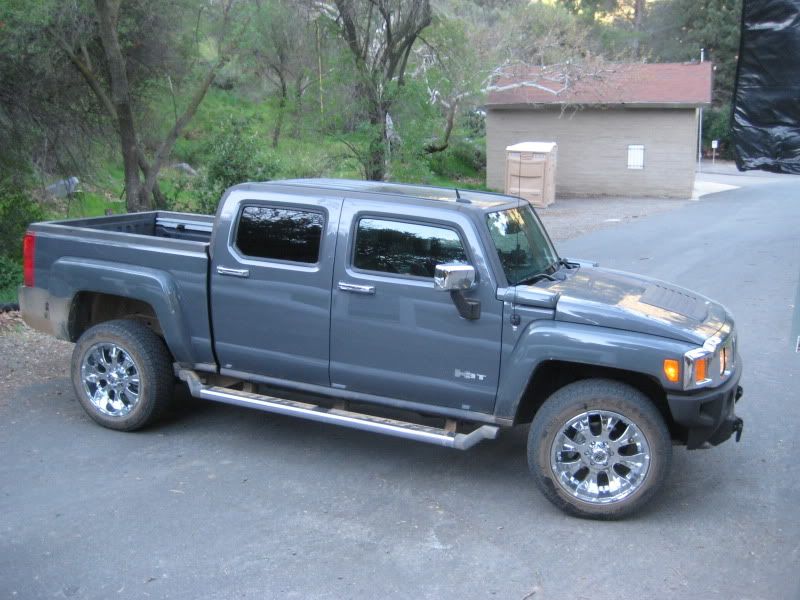
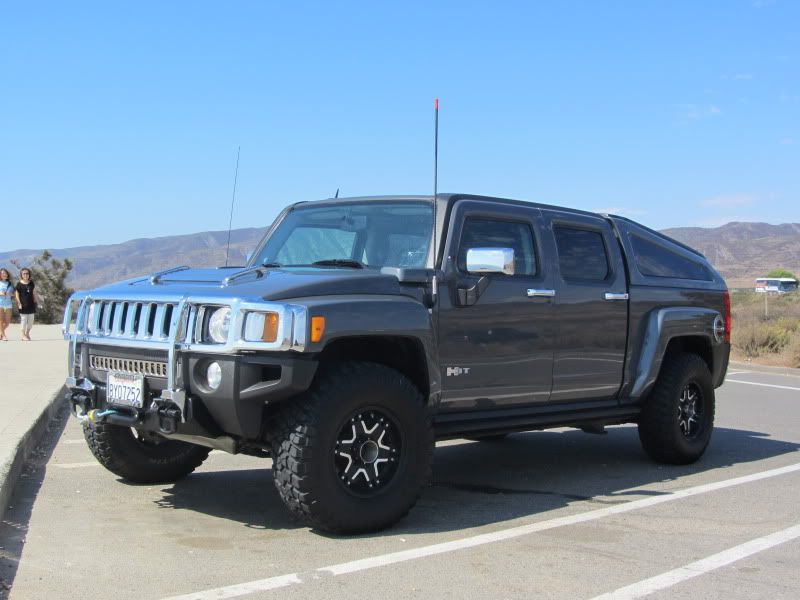
and here it is after
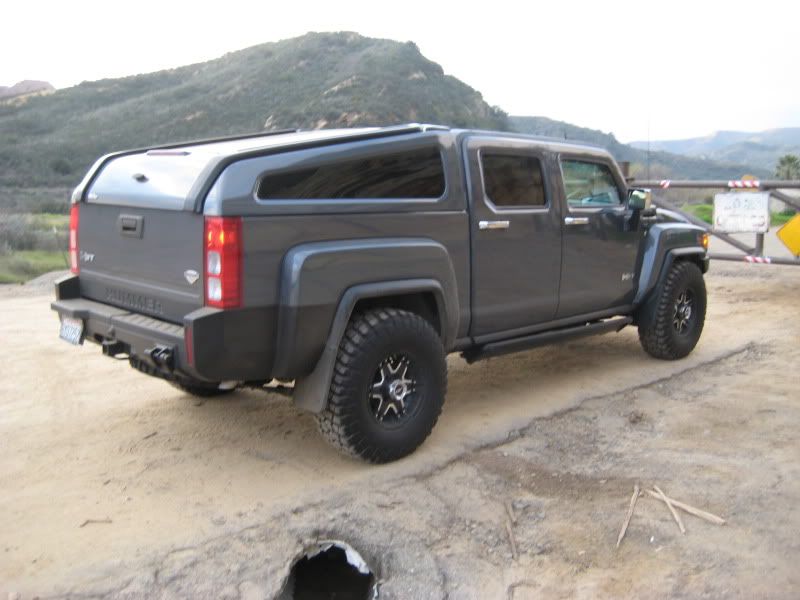
Here is the right rear corner before:
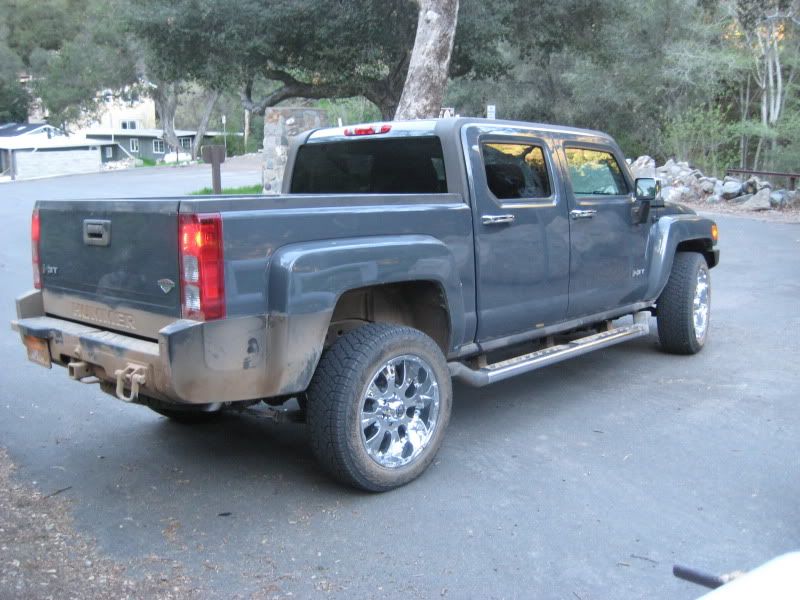
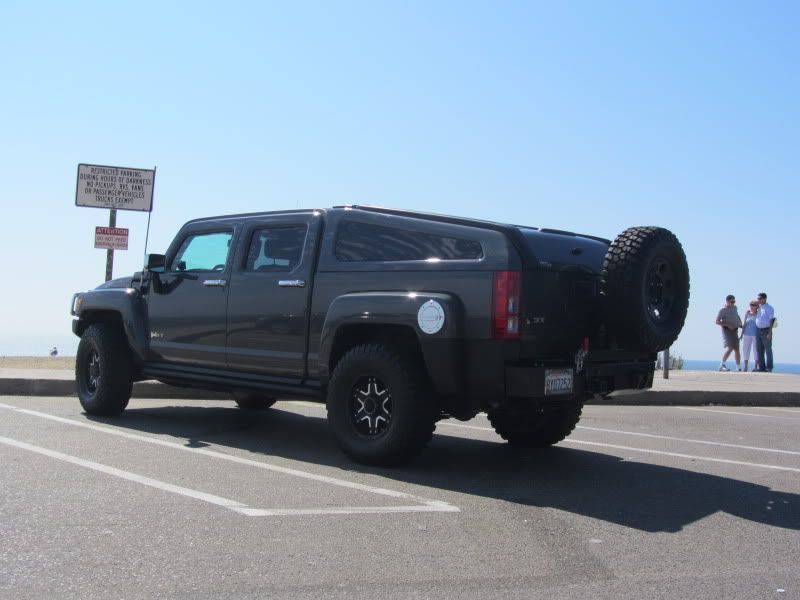
and here it is after:

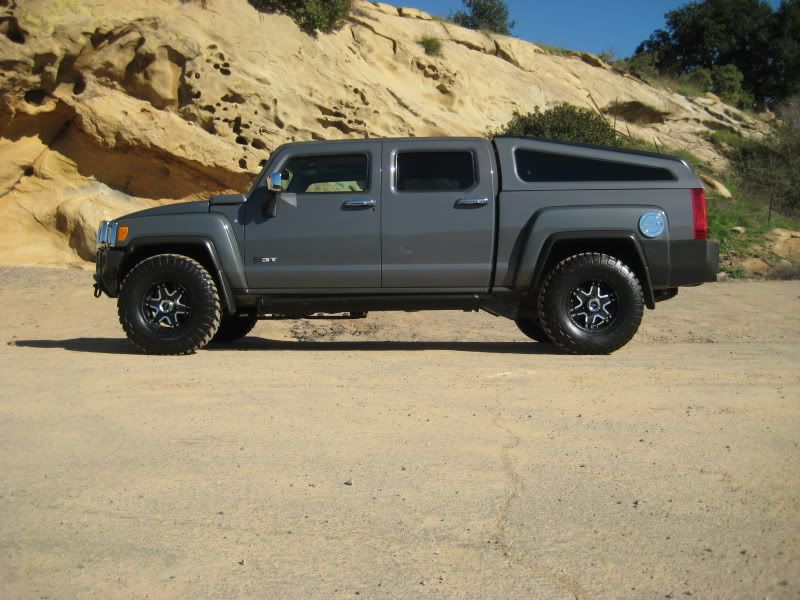
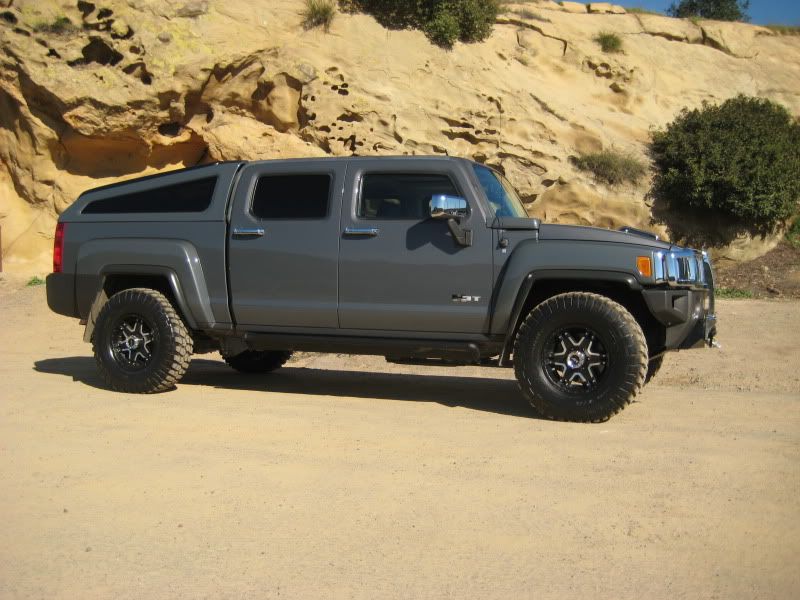
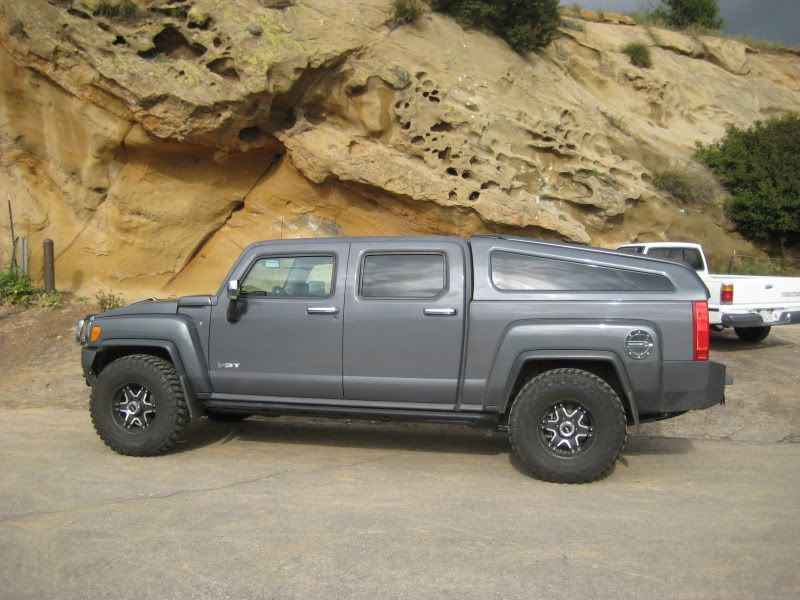
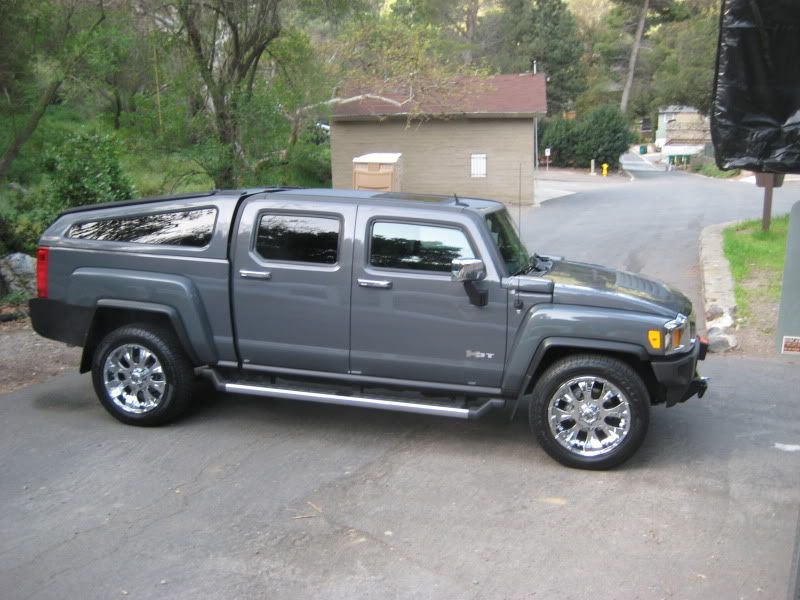
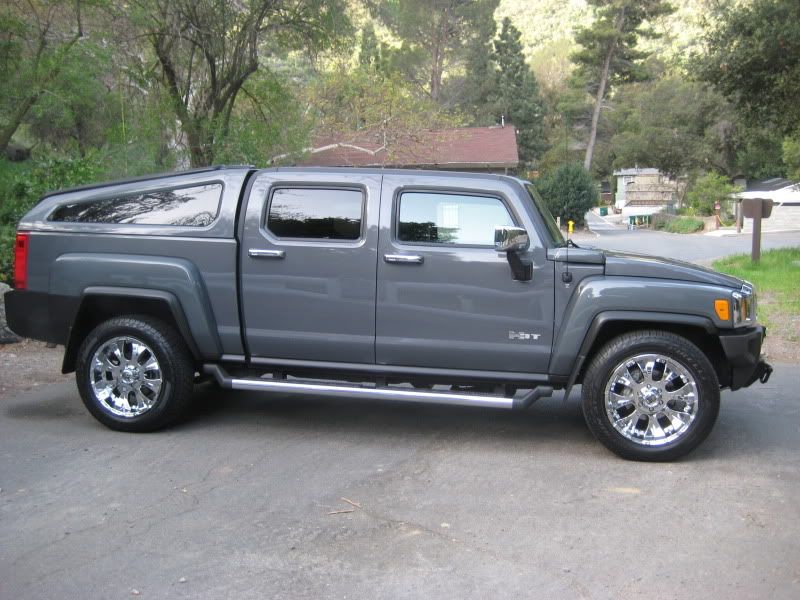
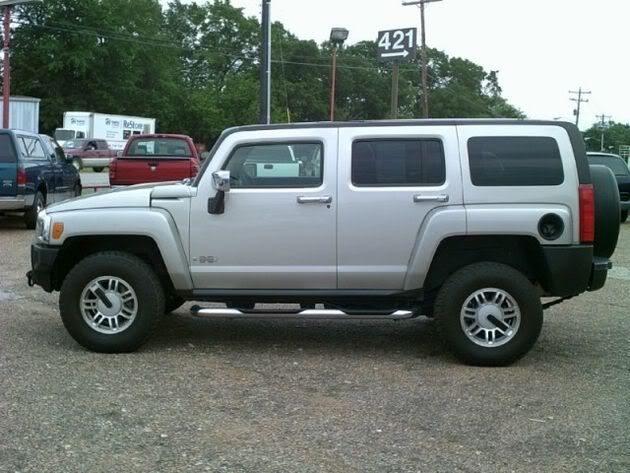
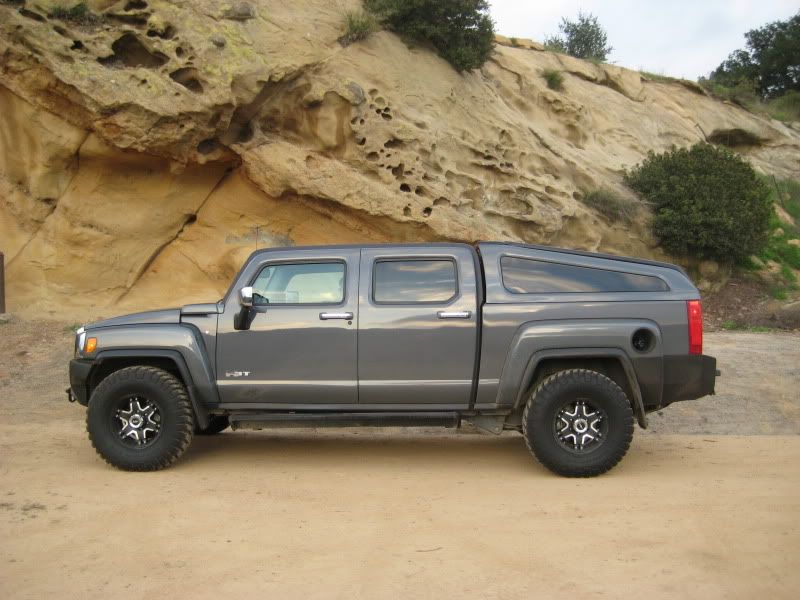
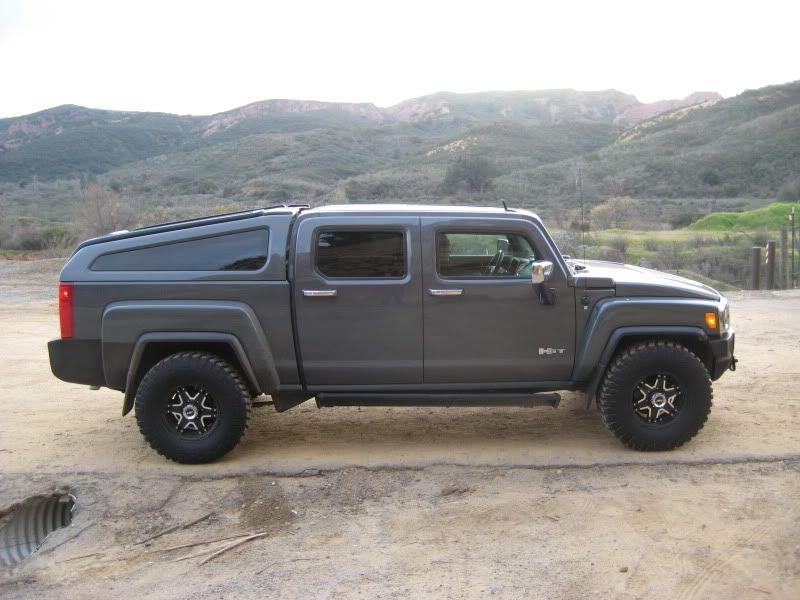
And here is side view after:
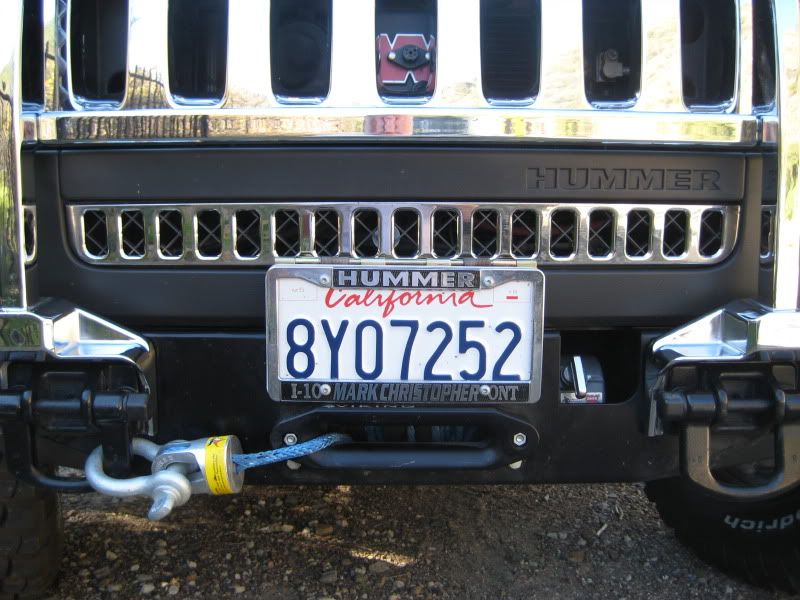
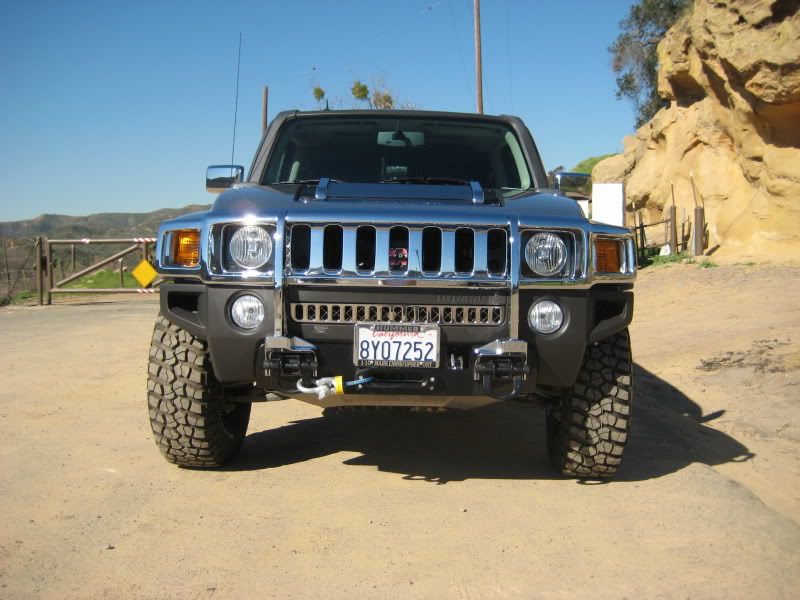
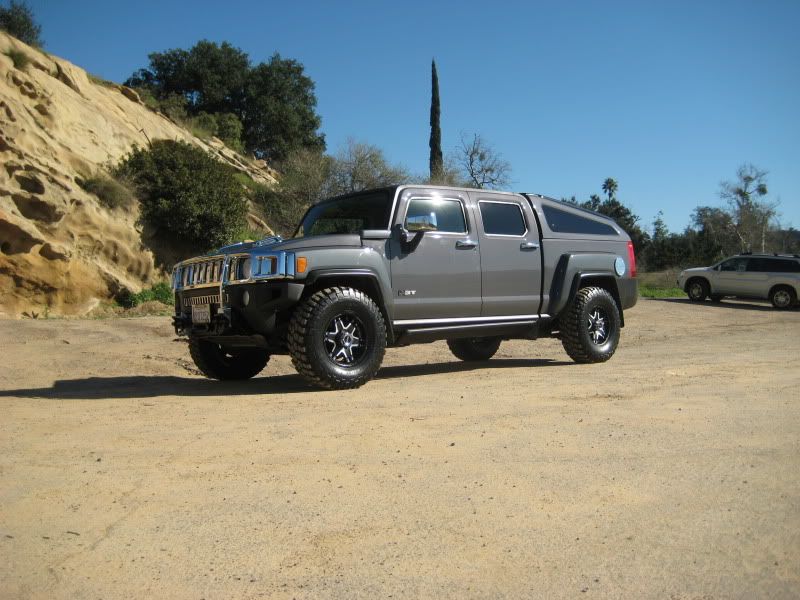
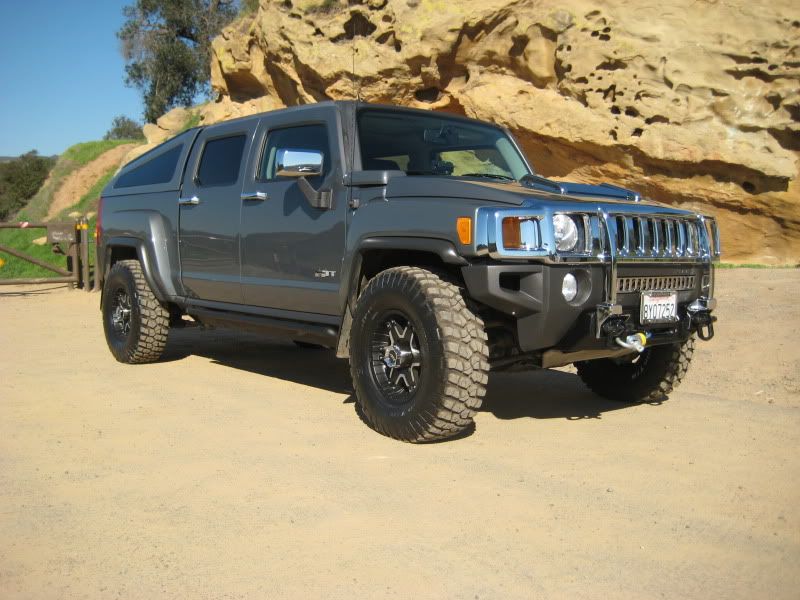
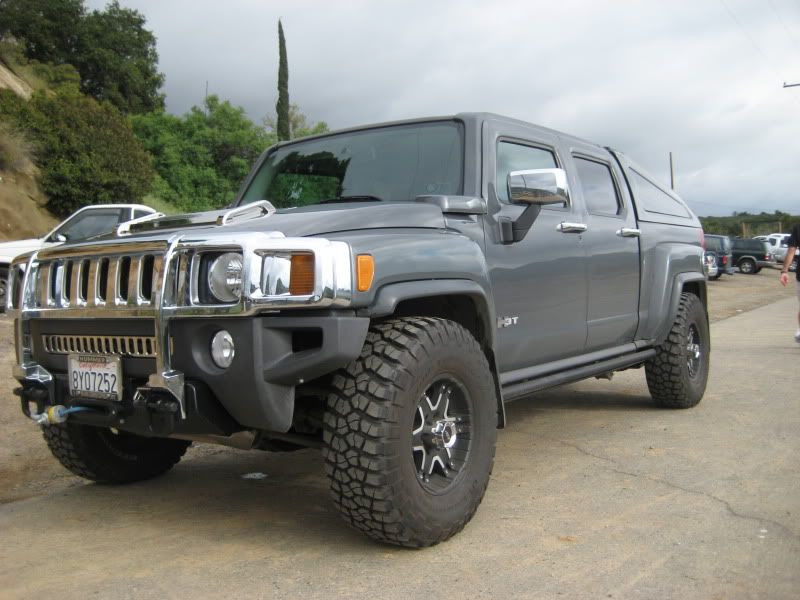
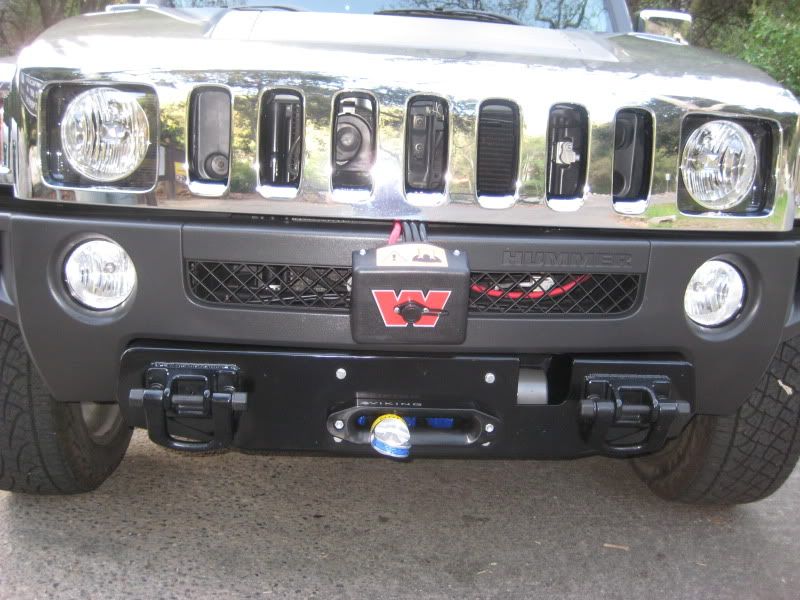
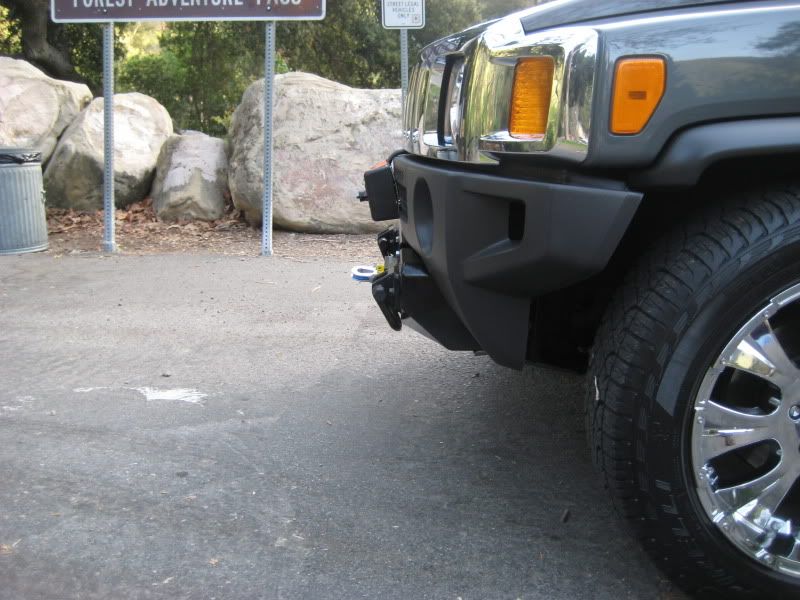
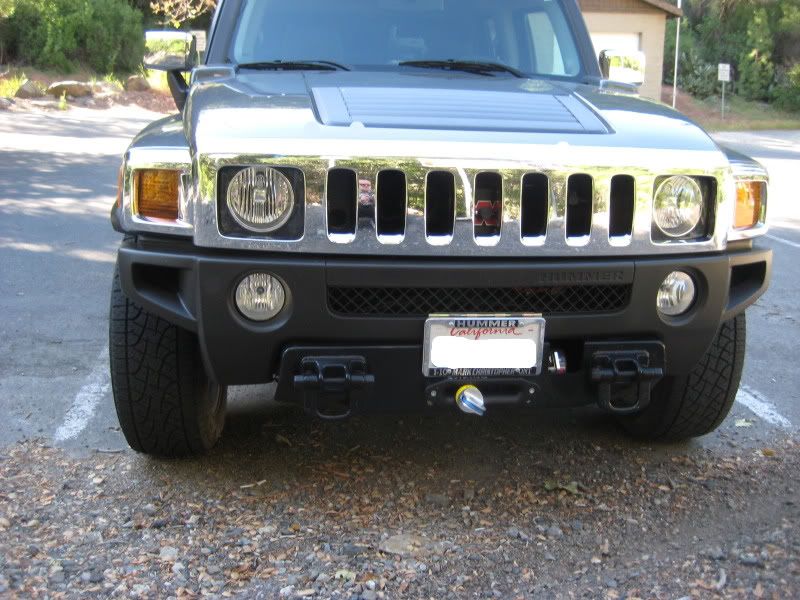
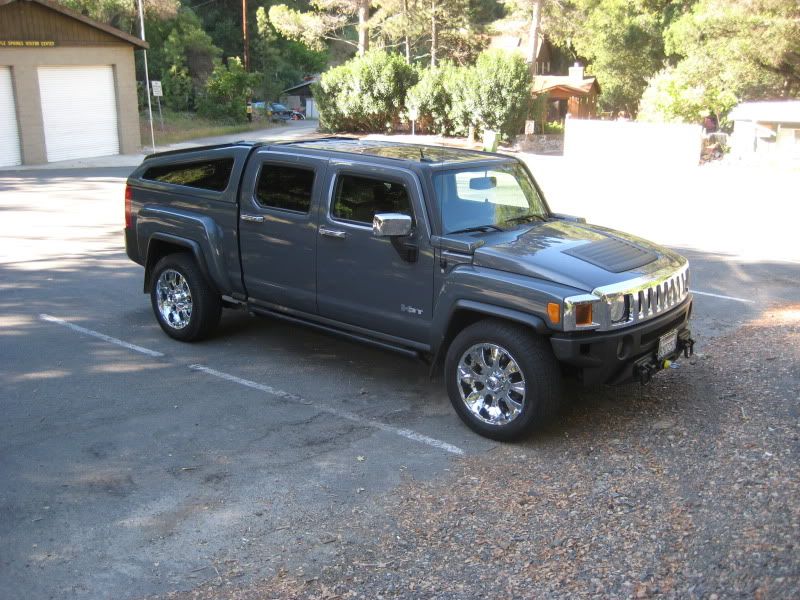
Now the rest of the installation had a minor hitch, but American Camper Shells discounted the installation and when I return from my trip they'll fix it and charge me the balance. I had them install the Defelice Offroad Innovations (DOI) bumper, Warn XD9000 winch and Viking synthetic winch line. Unfortunately, I didn't realize that DOI didn't included hard copy installation instructions, so they follower Warn's instructions and put the solenoid control box right in front instead of behind the grill. Here are pictured of the new DOI bumper and winch.
Front view:
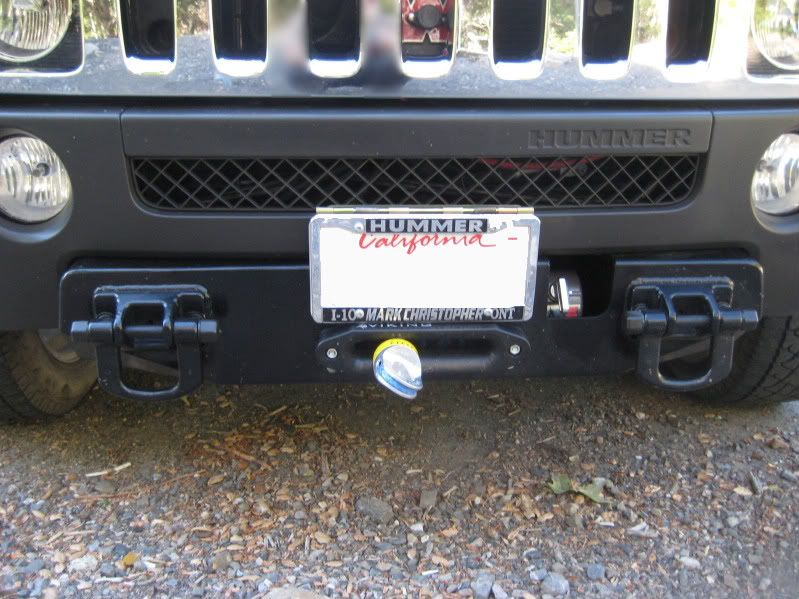
Close-up from the front:
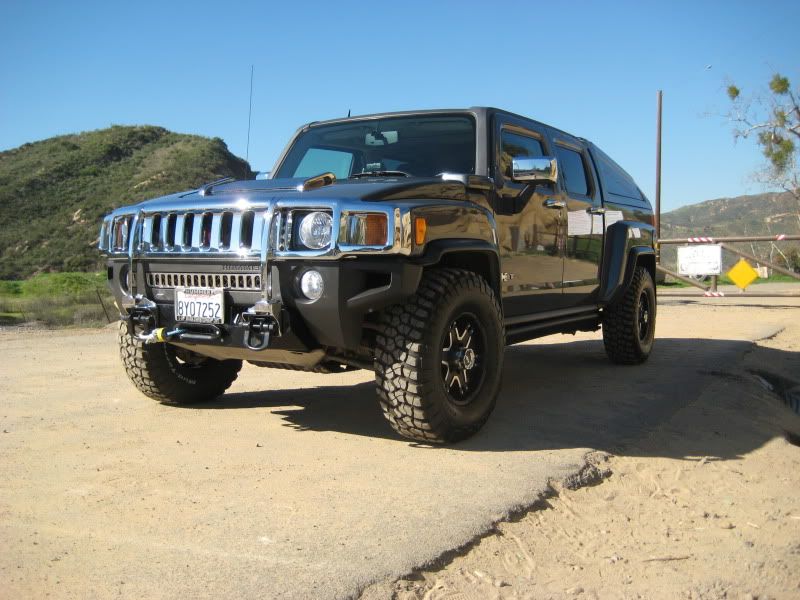
Side view:
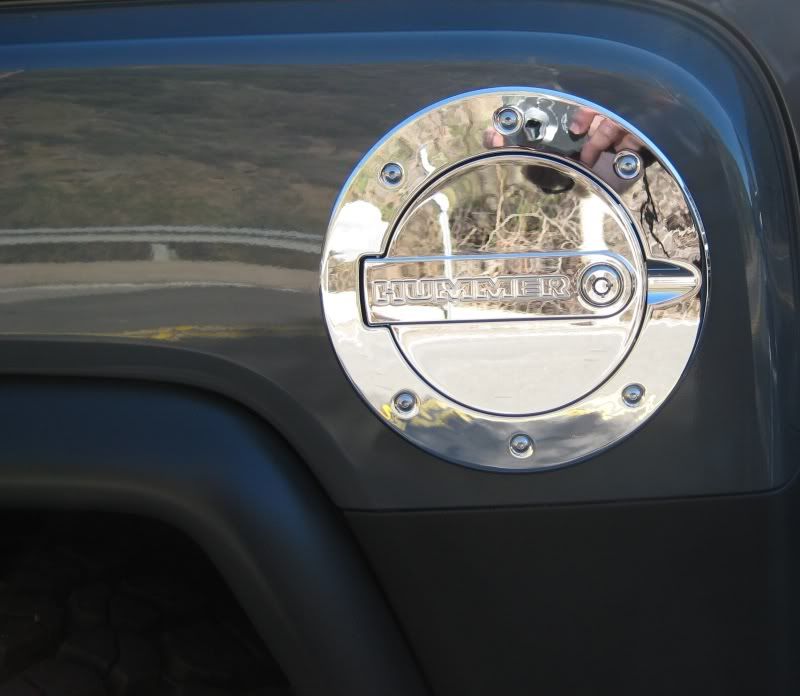
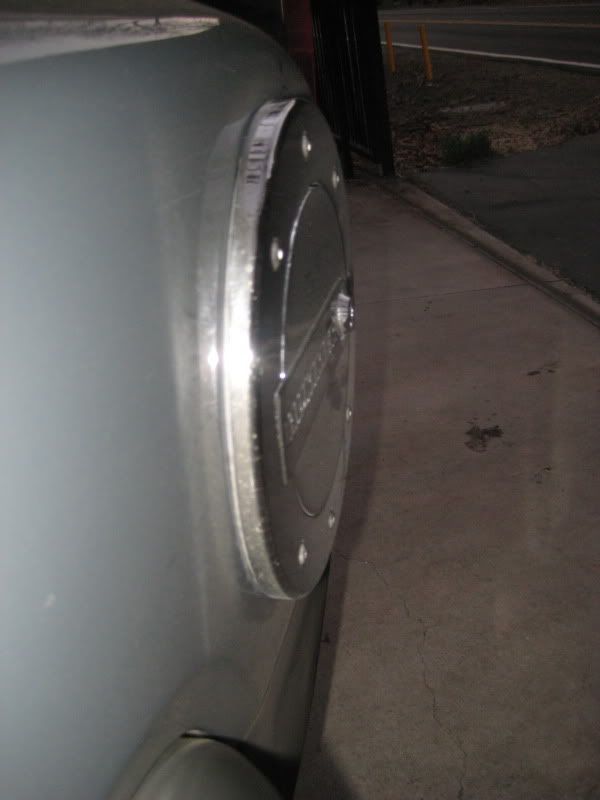
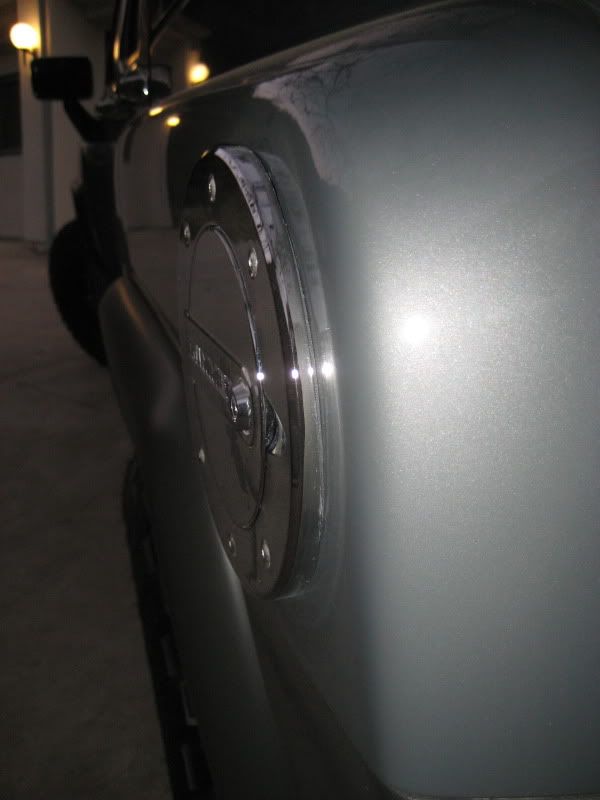
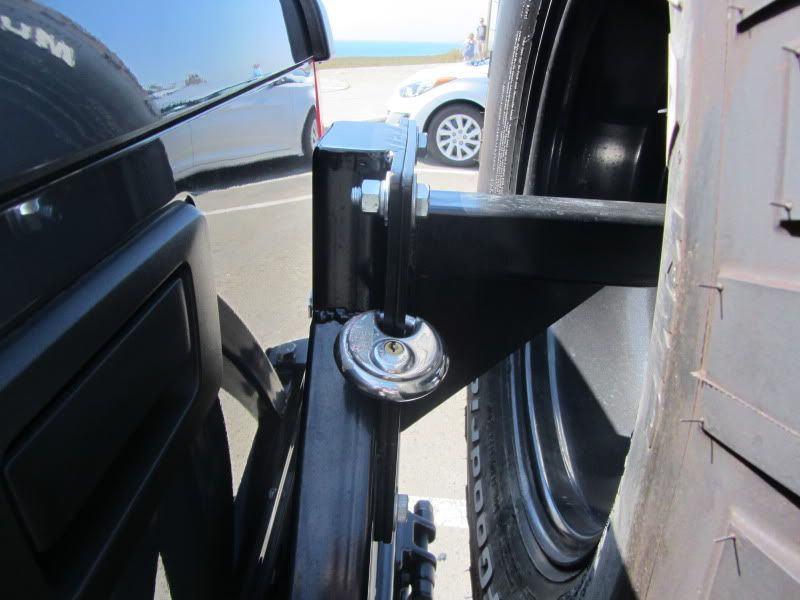
I think my next install is going to be a locking gas cover. I was thinking of getting black, but then I looked at my truck and I realized I have a fair amount of chrome, although that was never my intent. At this point I think it would look better to just go with the chrome locking gas cover.
We are leaving for Nevada in the morning and we'll be gone a week, so if I reply right away it means I having too much fun or I can't get internet access. We do plan to visit some remote places.
By the way, what does it mean to "Ditch the nerfs & crank the t-bars!"?
Everybody says I need to "Ditch the nerfs & crank the t-bars!", whatever that means, so I guess I’ll start moding. I had planned to use my 3 day weekend (due to 9/80 work schedule) to install my upgrades before our trip to Nevada, but work got in the way and I spent all 3 days working uncompensated overtime. So I decided to have American Camper Shells do the installs when they installed the SlantBack topper.
The SlantBack was about a week late based on their 2-3 week ETA because the back window glass was back ordered and I started getting very nervous that it would not arrive in time for the trip. Since I'm going to have thousands of dollars worth of equipment in the back, not being able to lock it up was a major concern. Well it finally showed up so below are some before and after photos.
You will also note in these photos that I have the E&G Classic fender flares installed. I wanted the fender flares to cover the tread on the wider than stock tires to cut down on pebble damage on the rear fenders and to make the vehicle legal in California. I liked the look on the fender flares in the photos online, but I think they look even better in person. In my opinion, they give the truck a more finished look.
The boulder grey metallic paint was not my first choice, but one benefit I have noticed is it is close to the color of the plastic bumper parts, so it doesn't have the two tone look of other colors. Also, the paint color is very close to the color of the fender flares.
Here is the left front corner shot before the install.
and here it is after
Here is the left rear corner before:
and here it is after
Here is the right front corner before;
and here it is after
Here is the right rear corner before:
and here it is after:
And here is side view after:
Now the rest of the installation had a minor hitch, but American Camper Shells discounted the installation and when I return from my trip they'll fix it and charge me the balance. I had them install the Defelice Offroad Innovations (DOI) bumper, Warn XD9000 winch and Viking synthetic winch line. Unfortunately, I didn't realize that DOI didn't included hard copy installation instructions, so they follower Warn's instructions and put the solenoid control box right in front instead of behind the grill. Here are pictured of the new DOI bumper and winch.
Front view:
Close-up from the front:
Side view:
I think my next install is going to be a locking gas cover. I was thinking of getting black, but then I looked at my truck and I realized I have a fair amount of chrome, although that was never my intent. At this point I think it would look better to just go with the chrome locking gas cover.
We are leaving for Nevada in the morning and we'll be gone a week, so if I reply right away it means I having too much fun or I can't get internet access. We do plan to visit some remote places.
By the way, what does it mean to "Ditch the nerfs & crank the t-bars!"?

![URL]](http://[URL]http://i778.photobucket.com/albums/yy69/portager/HummerH3T100405021.jpg[/URL])

![URL]](http://[URL]http://i778.photobucket.com/albums/yy69/portager/IMG_6196.jpg[/URL])