• Welcome to H4O! For a reduced ad experience, please login or register with the forum.

LoJac963's H2 Build Thread

LoJac963

Well-Known Member
Messages
491
Location
Surprise, AZ
I have those same mats in my 3. Great fit, hold up well to wear/tear, catch EVERYTHING and they clean up really nice. Looking good!
I was hoping not to use the retainer for the driver side but it does slide a bit. Thinking about some of the rug mat to hold it in place. I really don't want to punch a hole in my stock carpet.
Nice looking 2!
Thanks, I appreciate it!
 

LoJac963

Well-Known Member
Messages
491
Location
Surprise, AZ
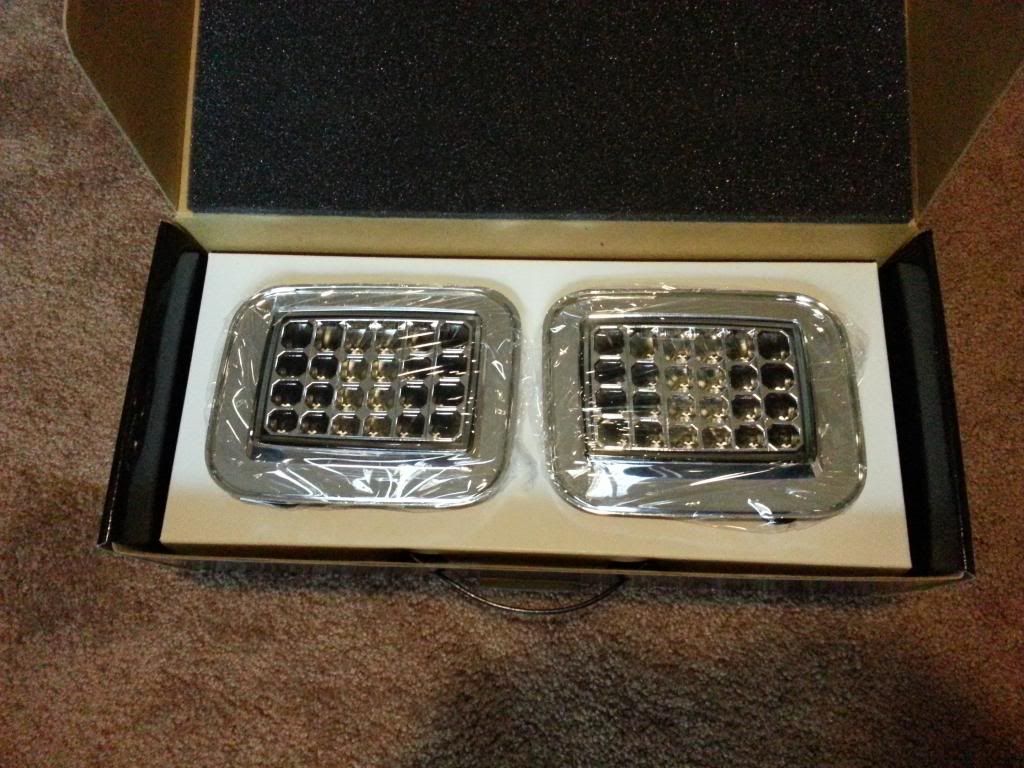
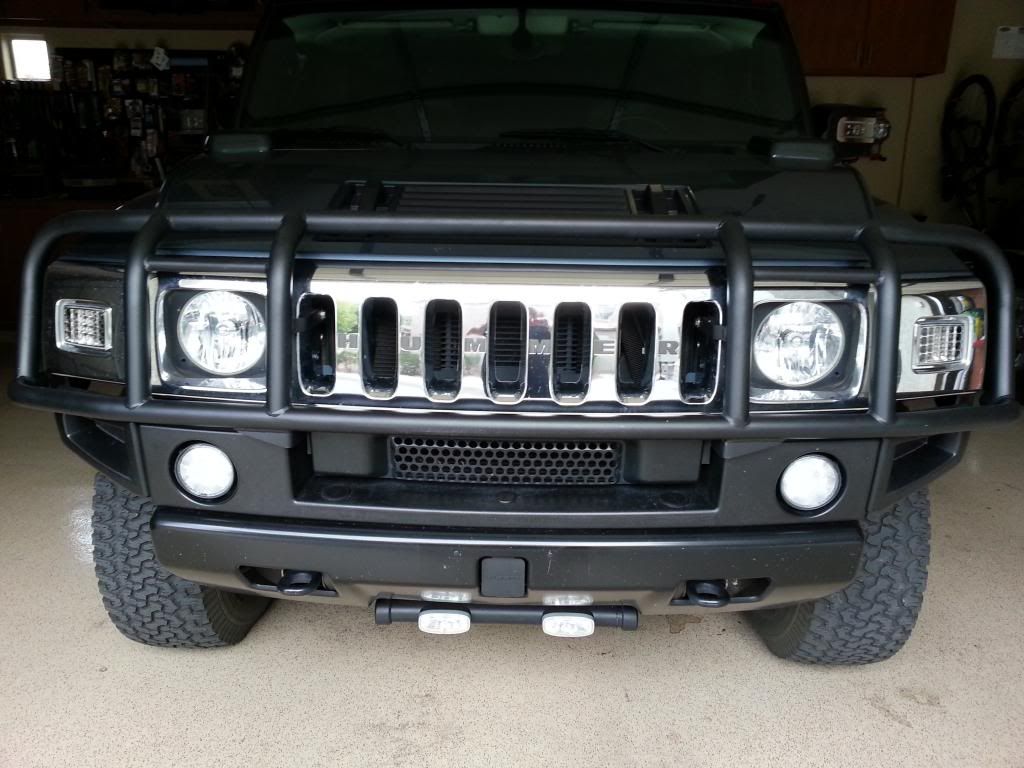
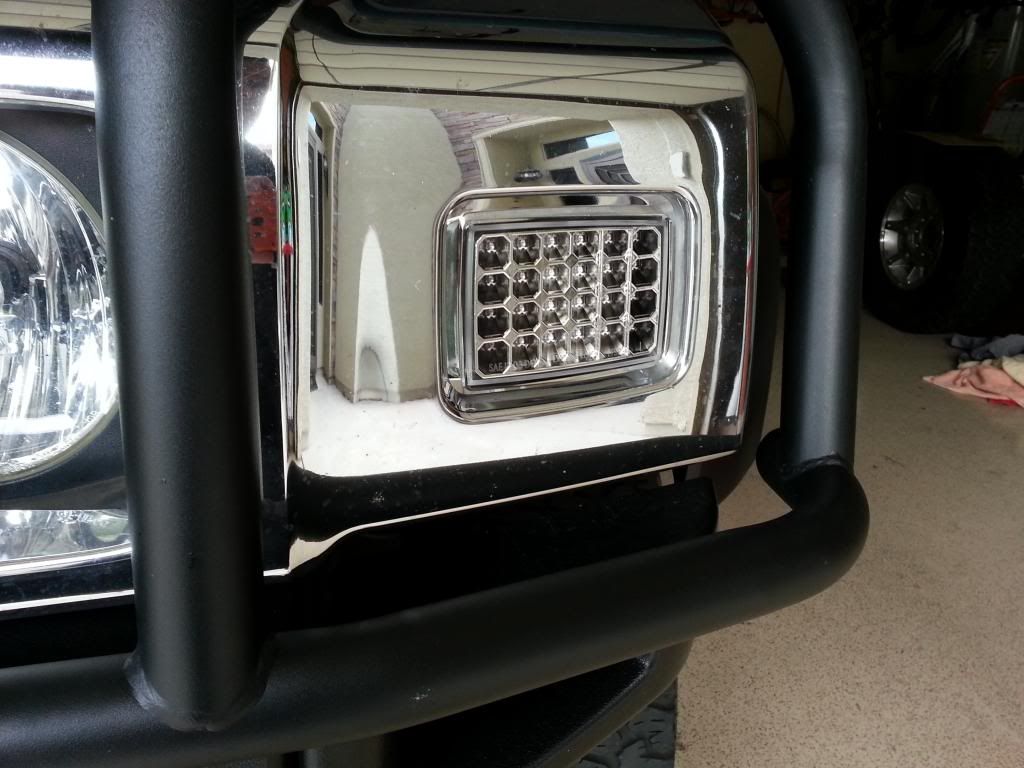
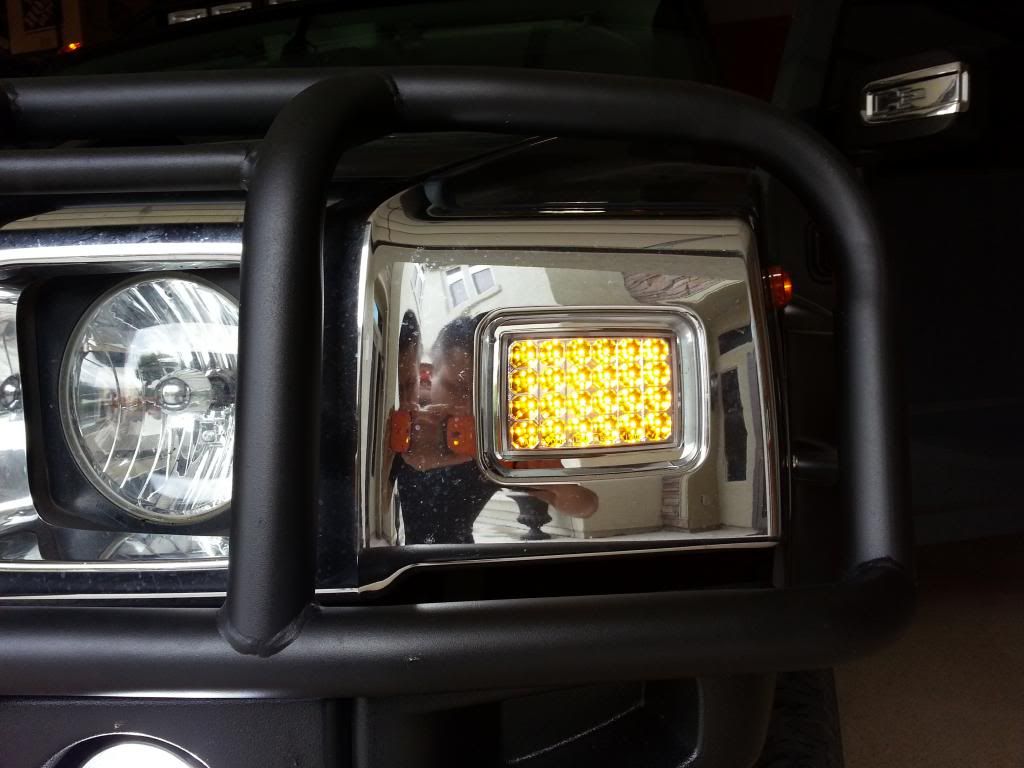
Here's the latest. I met FYR and installed some LED's in his DRL's. He was showing me around his rig and he had the IPCW clear corner LED's. I've never like clear lens anything but the way these blend into the chrome grill really make them look great. Not to mention how bright they are. Got back home from his place and put my order in.

They arrived yesterday. I thought they just popped in from the back but I ended up having to remove my brushguard and grill but it was well worth it. Enough talking, onto the pics!

Boxed:
20131119_153416.jpg


Installed:
20131120_151605.jpg


20131120_151620.jpg


Parking lights on, they are much brighter when the blinker is on and look hands down awesome at night!

20131120_151647.jpg


Now maybe I can get some of my other pending projects done......
 

autumn walker

Well-Known Member
Messages
707
Location
Nova Scotia, Canada
This is an excellent build - can you post details / pics for your various LED installs? I will have to tackle my steering wheel controls soon and have thought about doing the LED upgrade vs. switch swap.

I like the way the rest of the truck looks with LED too!
 

LoJac963

Well-Known Member
Messages
491
Location
Surprise, AZ
This is an excellent build - can you post details / pics for your various LED installs? I will have to tackle my steering wheel controls soon and have thought about doing the LED upgrade vs. switch swap. I like the way the rest of the truck looks with LED too!
Thanks, I appreciate it. I didn't take too many pics of the LED interior install of all the buttons and controls. Annoys me because so many people have asked. I don't know why I didn't. However I can easily walk you through doing the steering wheel controls. Those were the easiest of all the LED's. The most annoying was the radio as the rheostats for the volume and tuner had to be desoldered to reach the LED inside the knob....
 

autumn walker

Well-Known Member
Messages
707
Location
Nova Scotia, Canada
Thanks, I appreciate it. I didn't take too many pics of the LED interior install of all the buttons and controls. Annoys me because so many people have asked. I don't know why I didn't. However I can easily walk you through doing the steering wheel controls. Those were the easiest of all the LED's. The most annoying was the radio as the rheostats for the volume and tuner had to be desoldered to reach the LED inside the knob....

If you could do writeups for each location that would be awesome - I replaced my stock radio so I don't have to worry about that one ;)
 

n0useforaname

Well-Known Member
Messages
112
Location
PA
Great build! I'm getting ready to tackle the LED interior swap once again... I did a complete red setup in my Dmax and it took me like 2 weeks. Now that I know what I'm doing it will go faster, but it's such a PITA. Gonna go with red again, because it's amazing on the eyes at night.
 

n0useforaname

Well-Known Member
Messages
112
Location
PA
Where did you get the carbon fiber kit and how much? Does it cover the center console and rear air and radio controls as well?
You'll be much better off just having your stuff dipped.. Those kits now-a-days are like 1,300.00. And taking that stuff off is super easy.
 

LoJac963

Well-Known Member
Messages
491
Location
Surprise, AZ
Yeah that is the GM kit that used to sell on Ebay for a few hundred bucks. They stock has long since dried up though. A water transfer company like nouse mentioned would be much much cheaper!
 

LoJac963

Well-Known Member
Messages
491
Location
Surprise, AZ
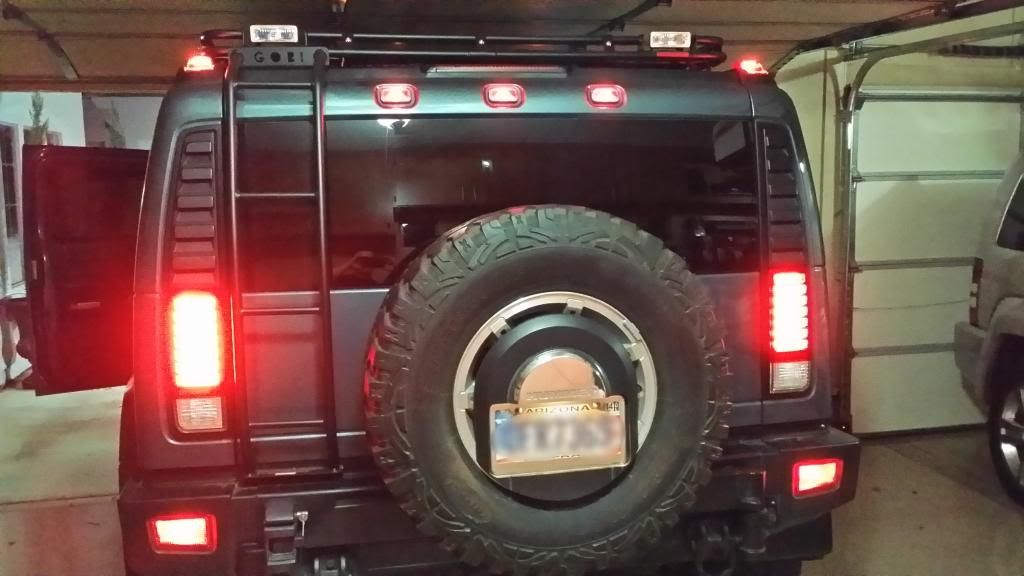
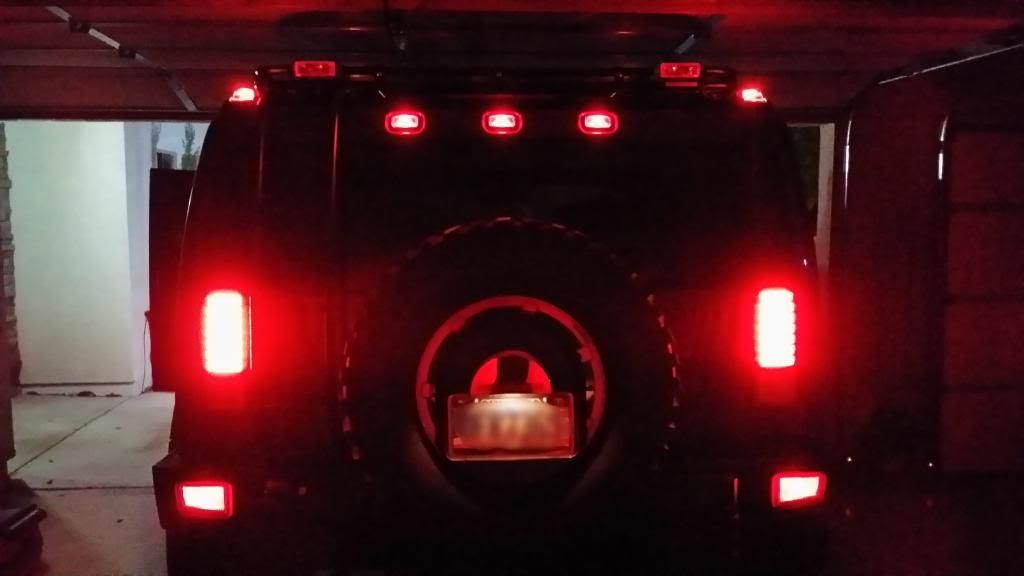
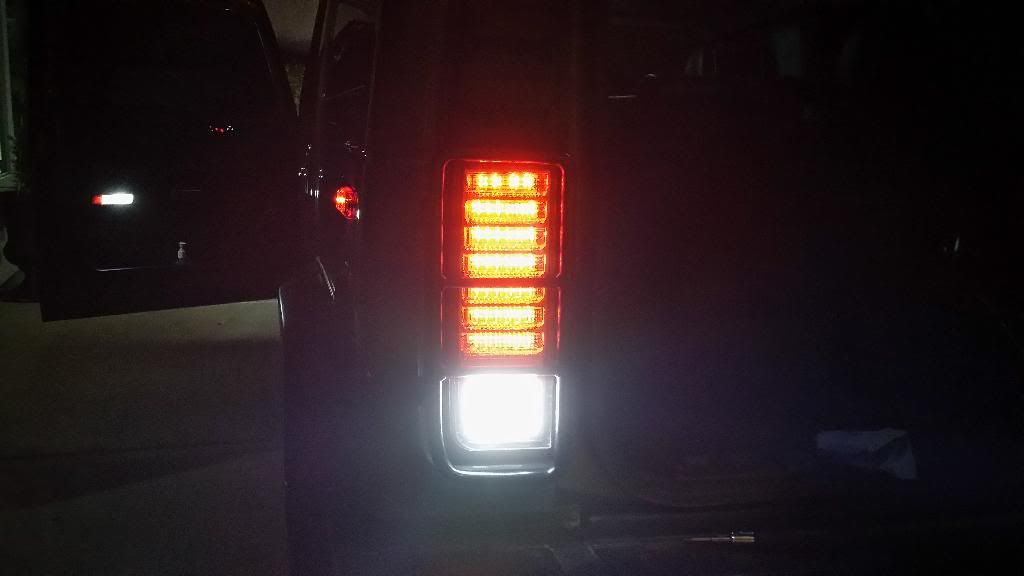
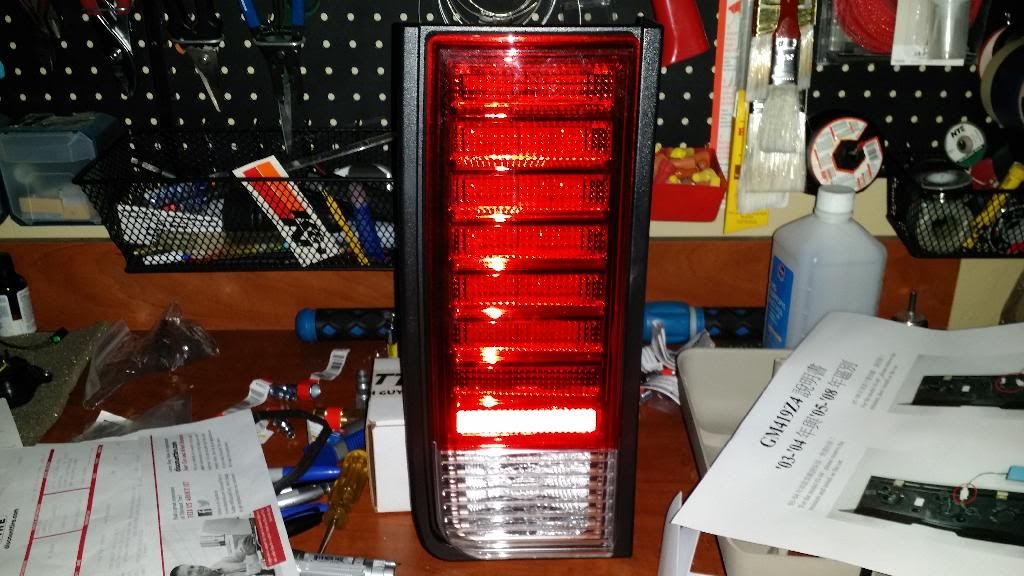
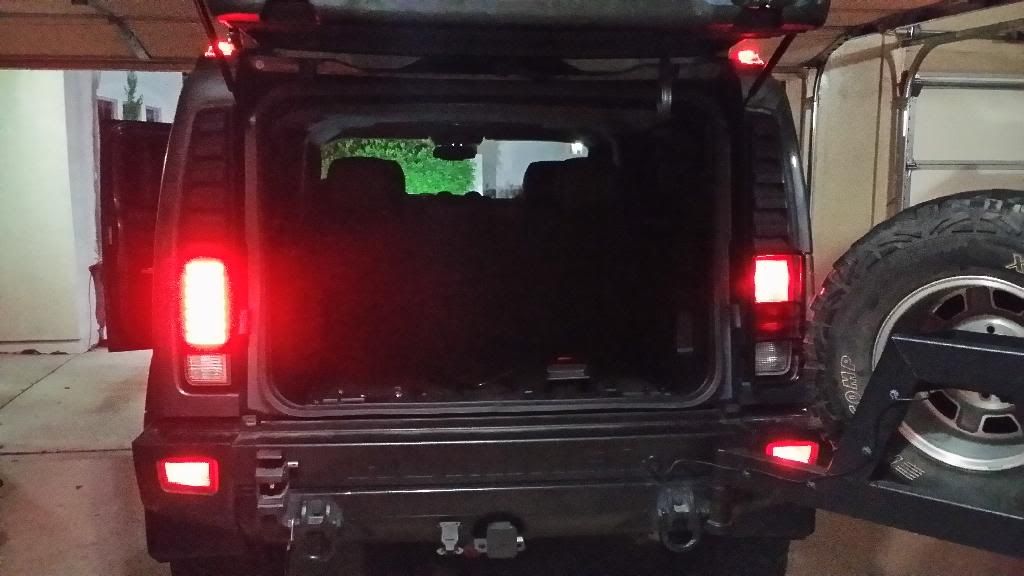
Decided to match up my front LED's with rear LED tail lights. Always wanted to give them a shot so figured why not. I'd say they are about 3 times brighter than the stock tails. The blinker and brake lights when on are insanely bright! I didn't put the tail light guards back on just yet because I have 520 lumen LED's for the reverse lights I'm still waiting on along with a pair of red LED's for the lower bumper lights so everything blinks at the same rate.

Pics:

20140301_074102.jpg


Stock on the right and LED on the left for comparison. That's just the driving lights on.

20140303_201926.jpg


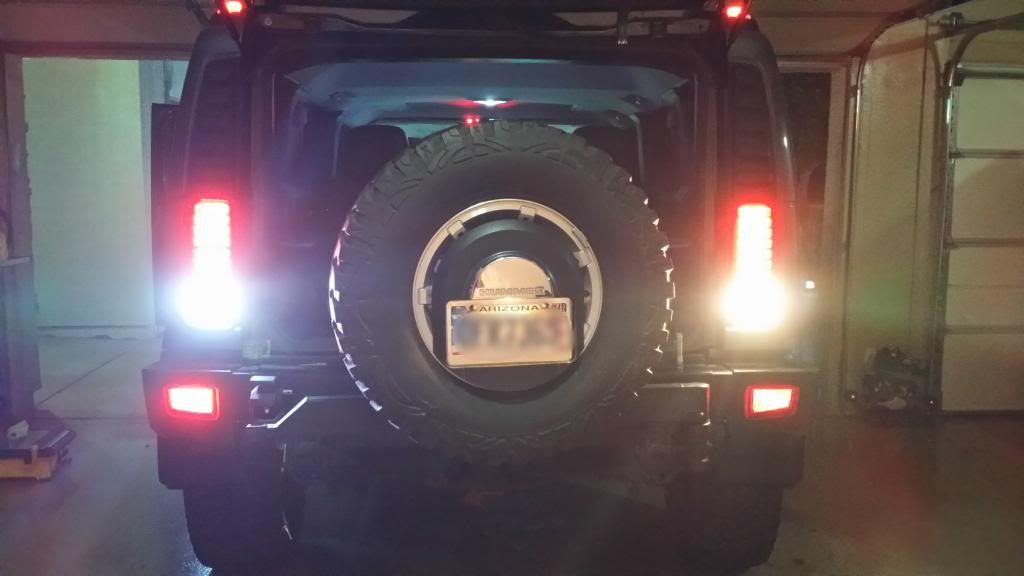
Couple pics of both LED tails installed:

20140303_203654.jpg


20140303_203715.jpg


Overall I am very satisfied with them. Arizona has terrible drivers so I like how bright they are, hopefully prevent any idiots from rear ending me!
 

LoJac963

Well-Known Member
Messages
491
Location
Surprise, AZ
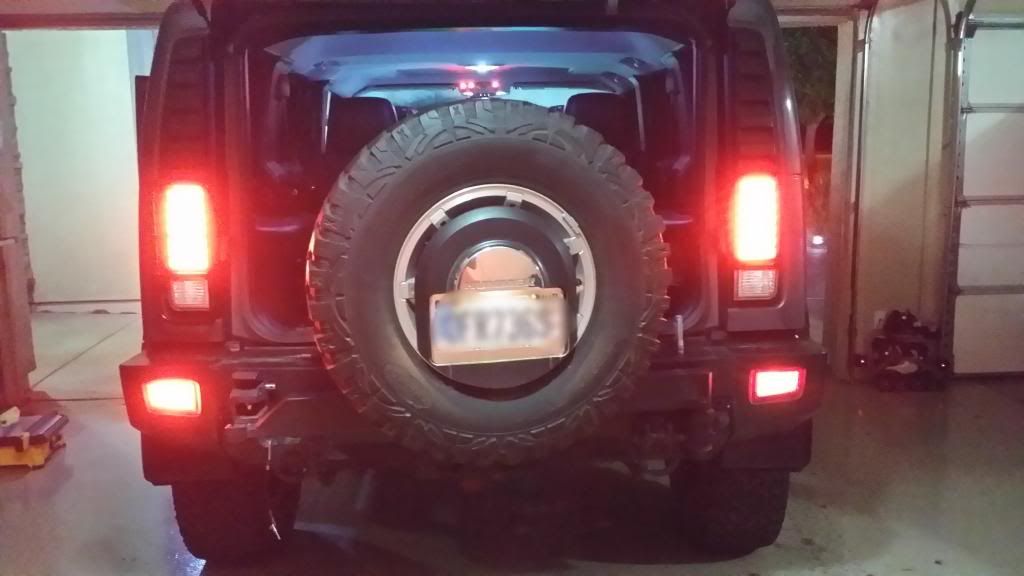
Another small update, finally done with the tails!

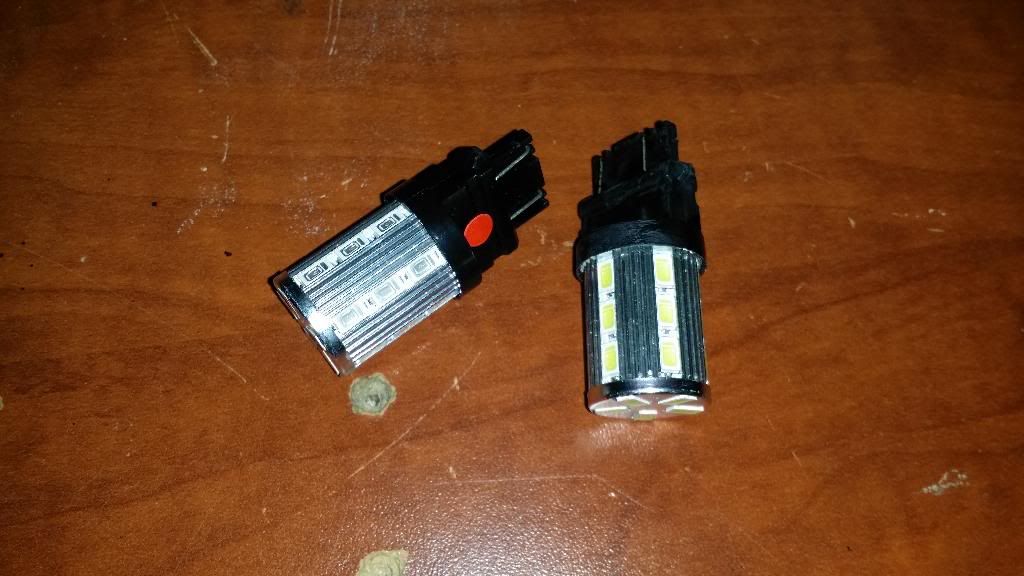
My 520 lumen LED's arrived, white for the reverse lights and red for the lower bumper lights:

20140309_220313.jpg


LED in the left lower bumper light for comparison, they are much brighter than the stock bulbs:

20140309_220351.jpg


Here's the white reverse LED in and tail light guards back on:

20140309_220418.jpg


Side by side of the white reverse LED vs. stock bulb:

20140309_220409.jpg


Now I need to figure out which project and box of stuff I want to open up next lol.
 

LoJac963

Well-Known Member
Messages
491
Location
Surprise, AZ
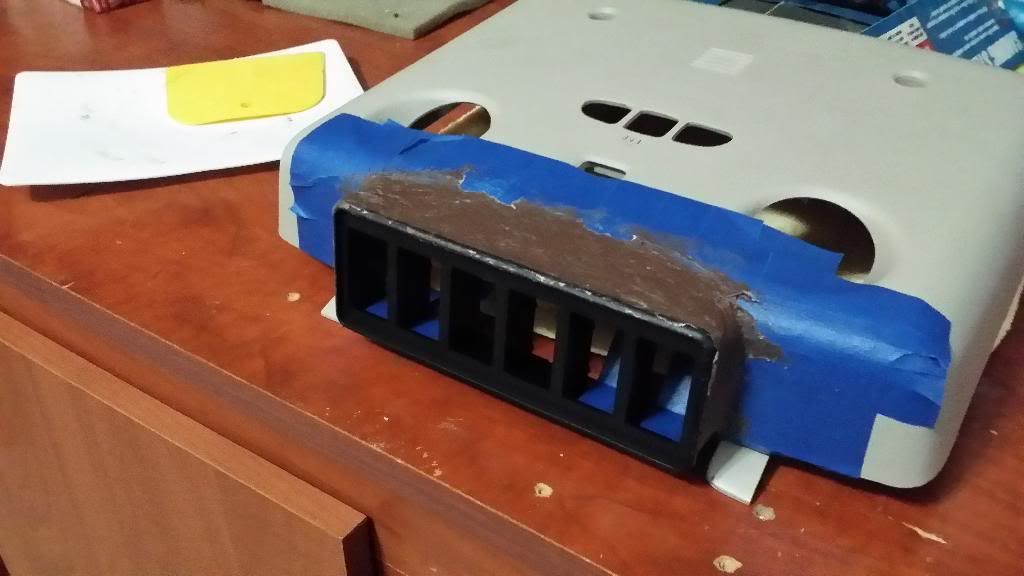
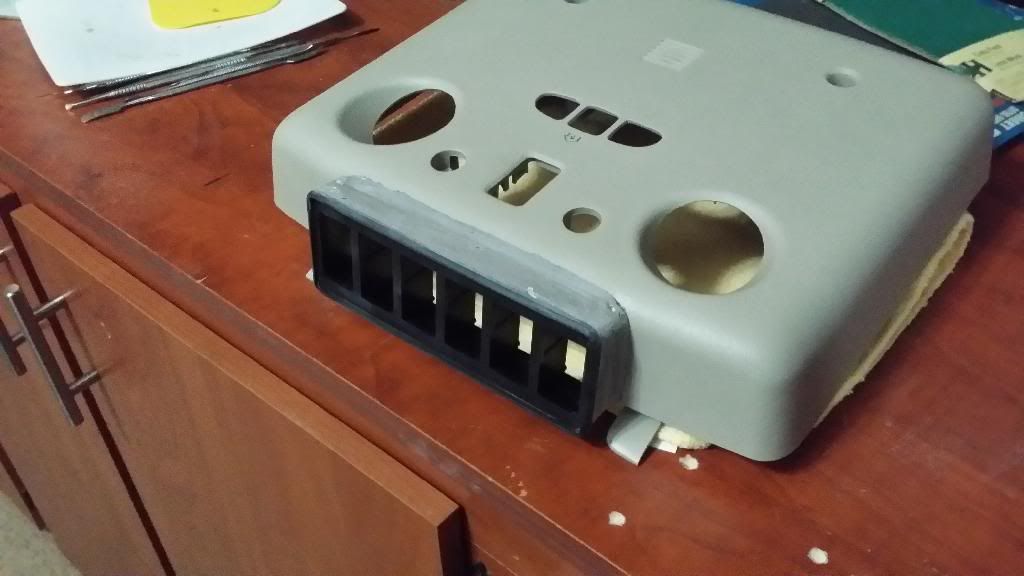
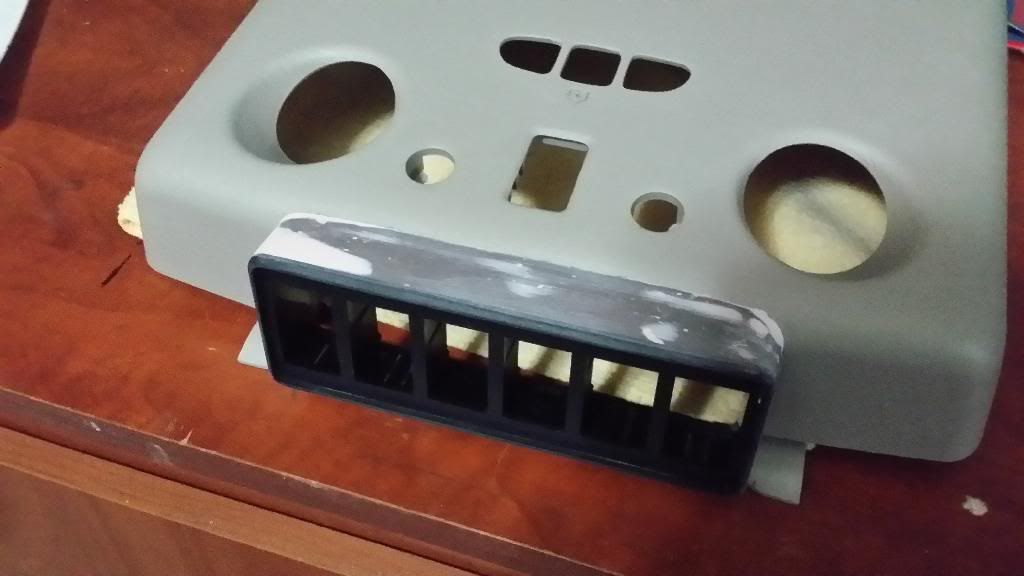
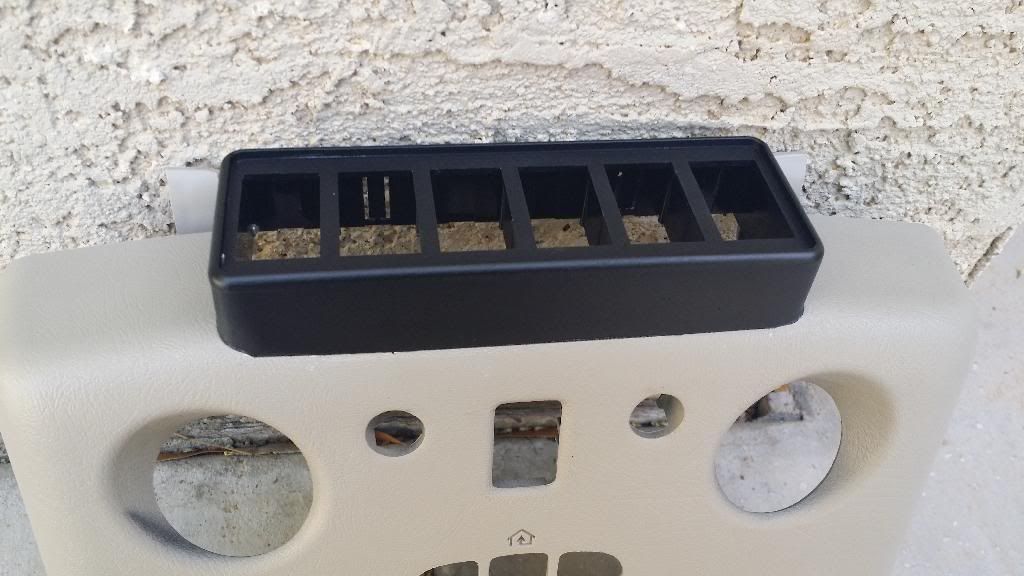
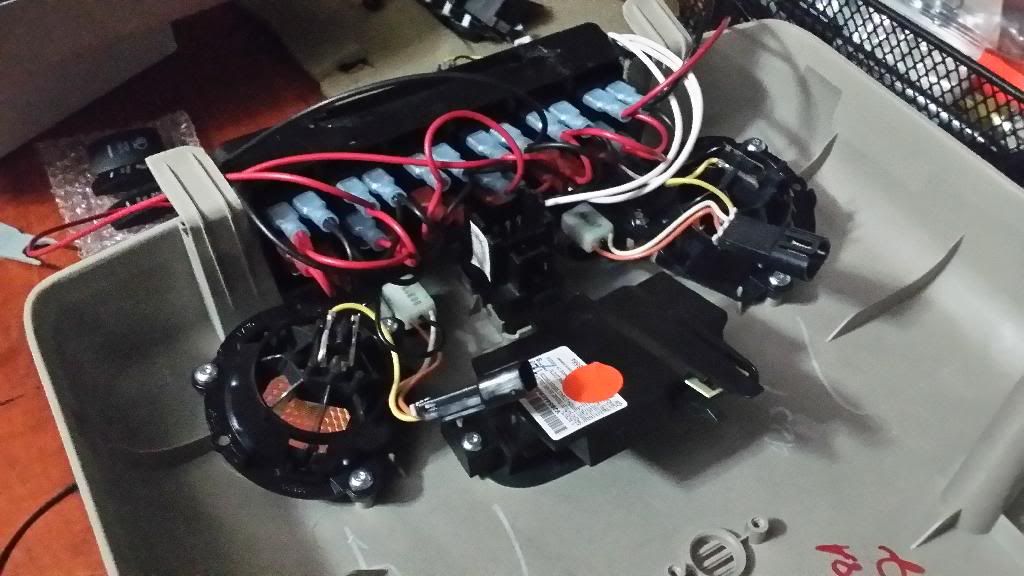
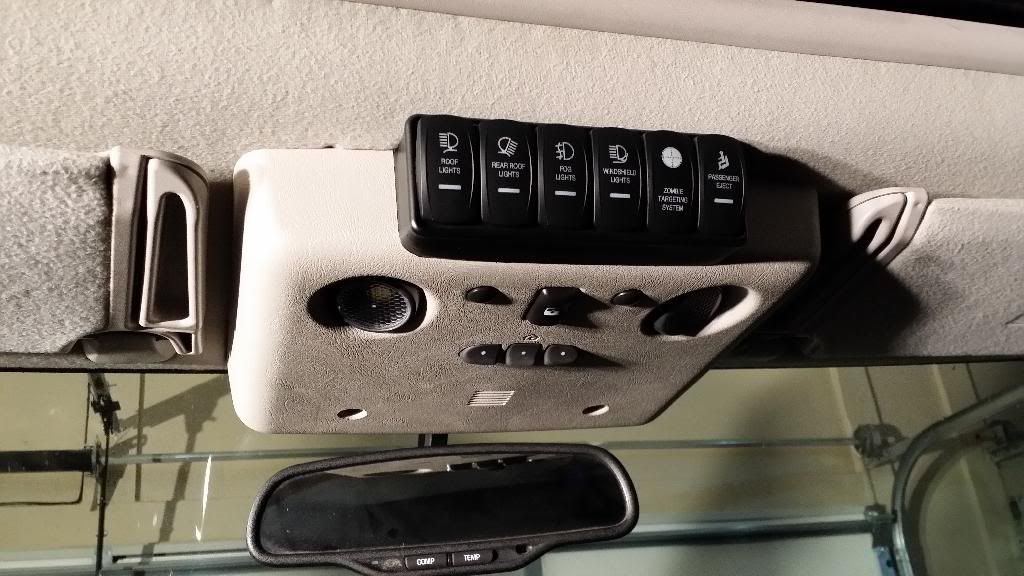
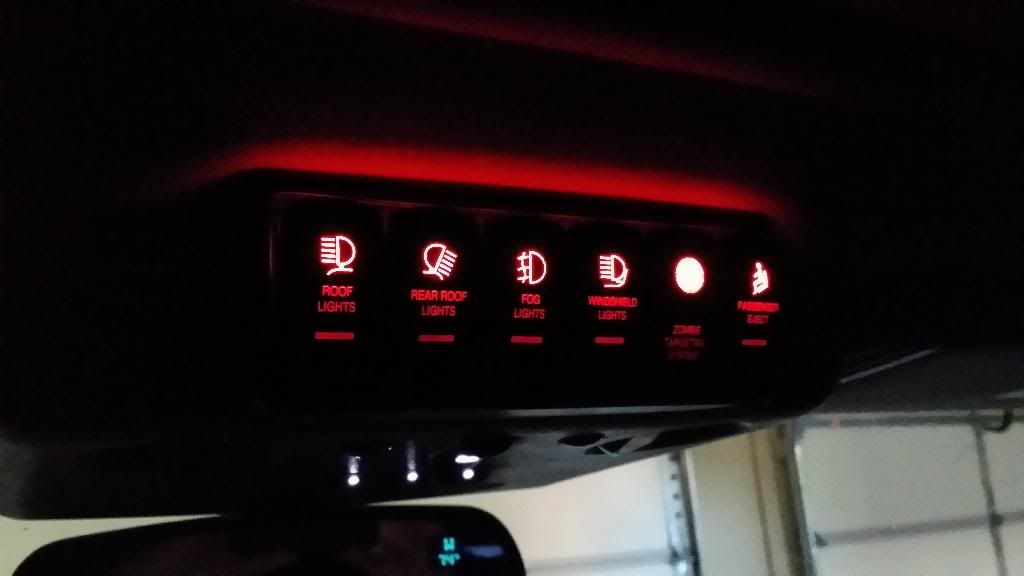
Finally finished up an ongoing project to add a switch panel with OTRATTW switches.

I used Bondo Glass to do the bulk of the filling, looked like absolute hell. This was my first time ever taking on a project like this.

After Bondo Glass:

20140325_190816.jpg


Cleaned up:

20140327_022134.jpg


After Bondo Glazing and Spot Putty to refine the big imperfections:

20140330_203746.jpg


All painted up:

20140331_114852.jpg


Pic of the switches almost wired up completely:

20140331_235148.jpg


Few pics installed:

20140401_031327.jpg


20140401_135257.jpg


Glad it is complete. I jumped the ground wires as the instructions say you can. I also jumped both the positive terminals but the top LED's stay on all the time which is odd since the source is a 12 volt ignition.....something I'm going to play around with.

The 3 right switches are fillers but fully wired with signal wires running to the engine compartment. Basically when I add more mods I'll just order a new switch face and its good to go.
 

ABNTROOP

HIPPO
Messages
1,985
Location
Vancouver, Wa
Those LED's look great and nice work on the cluster! Very cool! On a side note, if you don't want ALL the LED's on the switches on, then either the uppers or lowers get tapped into their circuit so they turn on when the device is turned on, then the inverse lights jack into a 12v keyed circuit so they come on and stay on with your dash lights. If those lights are on all the time then I would tap them in elsewhere.
 

LoJac963

Well-Known Member
Messages
491
Location
Surprise, AZ
^thanks!

I don't know what I was thinking when I did the install. Looking at the wiring diagram on the switches for some reason I thought it would work to jump both positives like I did with the negatives. The 12v switched ignition power will remain the same but I'm going to run a new wire to the upper LED's from a 12v source on the dimmer circuit so they turn on and off with the dash lights/light sensor. Complete stupid mistake on my part. I think I was too excited to just get this project done lol.
 
Top