• Welcome to H4O! For a reduced ad experience, please login or register with the forum.

FJ4overland

glpd74

Well-Known Member
Messages
189
Location
WI
Congrats and thanks for sharing. It's been awesome following along on your build


Sent from my iPad using Tapatalk
 

SuperBuickGuy

Well-Known Member
Messages
3,403
Location
Woodinville, WA
Last but not least.... the roof. I seriously considered a soft top, after all, I won't be leaving this in some downtown parking lot anytime soon - however, they cost between $1500 and $2500, to which I say... no. That said, this is old tech, so I won't be doing this the standard rebuild way (that includes rivets and a $400 rubber seal). But that's later, first was take the metal bits to the sandblaster then strip what was left.. of course that plan went out the window - as you'll see in a minute

as you can see, someone painted it red. I thought it was just because someone liked mono color - nope
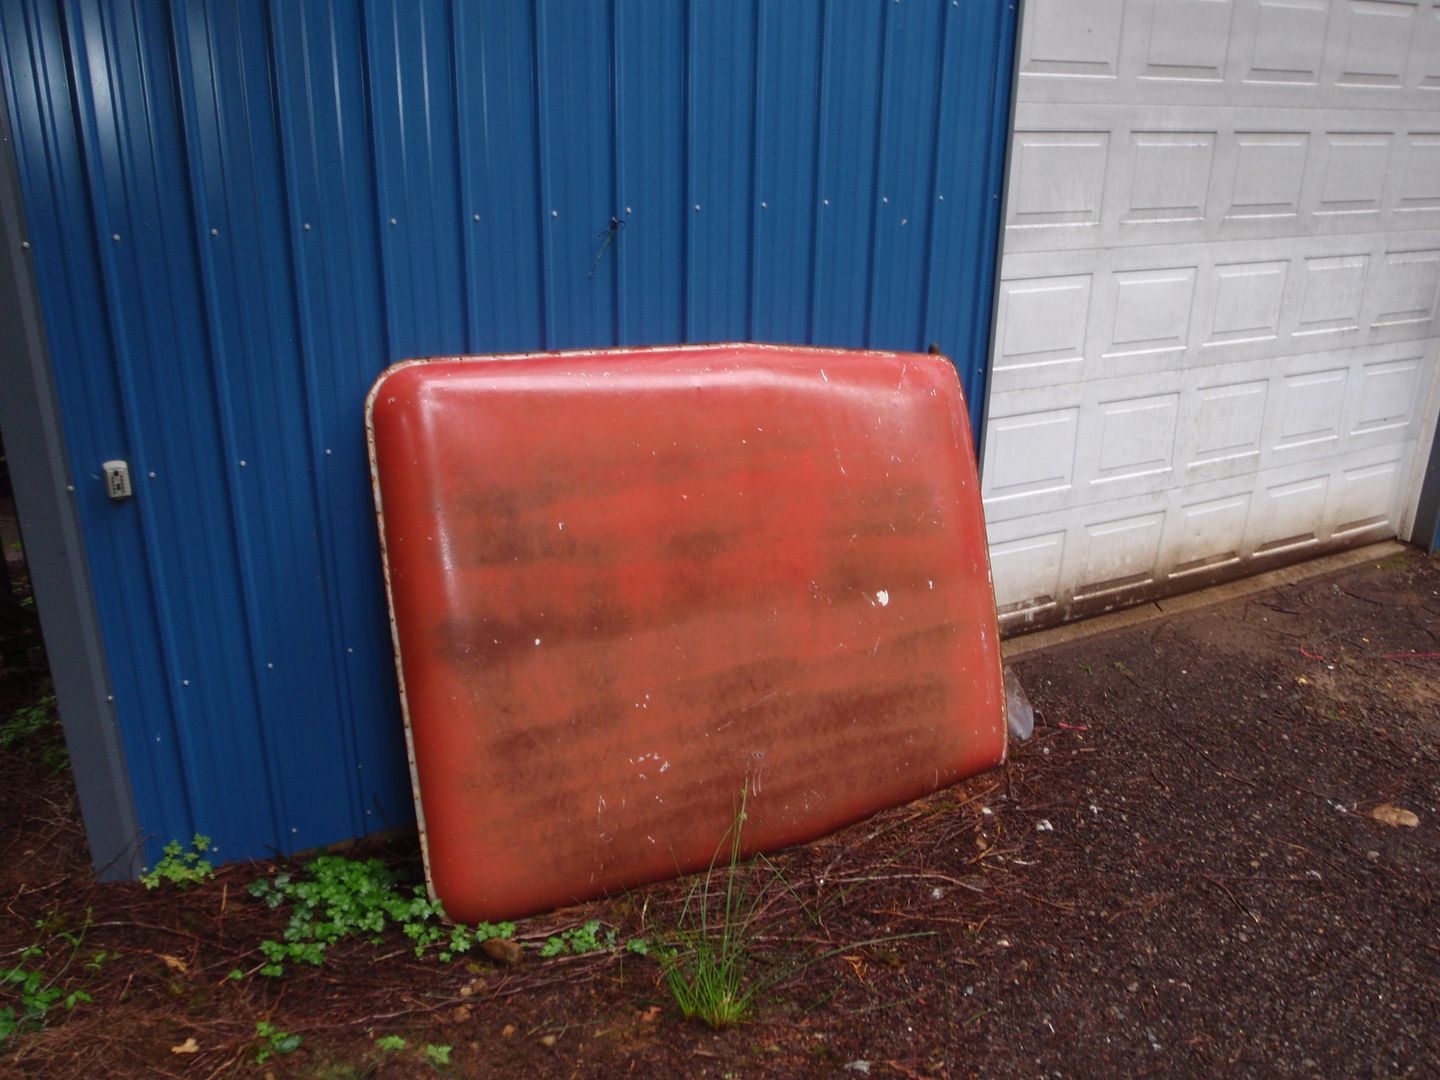

I did remove and throw away the quilted, red vinyl headline (sorry to those who wanted it)
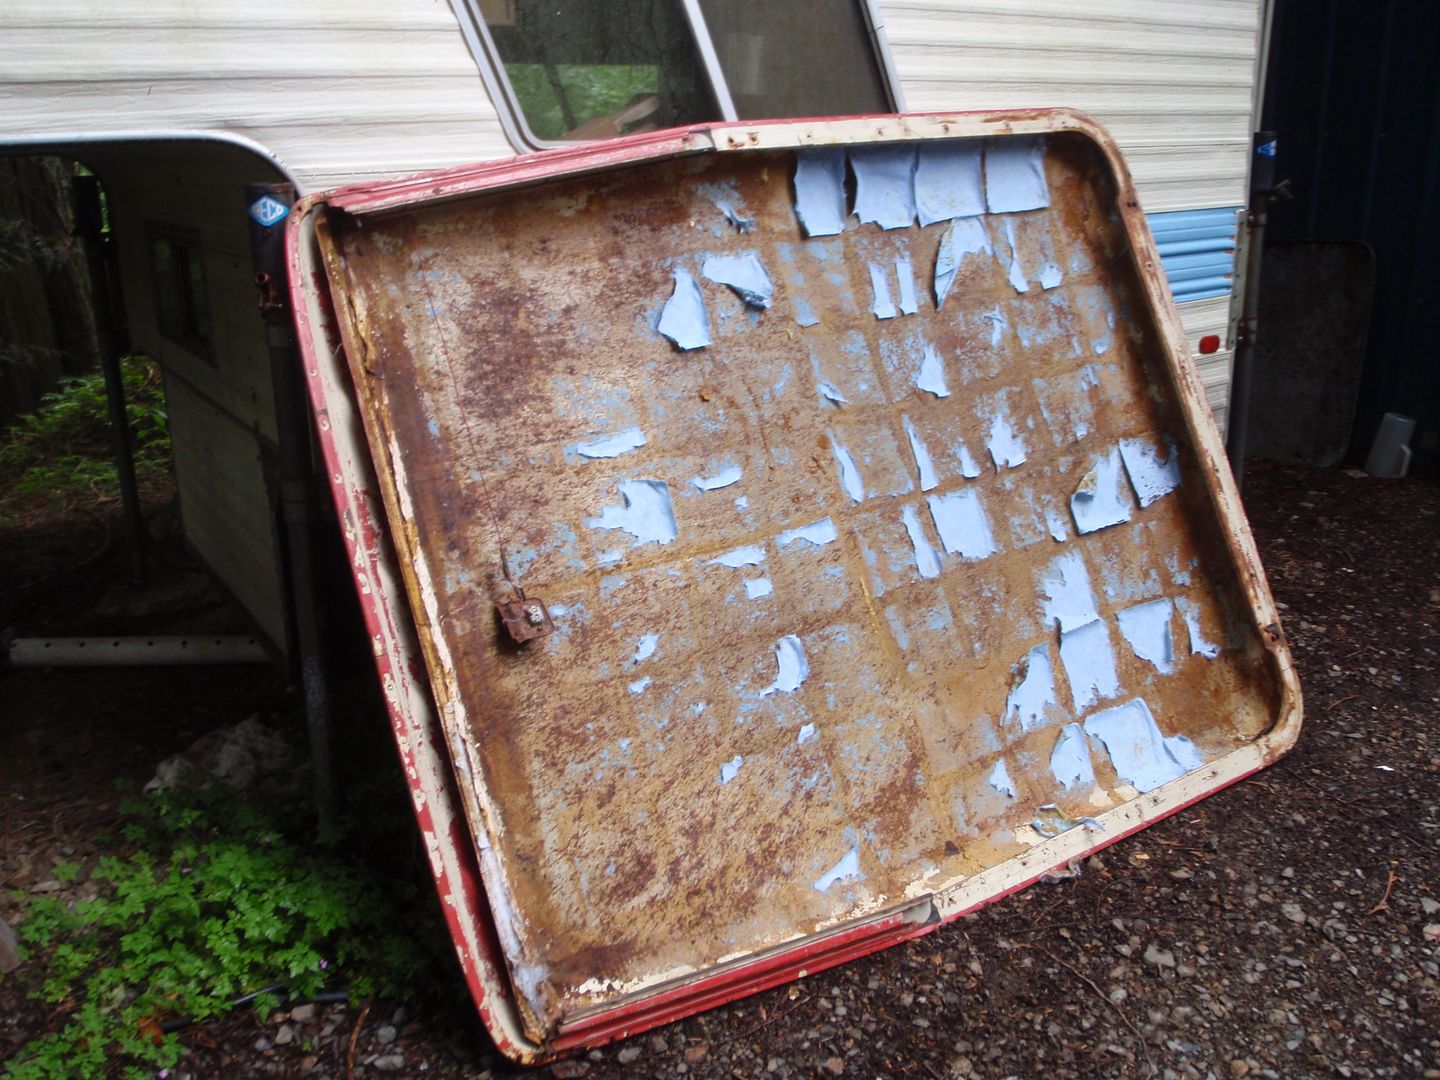

the enemy is red
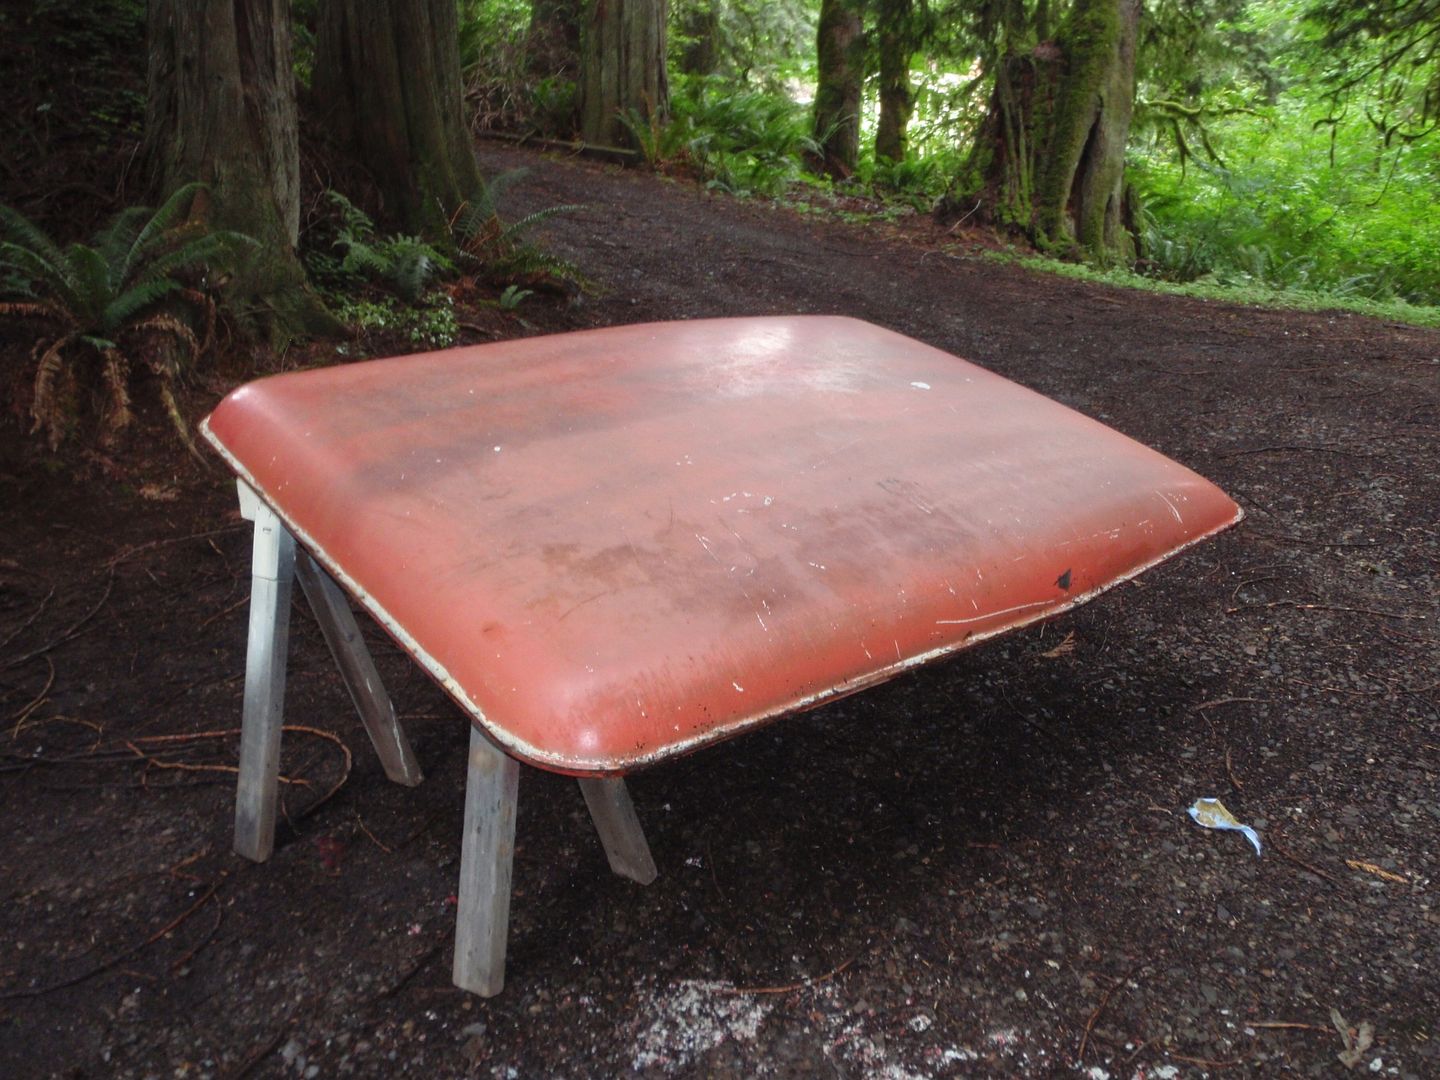

stripper working
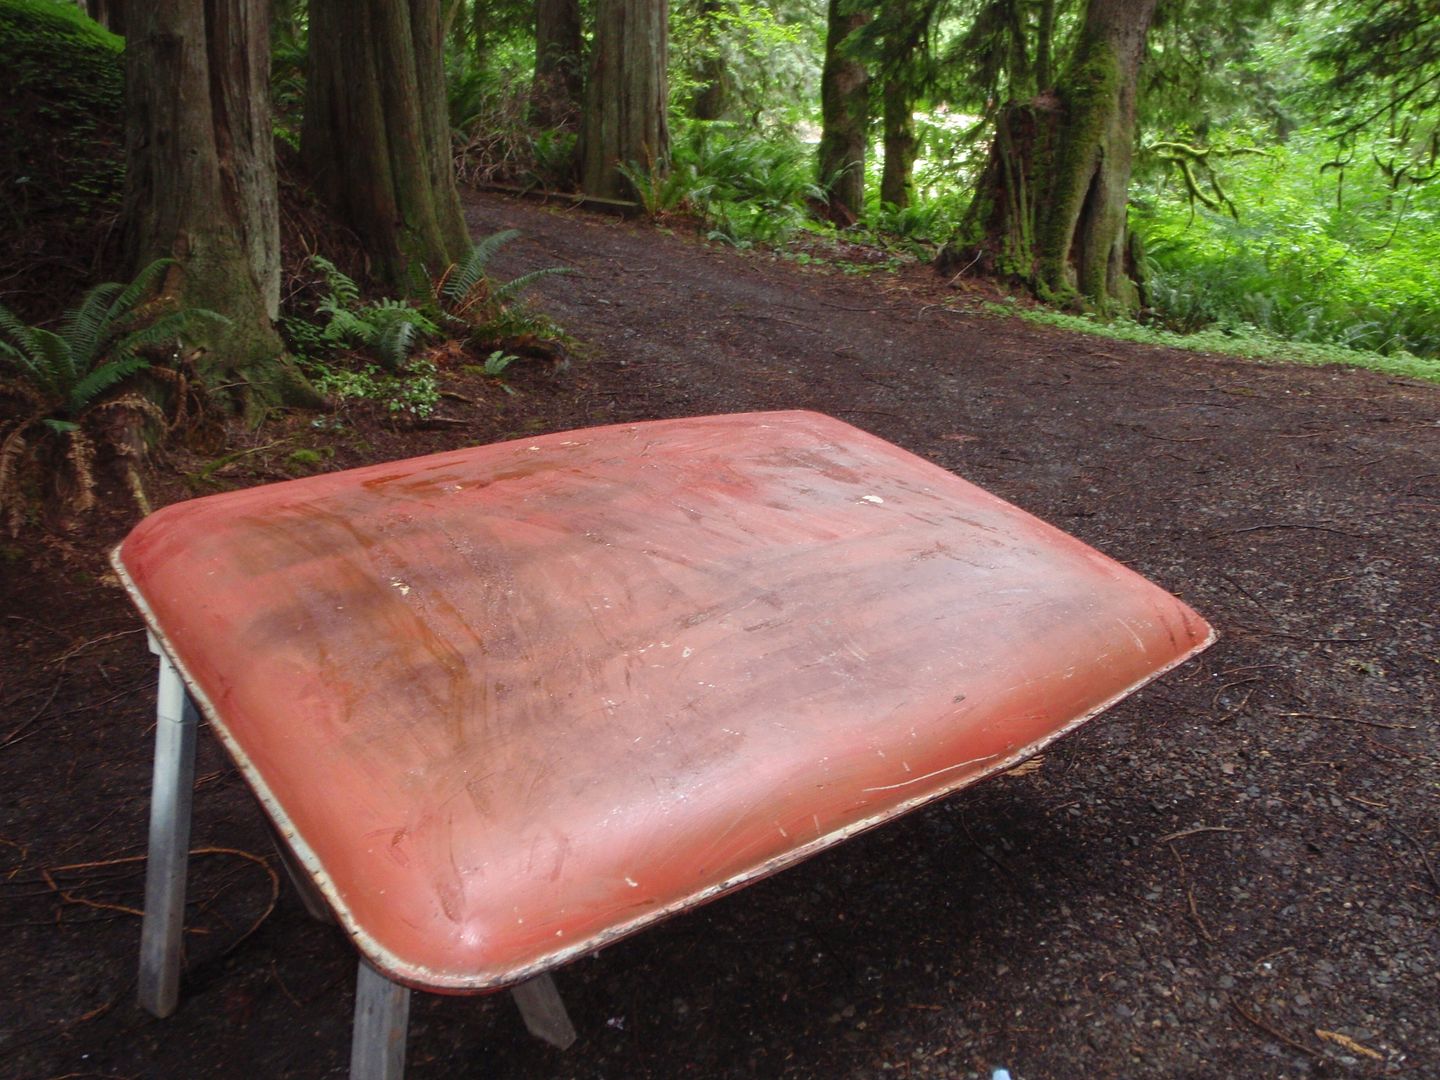
I always liked strippers

as you can see they're very abrasive and caustic
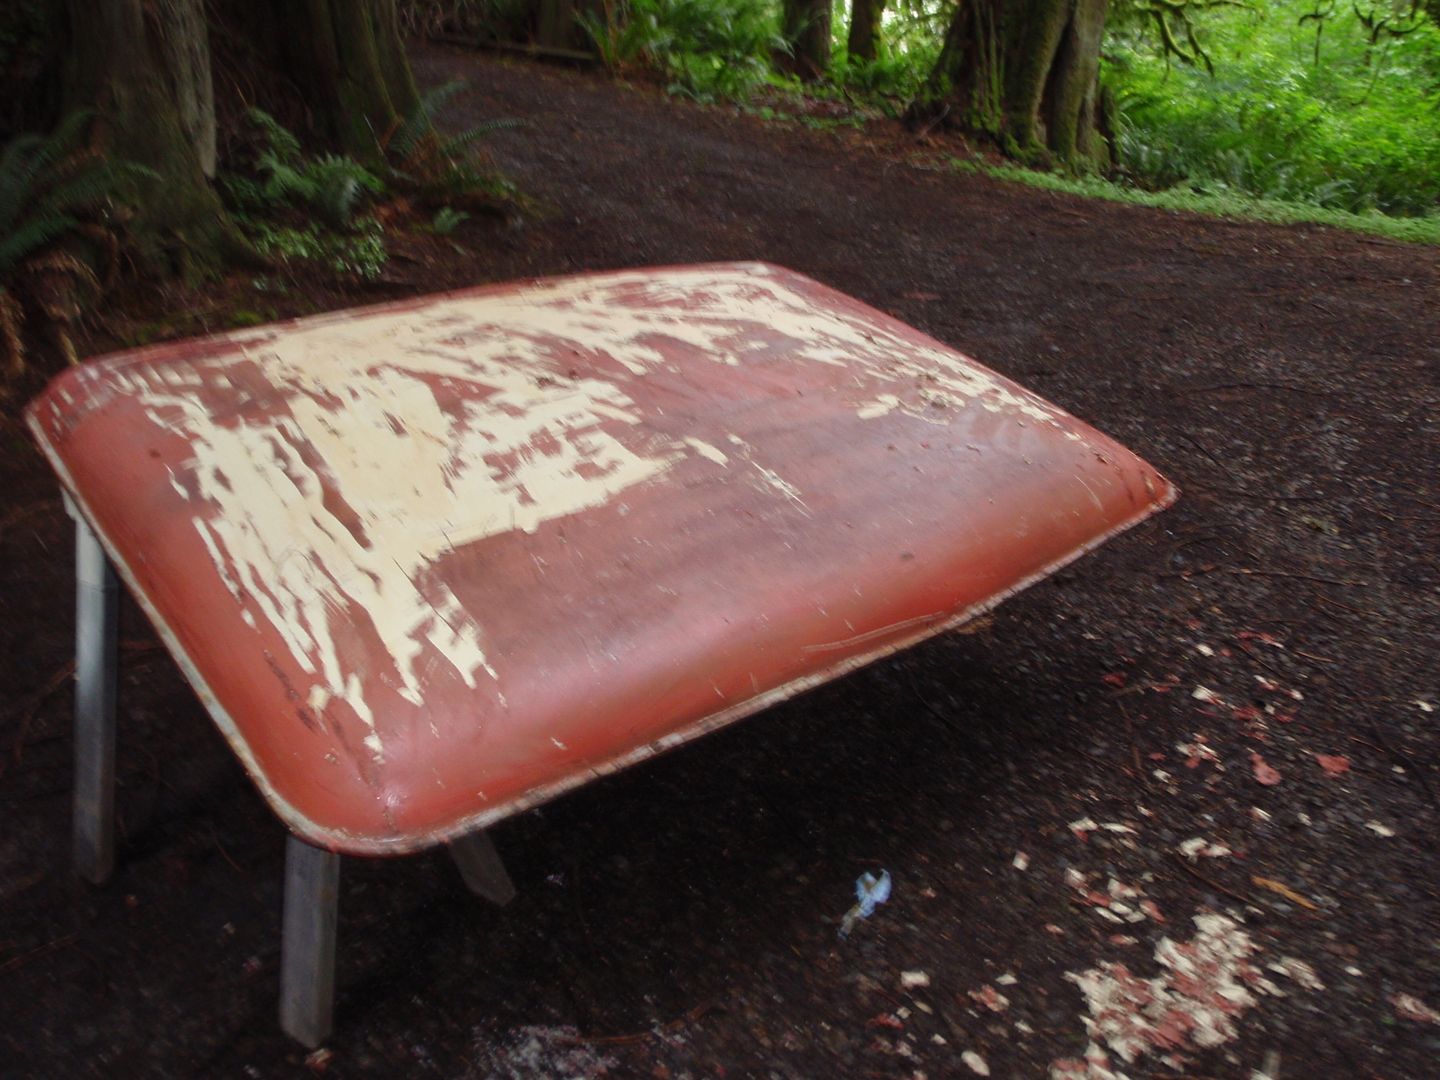

wait, why do I see green?
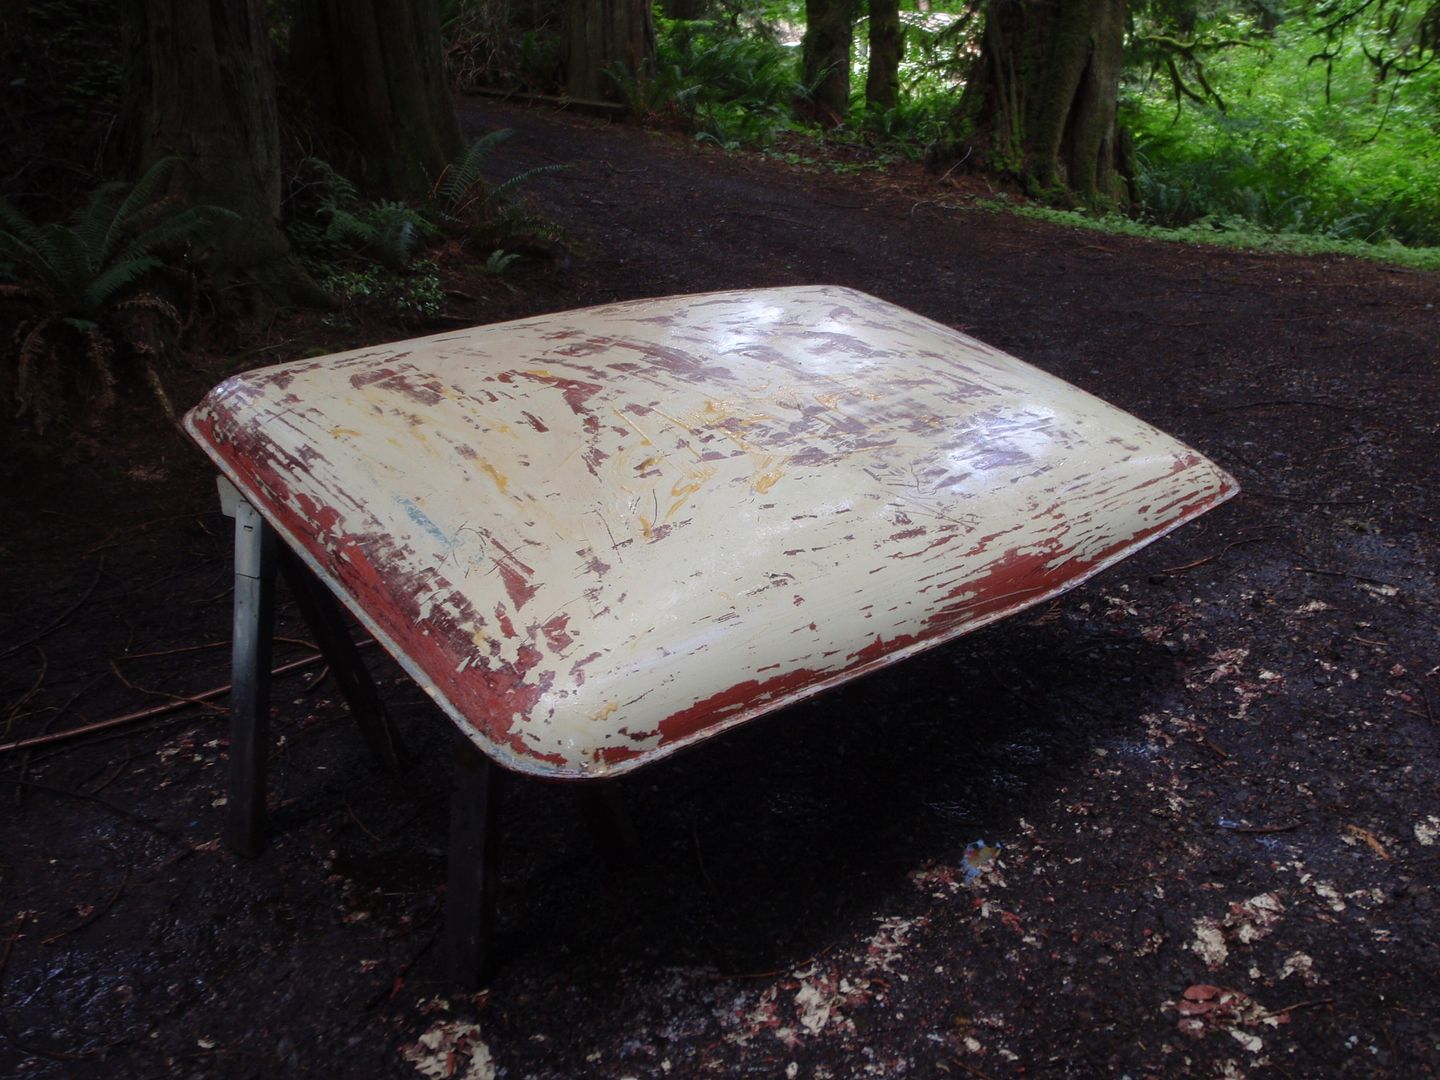

Because Toyota couldn't put on gel coat - they didn't get the release wax out of the mold so the gel color didn't fully adhere... and now we know why it was painted.
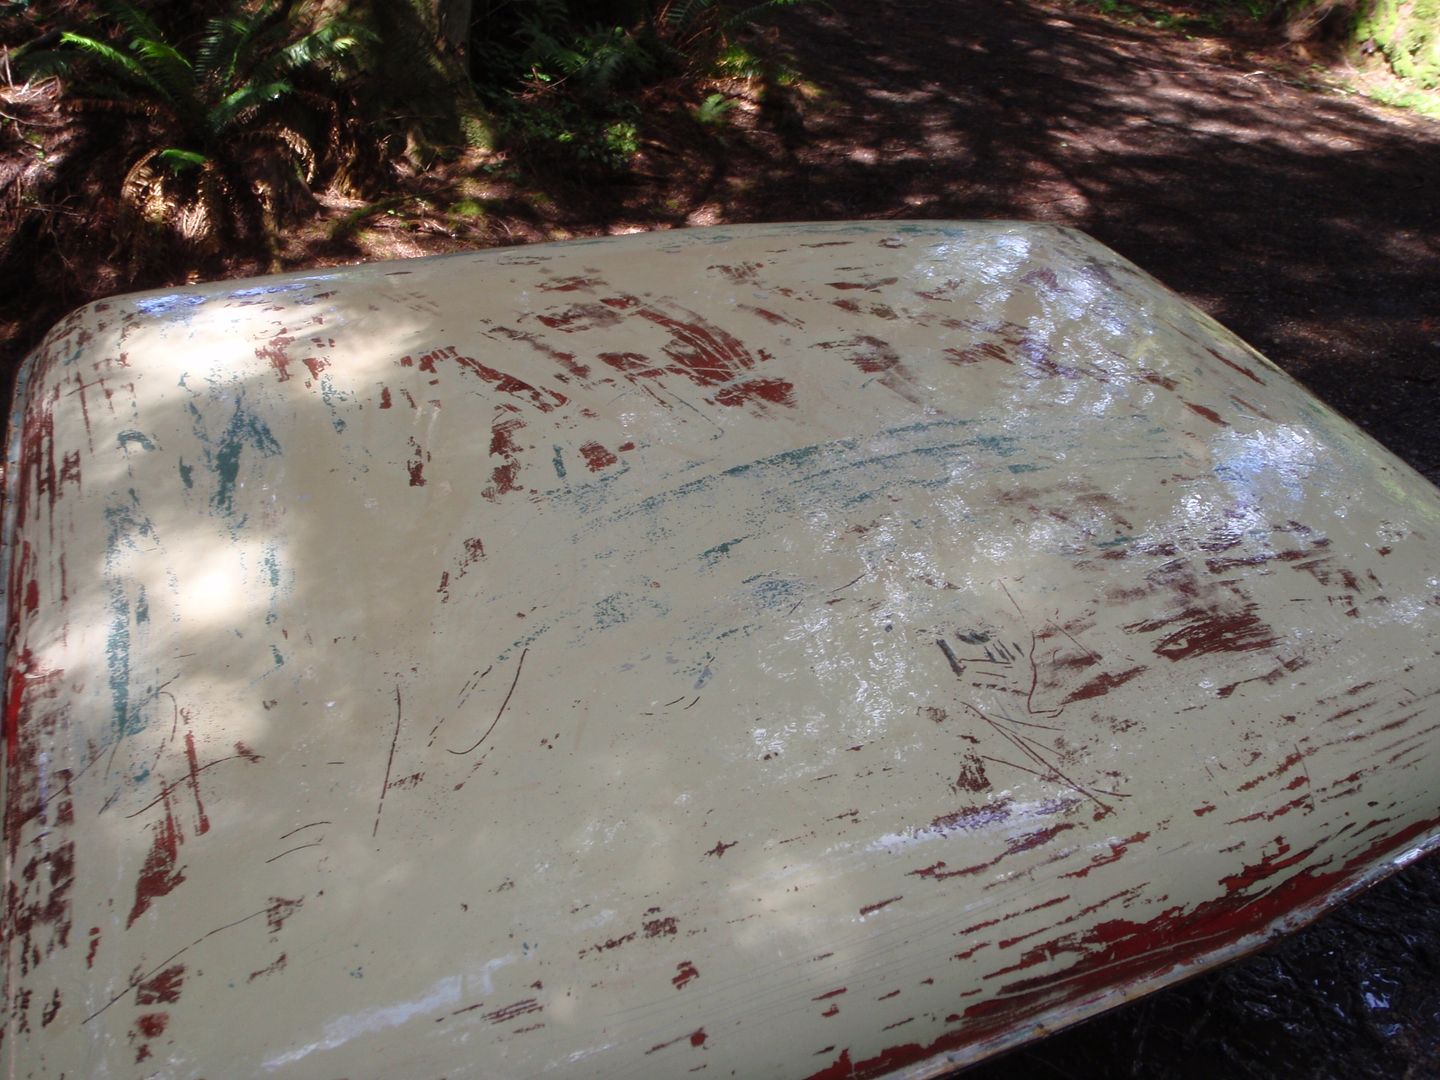
sigh

But the strippers did their work
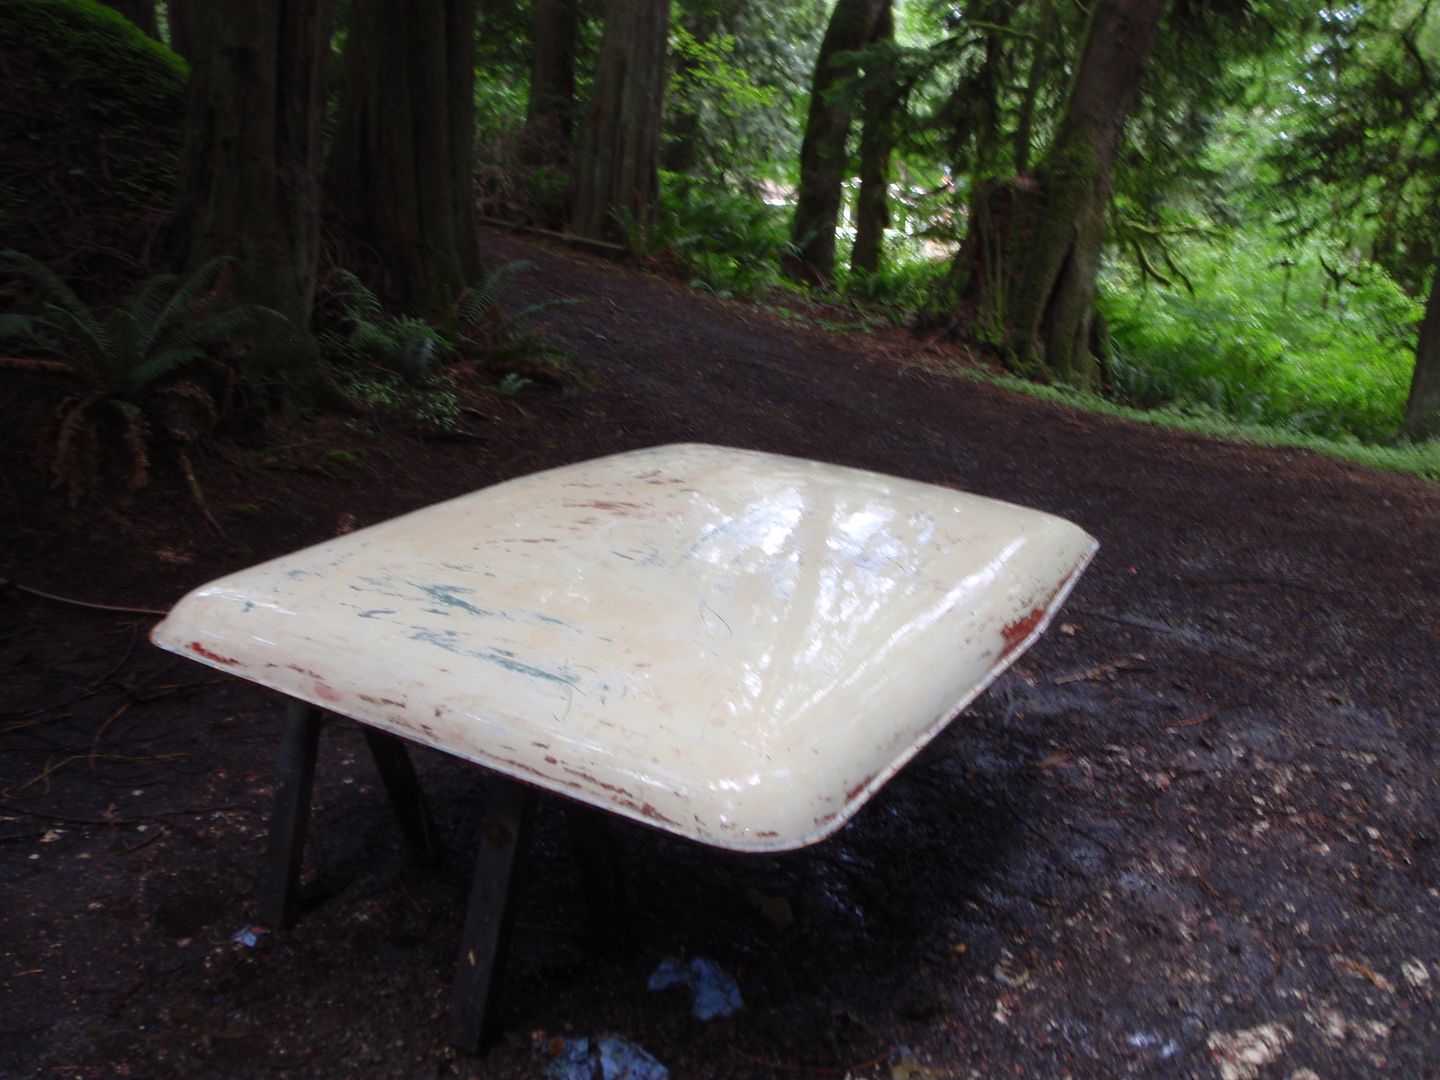

however, I was planning on not removing the edge metal
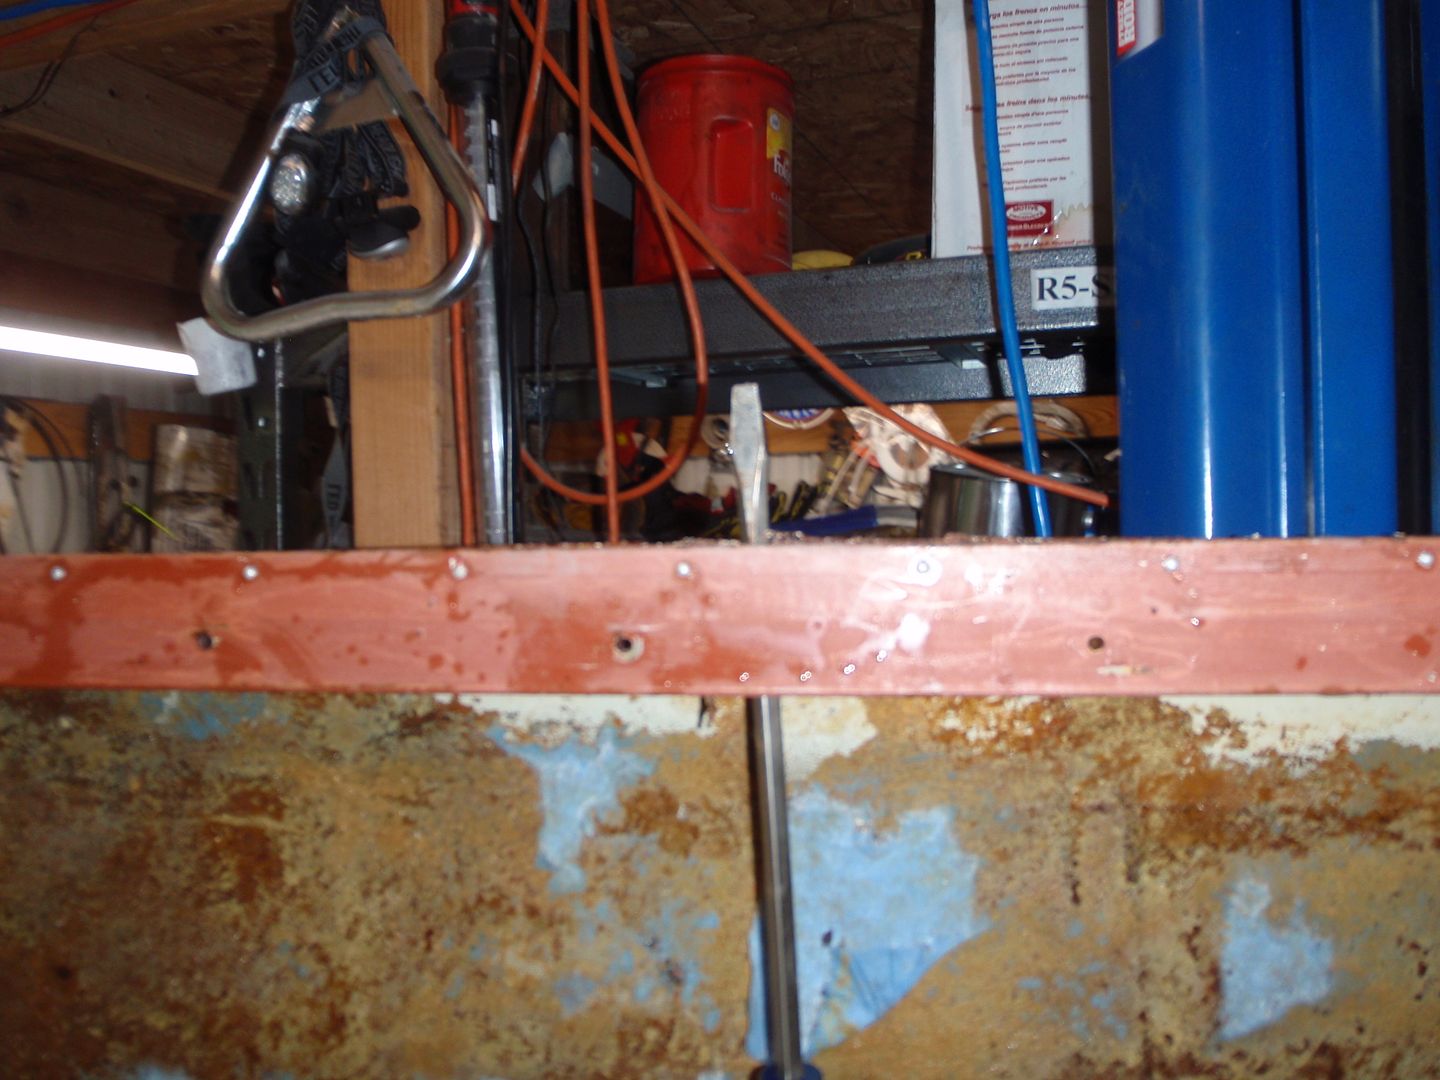

yeah
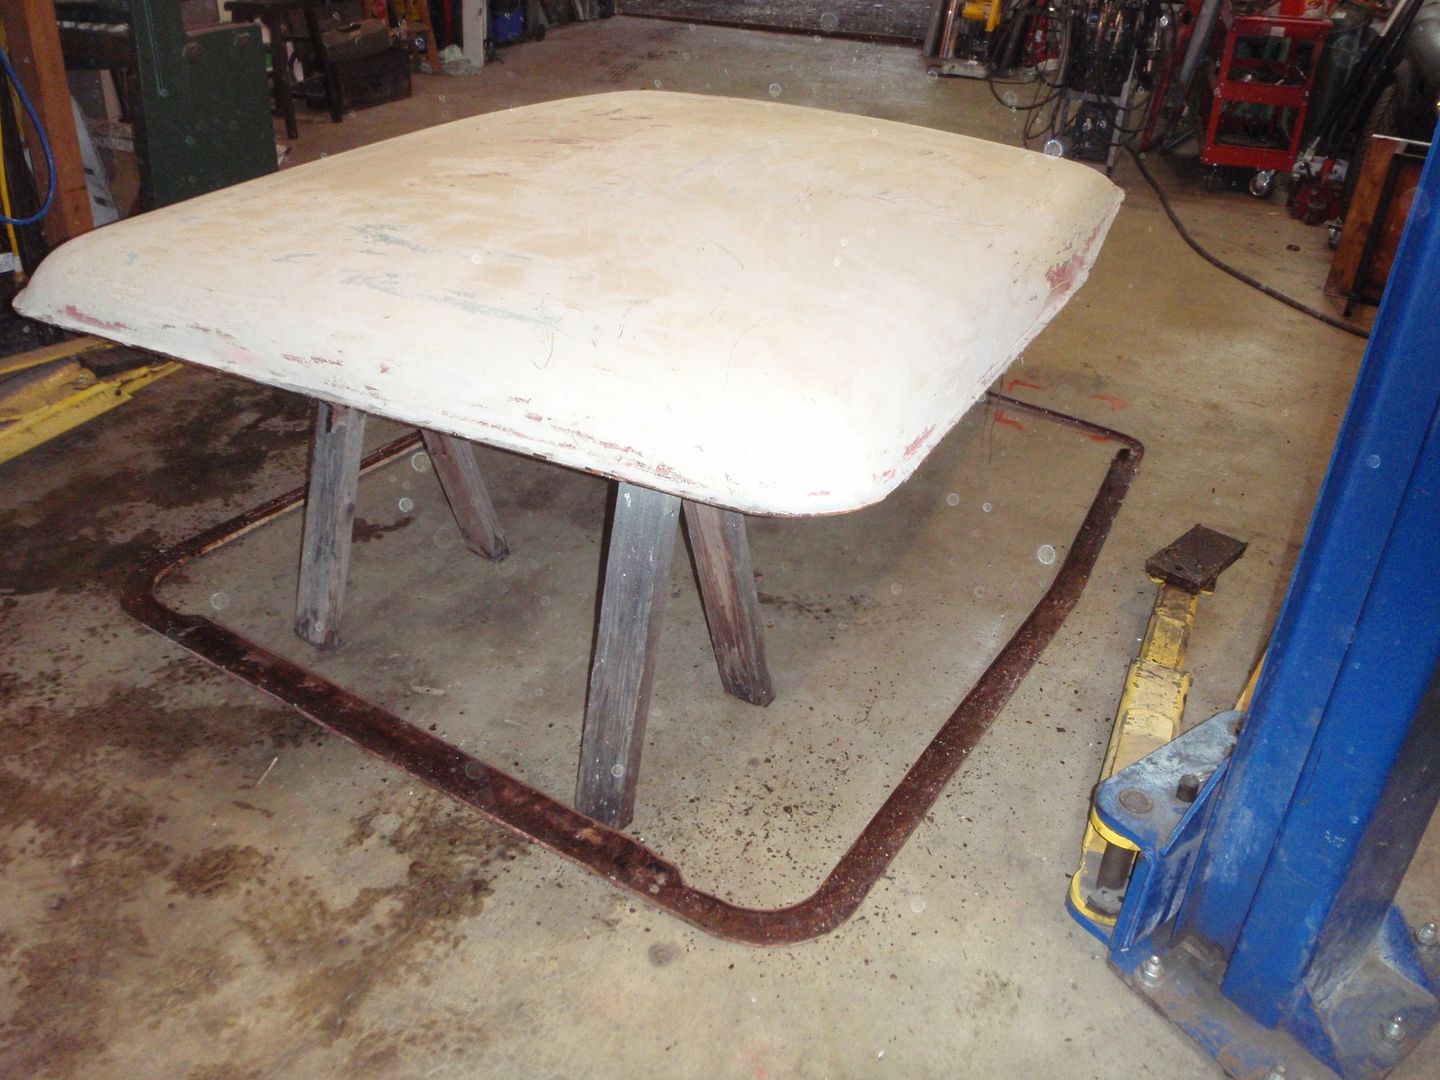
fortunately they make some dang good panel adhesive, but that requires the ring and assorted bits to get blasted as well to give it good tooth

anyway, another day
 

SuperBuickGuy

Well-Known Member
Messages
3,403
Location
Woodinville, WA
6 mpg. hmmm, why didn't I put the diesel in? I'm certainly going to double check this because it's about 1/2 what I expected - heck, my very first 4x4 was a 74 Blazer on 44s that got 11 - 400 sbc, carb....
 

SuperBuickGuy

Well-Known Member
Messages
3,403
Location
Woodinville, WA
Got more done, and tomorrow I need to go get my aluminum tank filled with nitrogen.
first though, etch the bare steel with phosphate


then work on the lay out of the door shortening


interesting, notice how the top offset bend is about the same as the missing bottom? I now know how I'm going to fix it.... which lead me to other tasks (like clearing a bench)
side boxes now formed


and the bench is now free to do the lay out on the doors.

As for the nitrogen - in passing, Filthy suggested checking the pressure of the nitrogen in the shocks. One is 50 psi (didn't even bother checking the other), which it should be 150 psi... so tomorrow I'll go get my tank filled (bonus is I can use it for tire filling)
 

SuperBuickGuy

Well-Known Member
Messages
3,403
Location
Woodinville, WA
I need to unload the shocks (either that or get a different regulator) and pressurize them to 150. I equalized the pressure to 150 on the ground and drove it (optimally, it should be 200-250 psi when loaded) - wow what a difference that made.
 

SuperBuickGuy

Well-Known Member
Messages
3,403
Location
Woodinville, WA
sad news, I was supposed to go wheeling this weekend - but the Jeep owners I know all had a cool wind blowing up their skirts and the Toyota guy gave it a full college try - but alas, even his FJ40 pee'd out its hydraulic fluid when confronted with the awesomeness that is my FJ40.... I need to bring them all over and do a round of upgrades to their vehicles (either that or provide thermal underwear for the Jeep guys)
 

SuperBuickGuy

Well-Known Member
Messages
3,403
Location
Woodinville, WA
time to build the boxes
there were some design changes (read, I can waste an entire sheet of material but still make what I need from the scraps.... just takes longer)


these fit between the b and c pillar


this one I have no idea what I'm going to do with it, but since I started, I figured why not


still have to weld the lids, cut holes for the locks and put some form of lid opener on them... but this is the idea


SuperBuickGuy

Well-Known Member
Messages
3,403
Location
Woodinville, WA
In tonight's episode we bore you with boxes and doors


primer


wait for it to dry

paint some more


cut down some perfectly terrible doors


chop chop


tomorrow weld weld, drill drill

and yes, I know it'd be a lot easier to simply make a couple panels out of a bit of sheet steel. thanks for noticing
 

SuperBuickGuy

Well-Known Member
Messages
3,403
Location
Woodinville, WA
So I think after spending yet another day working on the hardtop, that I'm going to go with a soft top. I don't have a set of good doors (that's another $500), the rubber seals for the doors and windows ($600), or coatings/glue ($200). There is another top locally to me, but that's $600 and really doesn't save me any money because it doesn't come with doors. I can get a best top with doors for about $1,200... I want a hardtop, but at this point the need v. want along with "done now" vs. "done after several more days of work" is starting to weigh in favor of a soft top then, should I fix the doors or find new doors and spend time rebuilding the roof rail.... I'll have both. And I would like a trollhole top, but that's $2500 with the top and the hoops.

pictures in awhile
 

SuperBuickGuy

Well-Known Member
Messages
3,403
Location
Woodinville, WA
Not much to report tonight.... took Buick out for a spin, not happy except that he's with me so on balance, it's 'ok'


I cheated loading him - getting him out took help in the form of Kinsey.


clutch is too stiff, gas pedal is, again, sticky so some things to resolve... still deciding what's next. I think what's next short term is I'll take some very good advice to enjoy the build and go wheeling :)
 

SuperBuickGuy

Well-Known Member
Messages
3,403
Location
Woodinville, WA
So today I had trouble, I flipped someone off but they didn't notice... so I fixed the horn


so that pretty much makes this done - I'll continue with the occasional updates, but I have 3 other projects (actually 5 if the trailers are included) that are not related to a 4x4 site.

This is my long-long-long term project

that has the nuts to carry this tire


with a twin turbo 455 Buick.... anyway - point is thanks for watching.

and I don't know
 

SuperBuickGuy

Well-Known Member
Messages
3,403
Location
Woodinville, WA
finishing up
clamps for the steering shafts


at 6 or 8 mpg, a fuel gauge would be nice


for those of you doing your own stunts - the FJ40 sender is not compatible with the Dakota digital dash
 

SuperBuickGuy

Well-Known Member
Messages
3,403
Location
Woodinville, WA
nuts n bolts
outside of going to a car show, I didn't do much today... but
Clutch, I'm still not there, but I'm closer I replaced the 1" master cylinder with a 3/4" long travel then moved the slave cylinder closer to the pivot point. It's a bit easier to push, but more importantly it fully disengages - but it's still not perfect and I want perfect so I'll keep working on this


under this seat is the fuel sender

and there it is


new one

installed, and for the record those are fuel tank zip screws


and the gauge works - which is a nice feature.
 

SuperBuickGuy

Well-Known Member
Messages
3,403
Location
Woodinville, WA
50% of the lights are here


but first... shock leak
unload the shock


fortunately, I don't need to get it completely off the ground


back to the lights... here?


maybe further up the post?


so here's the deal - putting the at the top is simply a good way to get them knocked off by branches. So I haven't decided - I've been considering putting them on a swivel base; but for now, solid base....

and why HID - brighter for the energy consumed. LEDs are too blue, which is nice in the winter but miserable when you're trying to see on a dark road. Halogens take too much energy and aren't as bright as HID. HID take time to light and require more space since they have a ballast to ignite.
 

SuperBuickGuy

Well-Known Member
Messages
3,403
Location
Woodinville, WA
hopefully tonight - though in honesty, I should go do something that's good for the community tonight so we'll see. they're chinese. I like US made lights (or Australian - ARB), but I can't reason myself into spending the much higher price. I've even had this discussion with a rep from Rigid (which makes me wonder if it factored into their selling the brilliance lights)... my argument in a nutshell is the premium manufacturers charge 4x or more for their lights but they don't last 4x longer, and they hurt 4x more when broken or stolen. With that said, there is a HUGE quality difference among the Chinese makers - some are the manufacturers of the components of the premium lights - so be careful.

and my unofficial buying guide
- the cheapest are crap, mostly because they leak and their reflectors were designed and built by people who are blind and tried to understand light by reading sales brochures written in english.
- the most expensive are rarely worth it
- the mid-range are usually the same as the premium ones just without the designer label.
 

SuperBuickGuy

Well-Known Member
Messages
3,403
Location
Woodinville, WA
It's funny, I have a really nice press brake, but since it's not easy to reset the bed - I use my cheapy, press brake for simple stuff
like this


let there be light

and it was good

2 down 2 to go


but first they need to arrive
 
Top