FOXedupONE
Well-Known Member
- Messages
- 92
- Location
- Blue Ridge Mountains,VA
So heres what I've done the past few days.
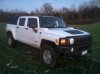
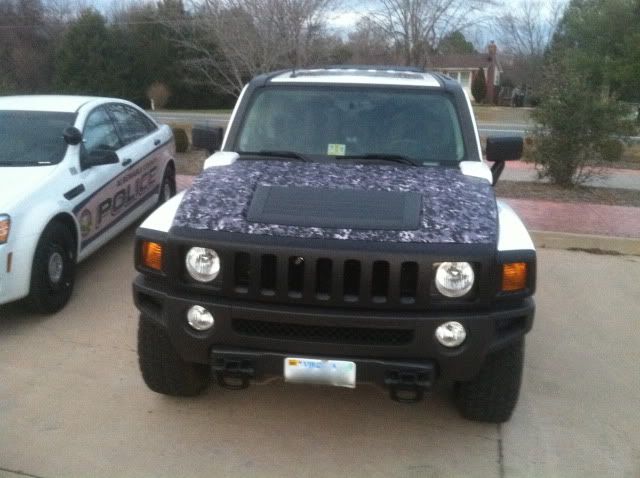
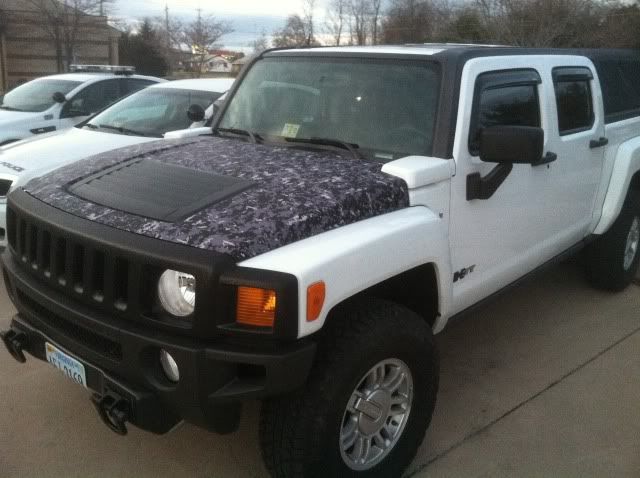
Started off with a bunch of chrome I wanted black and accessories I wanted to remove for now.
Got most of that done.
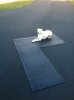
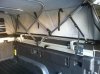
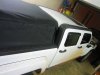
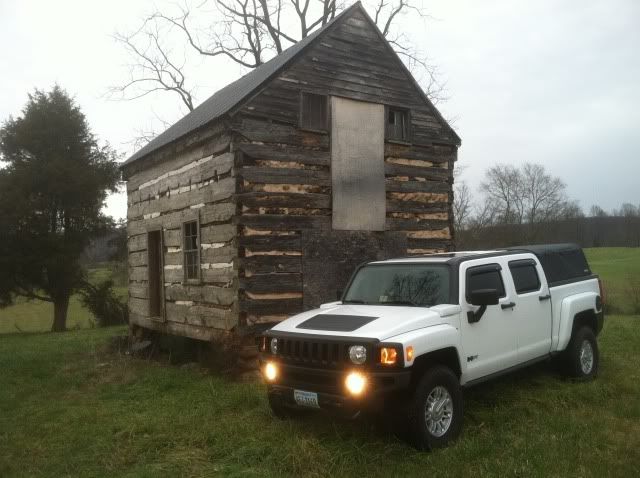
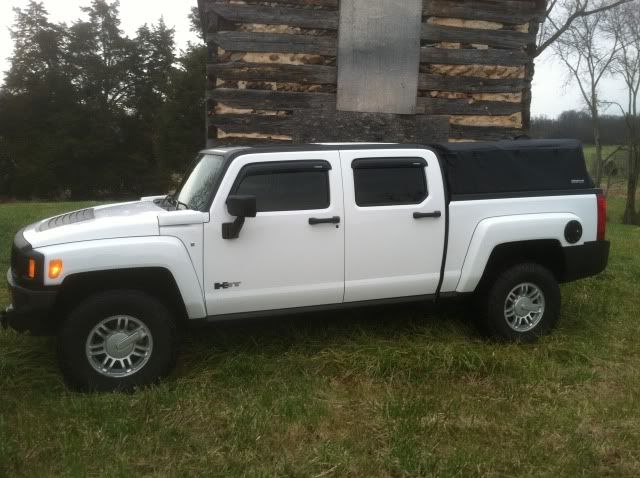
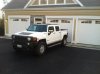
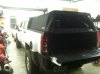
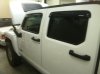
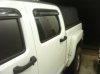
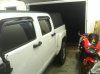
Installed the softopper camper shell and am impressed how cool this thing is. My dog and I were hanging out in it waiting out some rain today and checking it out for a bit and were perfectly comfortable lounging around in the little room with plenty of space to sit up. Some cushions, mats and led lights and it would be real comfy back there playing cards, having a meal while waiting out bad weather even a little curled up nap. I also got the bug screen to replace the zip out window.
I also want to be able to use my extang hard trifold tonneua cover alternately. Once the softopper rails and brackets are installed it is very easy to remouve and swap out as is the extang hard bed cover. Only the bed cover will allow items in the bed to be locked with the tailgate cover pop lock I also installed, the softopper anyone can get into if left unattended with cargo and gear. But hopefully the places I choose to use the softopper this won't be a problem and in urban areas I can put on the bed cover if I have stuff in the back. Modifications will be needed to use both at one since both of the brackets want to occupy the same space on the top bedrail but I think I have it figured out where the brackets can overlap if some strategic holes are drilled to let bolts pass through the bracket that interferes and also to raise the extang bracket 1 inch since it will be 1 inch higher where it sits. The whole cover can rest on the softopper square rails if some eyelet secureing points are relocated off the top of the one inch alu tubing. All I need is some 1 inch square tubing for the tops of the tailgate and frontside of bed. I can velcro it on and off perhaps.
I'm excited that both these bed topper solutions will be available to me for different purposes. It really allows maximum versatility of the bed with the option to also remove everything is for example loading motorcycles/dirtbikes.
I also swapped the chrome handles out for the black ones I got. Makes such a difference in not being a gaudy truck. Don't be like me and take the whole door panels apart before realizing all you have to do is remove the little round rubber cover and undo the bolt and the whole handle comes free with a little tug. It pays I guess to unpack and actually look at the part you are attempting to disassemble and see if it gives any clues before diving in thinking you know what you're doing. But at least I know how to take apart the door if now needed, only broke one clip! But thats okay it doesn't need them all.
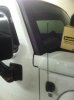
Lastly I got the mirror housings off, thanks Hunner for the instructions. They are at lineX for a bedliner couting that will match the bumper I already did.
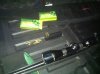
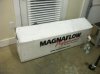
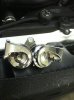
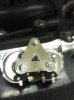
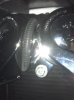
I actually added some chrome back in with the addition of the Wolo dual horns I found on amazon after Hunner suggested these also. Soldered in some positive leads from the stock horn wire and hooked up the supplied ground wires to the bracket mounting bolt and jerry rigged the splyed brackets to hold 2 horns where stock there is only one puny made in India horn with the brand name Klaxon. The stock horn sounds like such crap, this added a nice amount of depth to the horn for less the $20. Thanks Hunner!
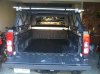
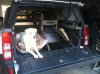
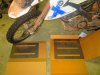
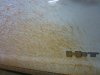
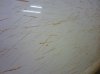
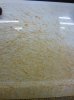
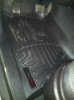
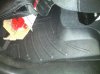
Also got this universal for rubber cargo mat that needs to be cut to size. The mat is huge and seems to weigh like 65lbs, not sure how amazon makes money shipping it for free.
http://www.amazon.com/Dee-Zee-DZ-86...20B6/ref=sr_1_1?ie=UTF8&qid=1323233980&sr=8-1
Looks like this is double the size I need for the bed of the H3T. So I'll have plenty left over and at least it's only half that weight getting lugged around. Should help things not slide around in bed but will also prevent stuff from sliding when loading and unloading when you do want it to. Still I think it will come in handy I'd rather not have stuff sliding around while driving.
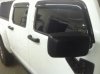
Lastly I put on the window wind deflectors. They say Hummer just in case someone from the profile didn't know what kind of truck this was.
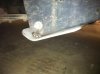
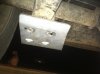
Does anyone know the weight capacity of the tiedown points on the floor of the bed? The bolt holding it down does not look all that big. I know the sliding ones on the bedrail are rated for 500lbs.
So that's where I'm at right now. Activated the XM and was surprised it's more expensive setting up a new XM account then the plans me and my family already had with sirius for years now. Even though it's the same channels I guess you get screwed signing up as a new customer to XM even though they are merged and you already got grandfathered in at at an old promotional pricing on sirius.
I'll be adding some more goodies as ups boxes get in and the GM dealer calls me that my parts have arrived.
Stay tuned, it's far from over yet.
Started off with a bunch of chrome I wanted black and accessories I wanted to remove for now.
Got most of that done.
Installed the softopper camper shell and am impressed how cool this thing is. My dog and I were hanging out in it waiting out some rain today and checking it out for a bit and were perfectly comfortable lounging around in the little room with plenty of space to sit up. Some cushions, mats and led lights and it would be real comfy back there playing cards, having a meal while waiting out bad weather even a little curled up nap. I also got the bug screen to replace the zip out window.
I also want to be able to use my extang hard trifold tonneua cover alternately. Once the softopper rails and brackets are installed it is very easy to remouve and swap out as is the extang hard bed cover. Only the bed cover will allow items in the bed to be locked with the tailgate cover pop lock I also installed, the softopper anyone can get into if left unattended with cargo and gear. But hopefully the places I choose to use the softopper this won't be a problem and in urban areas I can put on the bed cover if I have stuff in the back. Modifications will be needed to use both at one since both of the brackets want to occupy the same space on the top bedrail but I think I have it figured out where the brackets can overlap if some strategic holes are drilled to let bolts pass through the bracket that interferes and also to raise the extang bracket 1 inch since it will be 1 inch higher where it sits. The whole cover can rest on the softopper square rails if some eyelet secureing points are relocated off the top of the one inch alu tubing. All I need is some 1 inch square tubing for the tops of the tailgate and frontside of bed. I can velcro it on and off perhaps.
I'm excited that both these bed topper solutions will be available to me for different purposes. It really allows maximum versatility of the bed with the option to also remove everything is for example loading motorcycles/dirtbikes.
I also swapped the chrome handles out for the black ones I got. Makes such a difference in not being a gaudy truck. Don't be like me and take the whole door panels apart before realizing all you have to do is remove the little round rubber cover and undo the bolt and the whole handle comes free with a little tug. It pays I guess to unpack and actually look at the part you are attempting to disassemble and see if it gives any clues before diving in thinking you know what you're doing. But at least I know how to take apart the door if now needed, only broke one clip! But thats okay it doesn't need them all.
Lastly I got the mirror housings off, thanks Hunner for the instructions. They are at lineX for a bedliner couting that will match the bumper I already did.
I actually added some chrome back in with the addition of the Wolo dual horns I found on amazon after Hunner suggested these also. Soldered in some positive leads from the stock horn wire and hooked up the supplied ground wires to the bracket mounting bolt and jerry rigged the splyed brackets to hold 2 horns where stock there is only one puny made in India horn with the brand name Klaxon. The stock horn sounds like such crap, this added a nice amount of depth to the horn for less the $20. Thanks Hunner!
Also got this universal for rubber cargo mat that needs to be cut to size. The mat is huge and seems to weigh like 65lbs, not sure how amazon makes money shipping it for free.
http://www.amazon.com/Dee-Zee-DZ-86...20B6/ref=sr_1_1?ie=UTF8&qid=1323233980&sr=8-1
Looks like this is double the size I need for the bed of the H3T. So I'll have plenty left over and at least it's only half that weight getting lugged around. Should help things not slide around in bed but will also prevent stuff from sliding when loading and unloading when you do want it to. Still I think it will come in handy I'd rather not have stuff sliding around while driving.
Lastly I put on the window wind deflectors. They say Hummer just in case someone from the profile didn't know what kind of truck this was.
Does anyone know the weight capacity of the tiedown points on the floor of the bed? The bolt holding it down does not look all that big. I know the sliding ones on the bedrail are rated for 500lbs.
So that's where I'm at right now. Activated the XM and was surprised it's more expensive setting up a new XM account then the plans me and my family already had with sirius for years now. Even though it's the same channels I guess you get screwed signing up as a new customer to XM even though they are merged and you already got grandfathered in at at an old promotional pricing on sirius.
I'll be adding some more goodies as ups boxes get in and the GM dealer calls me that my parts have arrived.
Stay tuned, it's far from over yet.
Attachments
-
 IMG_1184.jpg92.6 KB · Views: 253
 -
 IMG_1216.jpg92.3 KB · Views: 263
 -
 IMG_1222.jpg96.3 KB · Views: 190
 -
 IMG_1223.jpg101.4 KB · Views: 215
 -
 IMG_1224.jpg92.3 KB · Views: 241
 -
 IMG_1229.jpg93.4 KB · Views: 206
 -
 IMG_1230.jpg90.6 KB · Views: 197
 -
 IMG_1234.jpg88.1 KB · Views: 201
 -
 IMG_1237.jpg85.8 KB · Views: 209
Last edited:
")