• Welcome to H4O! For a reduced ad experience, please login or register with the forum.

FJ4overland

Panzer07

Well-Known Member
Messages
2,548
Location
Ontario, CA
I bought another 350 short block... I've neither the funds nor the patience to do another upgrade before I wheel this thing[/FONT][/COLOR]

6d6d54f135f2ddcf3873ee37a014f9cf.jpg


Sent from my SM-G930T using Tapatalk
 
Last edited:

SuperBuickGuy

Well-Known Member
Messages
3,403
Location
Woodinville, WA
and it's out


a bit of carbon, but nothing too untoward about the heads. I'll check for flat, clean, then reuse on the new bottom end....


​Sunday will be clean parts, paint, and maybe finish a few wiring projects along with some header-beating....
 

SuperBuickGuy

Well-Known Member
Messages
3,403
Location
Woodinville, WA
somehow I feel I've trod this path before.
cleaning and testing


so I finally got around to doing the mod I've been planning on my parts washer... I added a pump (actually 2 pumps, the first didn't put out enough volume)


then onto flattening flanges on the header


I also did a lot to make sure the bolts fit better and that I can install and remove the #1 spark plug without having to remove the header.... bonus

I also gave the gasket a bit more of a chance to work by building up the edge on the header


and more test fitting


that's all folks...
 

SuperBuickGuy

Well-Known Member
Messages
3,403
Location
Woodinville, WA
So a couple years ago, I built this - a divideable kennel for my wife's dogs


it always was a work-in-progress


so as you saw a couple weeks ago, I built new kennels for the Heep.... today I started installing them
first was clean up some wiring


and move (again) the speaker


so here is what it looks like


it gives my wife some flexibility - she can haul one dog, or two dogs and her older dog gets worried when she can't see where she's going - so the kennel allows her to be in front and can access the front seat through the middle


this also gives the benefit of when she loses her keys - that she still get the dogs out - you can get into the front, but you cannot access the rear gate without keys... which was a problem because that was the only way to let the dogs out....
 

SuperBuickGuy

Well-Known Member
Messages
3,403
Location
Woodinville, WA
so I had my wife load her heep back up....


I'm going to do a drawer and a shelf and it should be done except for the extras


I know some think it's animal abuse to build a smaller cage for such a large dog - actually, it's only people who want extra space for a dog, it's all about defensible space. Not just that but should bad happen and they be in an accident, not having a lot of room is much safer
 

SuperBuickGuy

Well-Known Member
Messages
3,403
Location
Woodinville, WA
Buick motor off the stand


new 355 short block on the stand


The guy gave me a 4 bolt main, roller block instead of the 2 bolt....


grey is the color this time


I like what I got, and the shop who did the work was immaculate - always a good sign.
 

SuperBuickGuy

Well-Known Member
Messages
3,403
Location
Woodinville, WA
not much to show, wired the motor and hooked everything up... no noise yet, but I'm very close.
one of the things I did was drill a bleeder hole in the thermostat - for no other reason but to make filling it easier


and wired.... a couple minor things to do - hook up throttle cable, put in a couple bolts in the bellhousing, and tighten up the exhaust pipes.... oh and rotate the distributor 180.... dagnabit.
 

SuperBuickGuy

Well-Known Member
Messages
3,403
Location
Woodinville, WA
on with making it go, again


oh what a pain - I was right, I was about 45 degrees off on the timing...


look at that, oil pressure


which makes me a bit irritated at the dakota digital gauges, they didn't work, I checked the wiring and have tested everything and it should have worked. The only thing that might be wrong is the connection is fault... but even then....

and back to wiring


so basically I'm back to where I was a couple weeks ago. I'm leaving the front off while I finish the wiring....
 

SuperBuickGuy

Well-Known Member
Messages
3,403
Location
Woodinville, WA
So after a whole bunch of testing I've found the sender is bad.... would have been nice to have a sender when it dropped oil pressure.... ah well, at least the sender is covered by the manufacturer warranty (it's like 90 bucks)

onto more


underhood lighting


and the dash lights up.... even turns on a few lights


​getting there... I should have it back on the road and wired Sunday.
 

SuperBuickGuy

Well-Known Member
Messages
3,403
Location
Woodinville, WA
Shifter handle

note the Toyota Racing Division shift knob....


and then there was wiring.... and fixing a problem.... and 4 hours went by....
but I figured out the issue with the compressor wiring.... my goodness does that fill up the tank quickly - and drain quickly.... some bubble testing will happen soon
some of the wiring, one of the radios

then throttle cable


SuperBuickGuy

Well-Known Member
Messages
3,403
Location
Woodinville, WA
now it's starting to look like something... what, I dunno, but something for sure
gauges are in, hopefully permanently

and the oil pressure gauge works, sigh

More Jeep parts - mirrors installed


next is a dash (bar), and a harness bar.... I'm not using these seat belts...


and another nose shot (after turning it around)
 

SuperBuickGuy

Well-Known Member
Messages
3,403
Location
Woodinville, WA
more crossing Ts and dotting 'i's

mirrors attached


still working on the speedo.... I swapped out the 3 wire for a 2 wire and still no bueno


and wired the hood lights


along with removed the squealing alternator... I hate replacing it simply because of a bearing... but it appears that is exactly what I'm going to do
 

SuperBuickGuy

Well-Known Member
Messages
3,403
Location
Woodinville, WA
Speedo now works
the issue


so here's the deal. Novak builds the 32 spline output housing. They send it to you assembled. When I bought mine, they'd just got them back into stock and there was, I found out now, a mistake


When they machined the hole for the speedometer sensor, they didn't machine it all the way through - so it keeps the magnet at least 1" away from the reluctor wheel. It needs to be 1/16" to 1/8" away. So some creative grinding had to occur.


and there it is installed... and it works


what a pain.

also checked the "attach the sway bar" box


crappy picture, but installed


and I came up with a air cleaner for the compressor


I simply used a crankcase vent filter - it shoudl be more than enough
 

SuperBuickGuy

Well-Known Member
Messages
3,403
Location
Woodinville, WA
Good news, the speedometer works, the temp gauge works, the oil pressure gauge works. Unfortunately the oil pressure is low and the coolant temp is a bit higher than I want... it's also louder than I want.... that is an issue that I will solve in addition to the others.

last night was exciting too, painting widgets


the bench is almost clear... glorious


hmmm, nice drive in the country, nice time to coat the undercarriage with purple oil


oh yes, and wheels too


both of them... annoying because I thought I'd solved this one


oil leaks are because I don't have a vent tube on the transfer case.... as it's as high up as I can get it, I have to get creative on how to run the tube.


gratuitous under carriage shot
 

SuperBuickGuy

Well-Known Member
Messages
3,403
Location
Woodinville, WA
We're going to cover a lot of ground tonight, so grab a beverage, get comfortable... and here we go

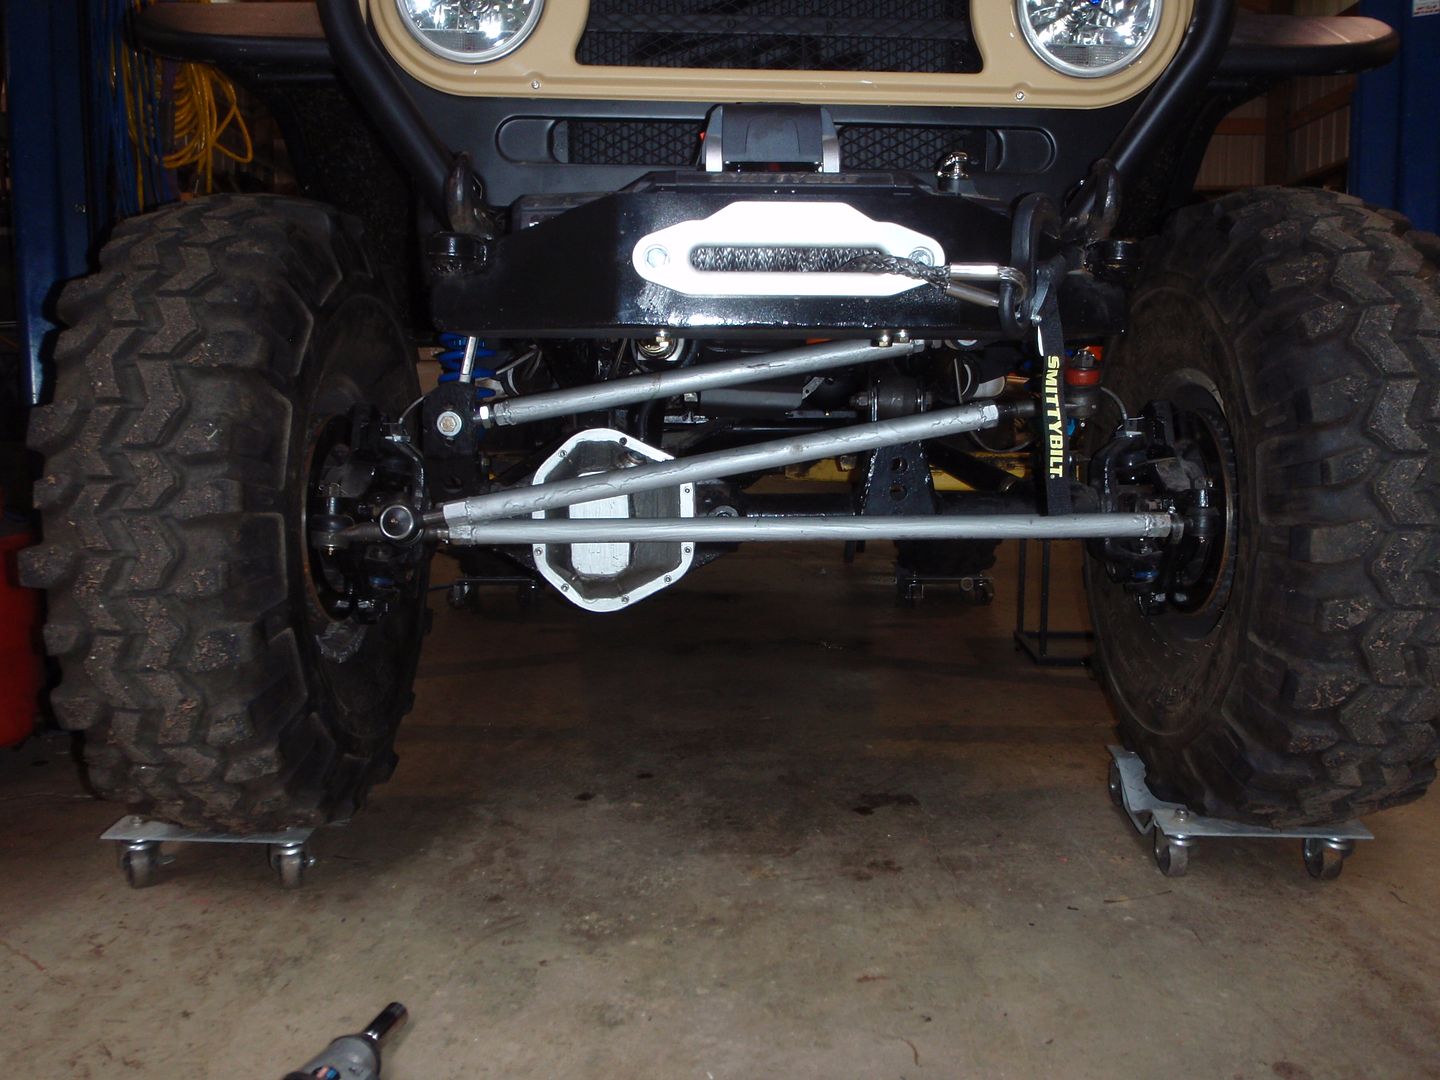
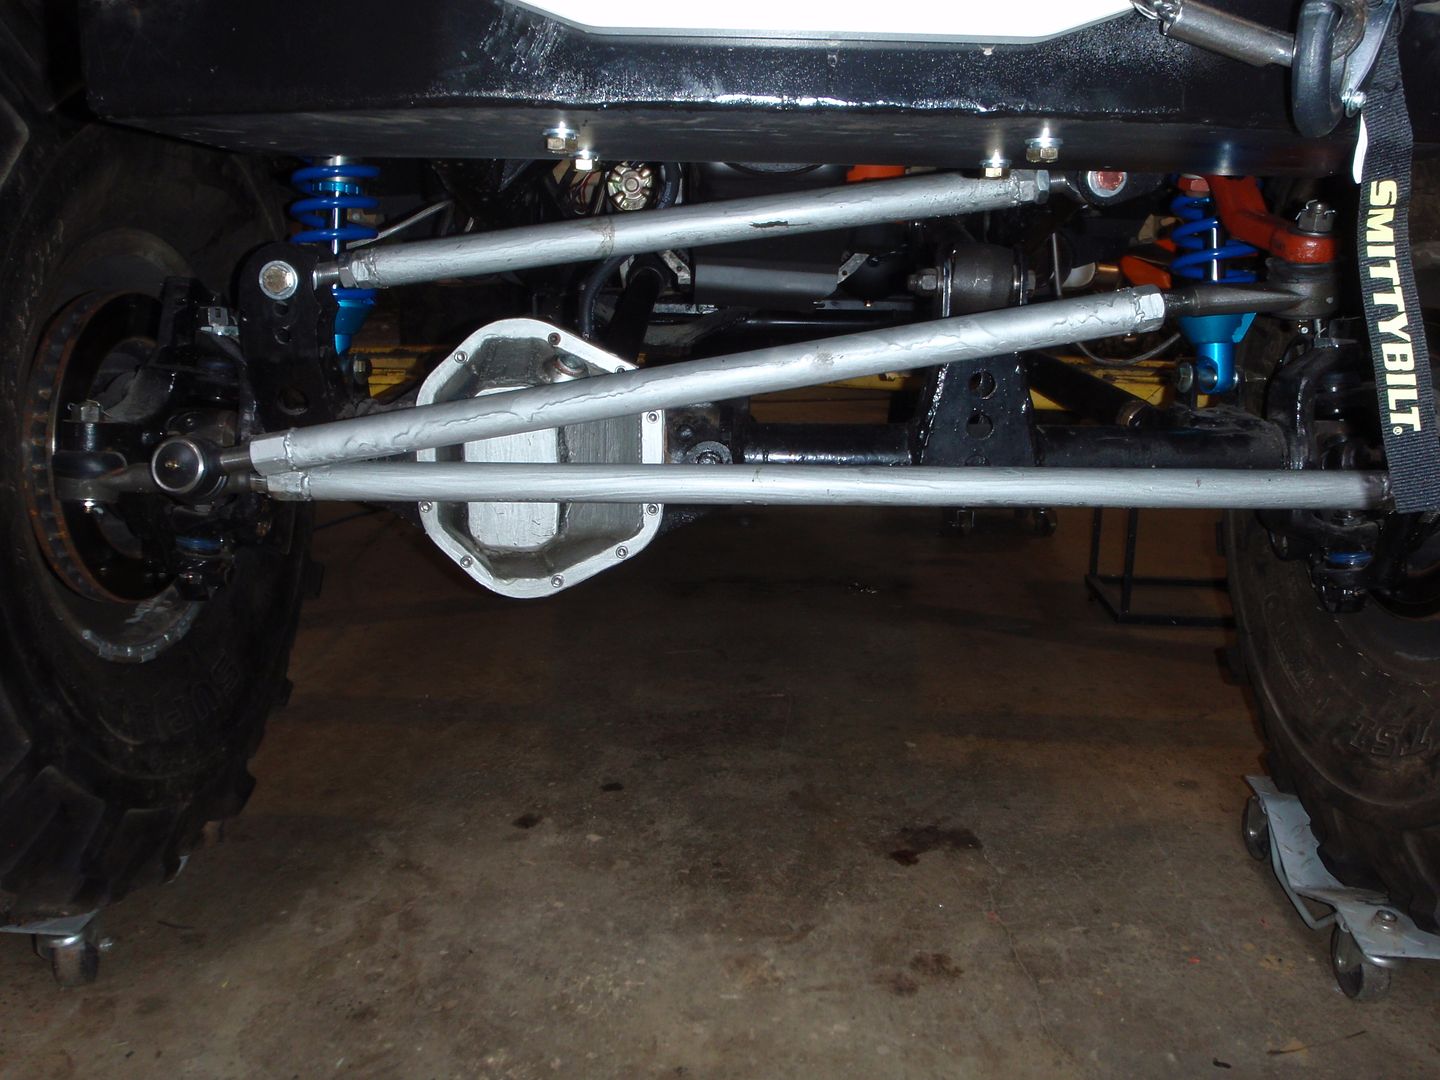
as I mentioned before, I have adjustment in the panhard bar, a change happened


next
there's a cooling system issue, but this doesn't solve it. It simply allows me to shut off the heater during the summer


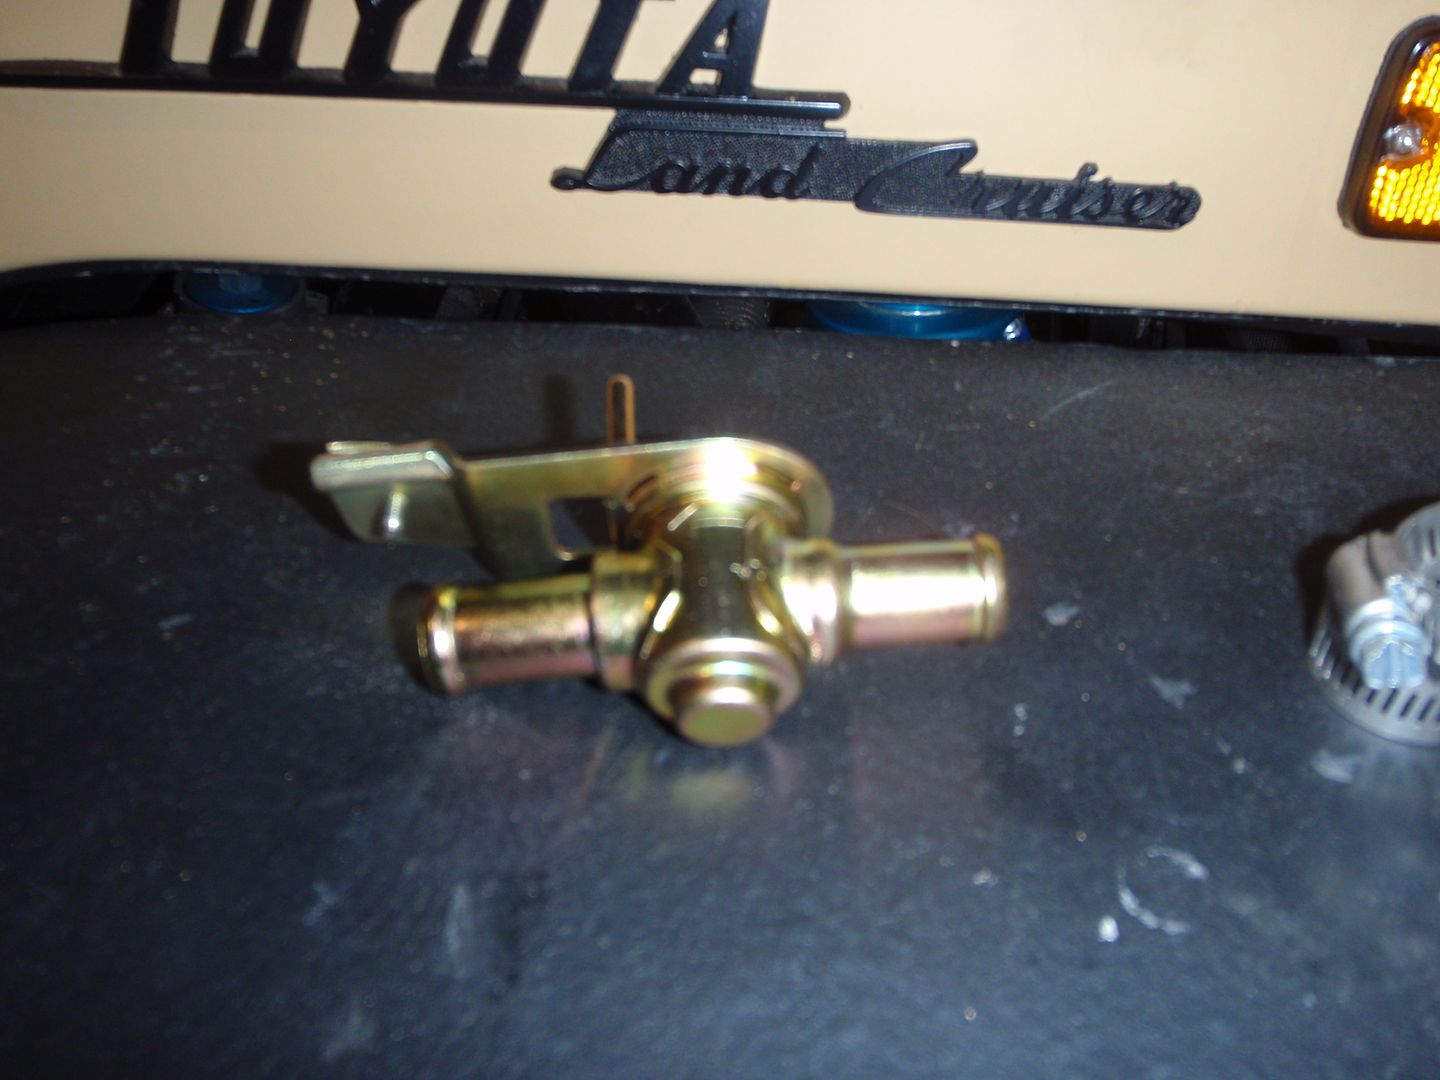
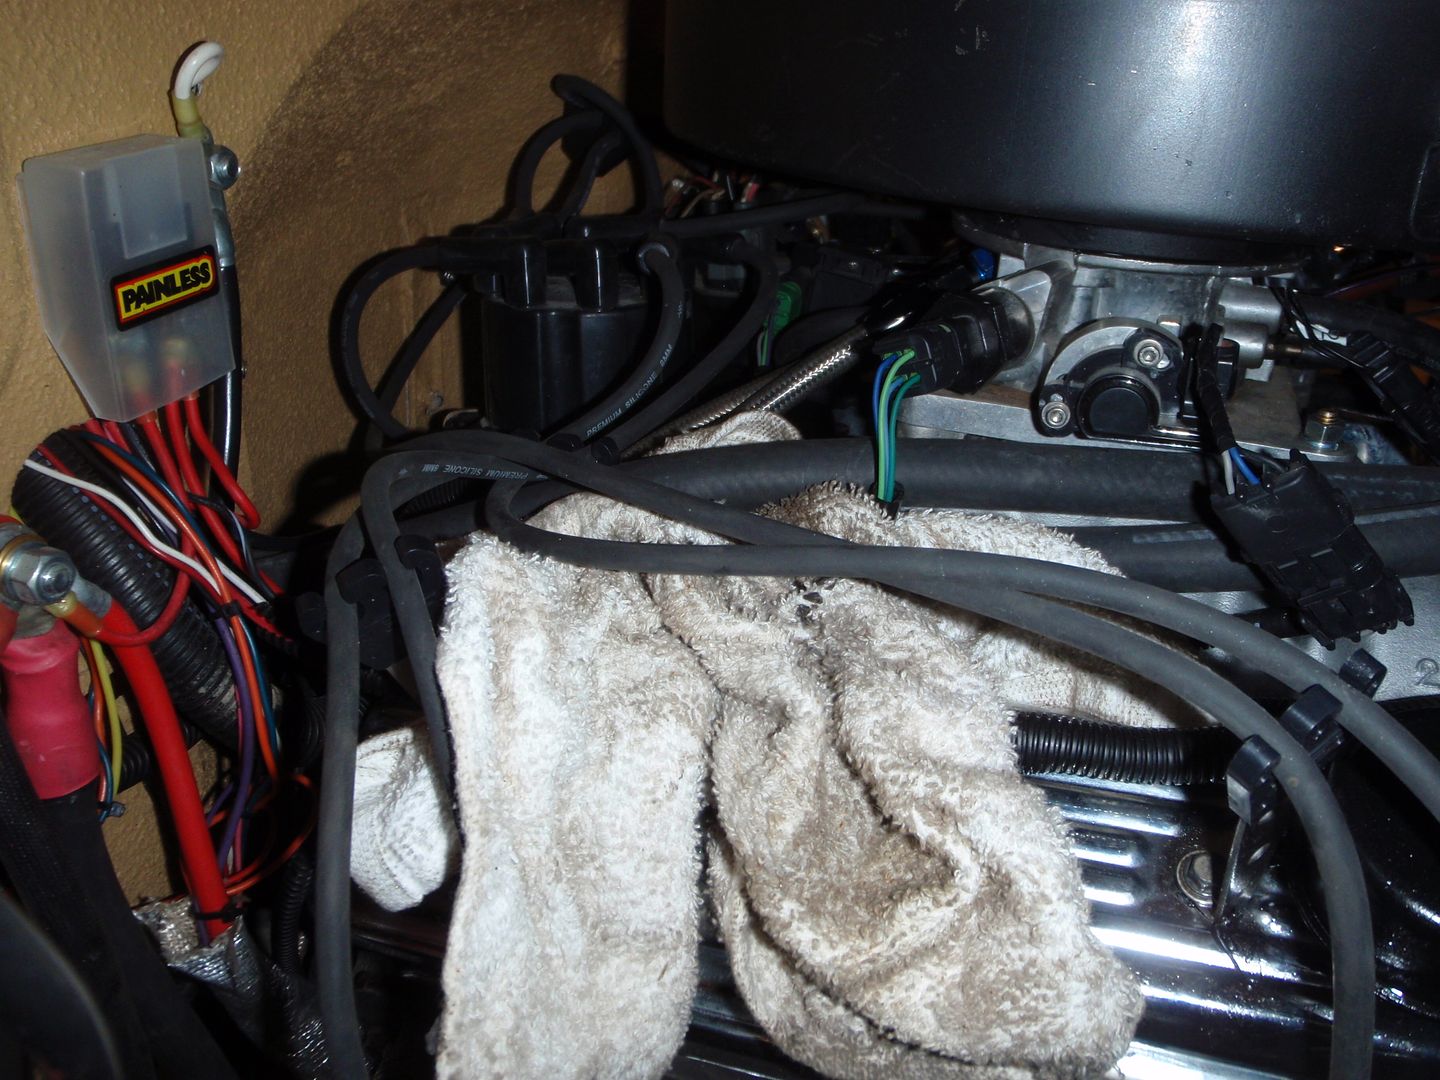
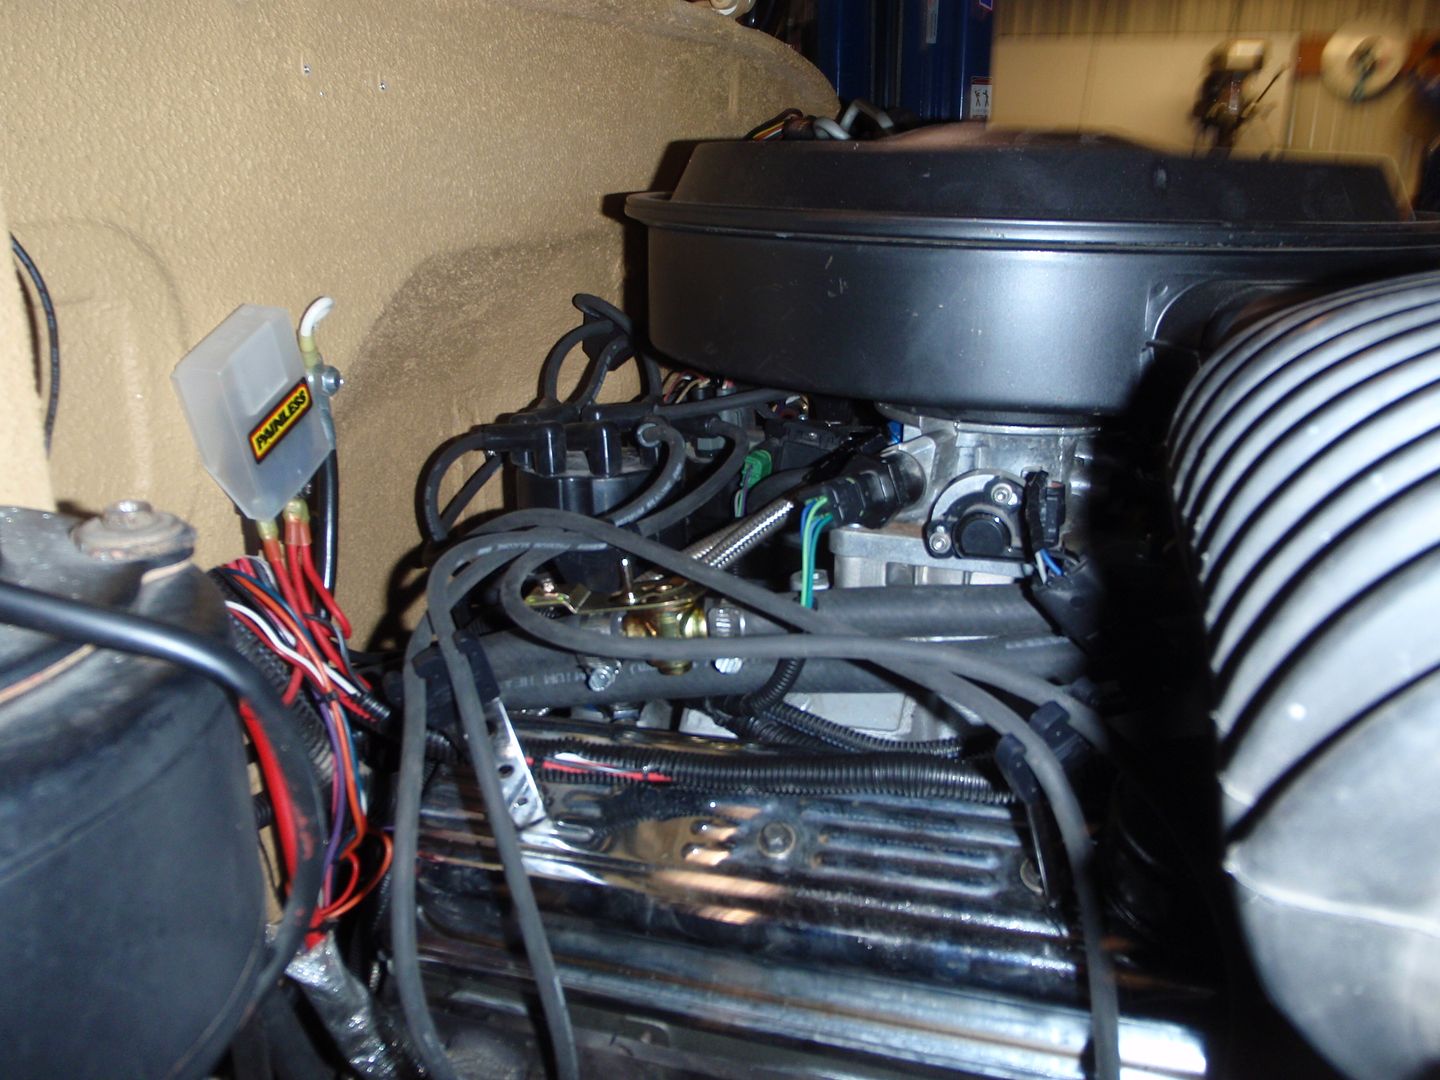
​and I noticed one problem - no coolant in that line. there should be
So I filled the system, and it was at least a quart low with no fluid in the reserve canister…. Hopefully this fixes it
Then worked on the center console

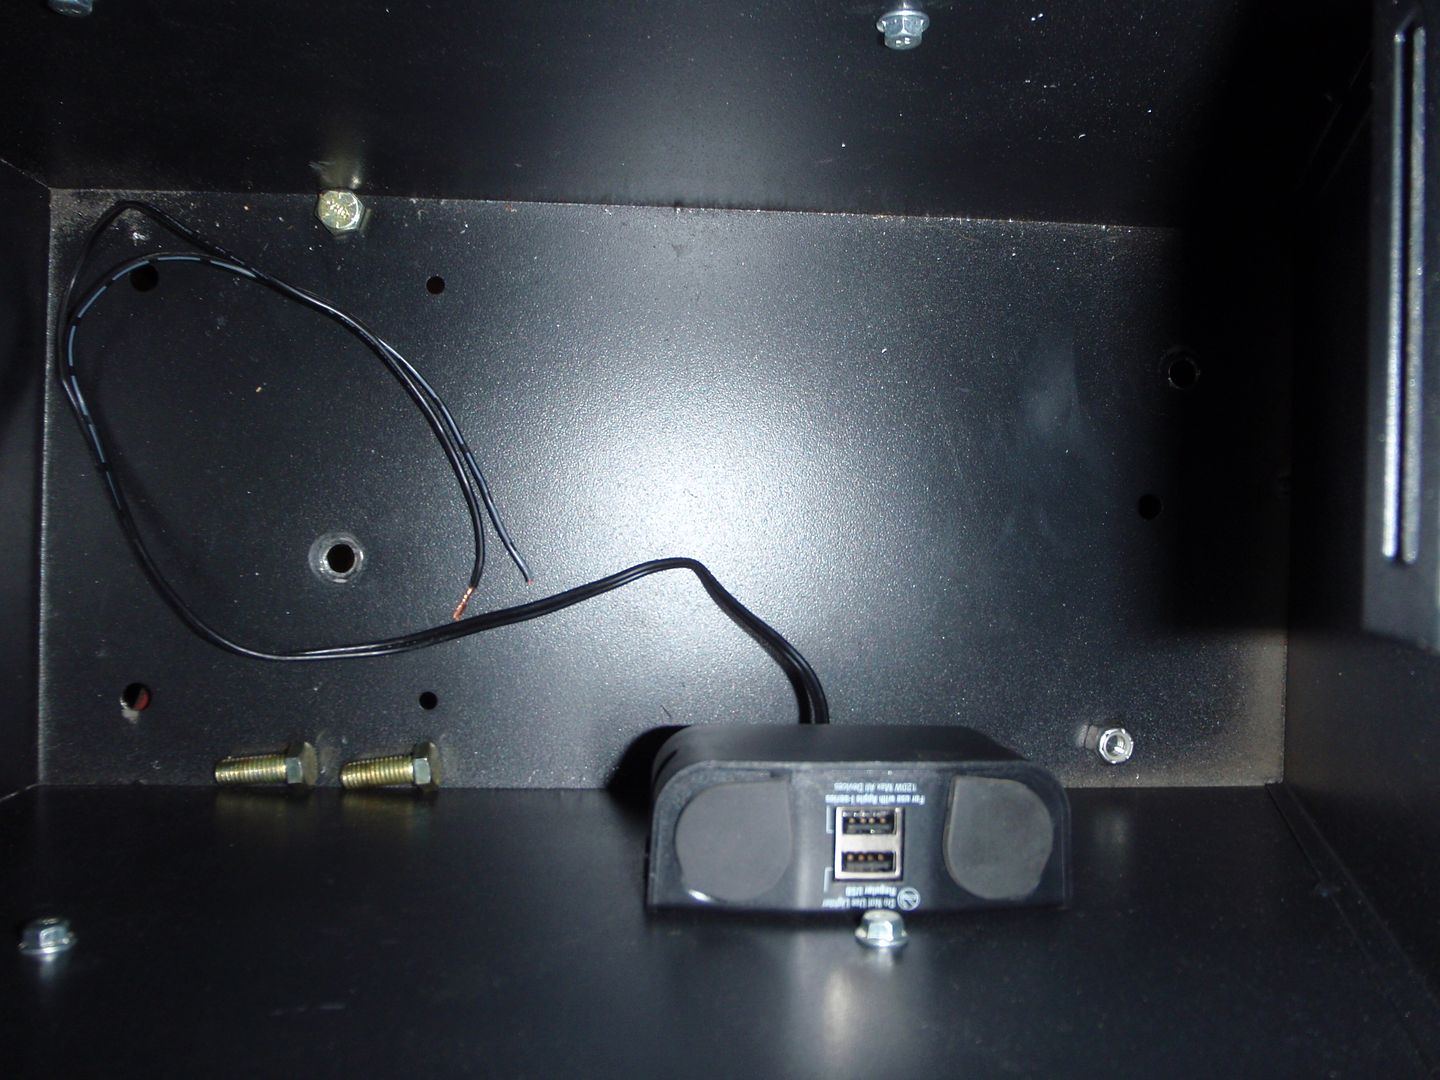
Why they didn’t have an outlet inside is odd, but it’s fixed now
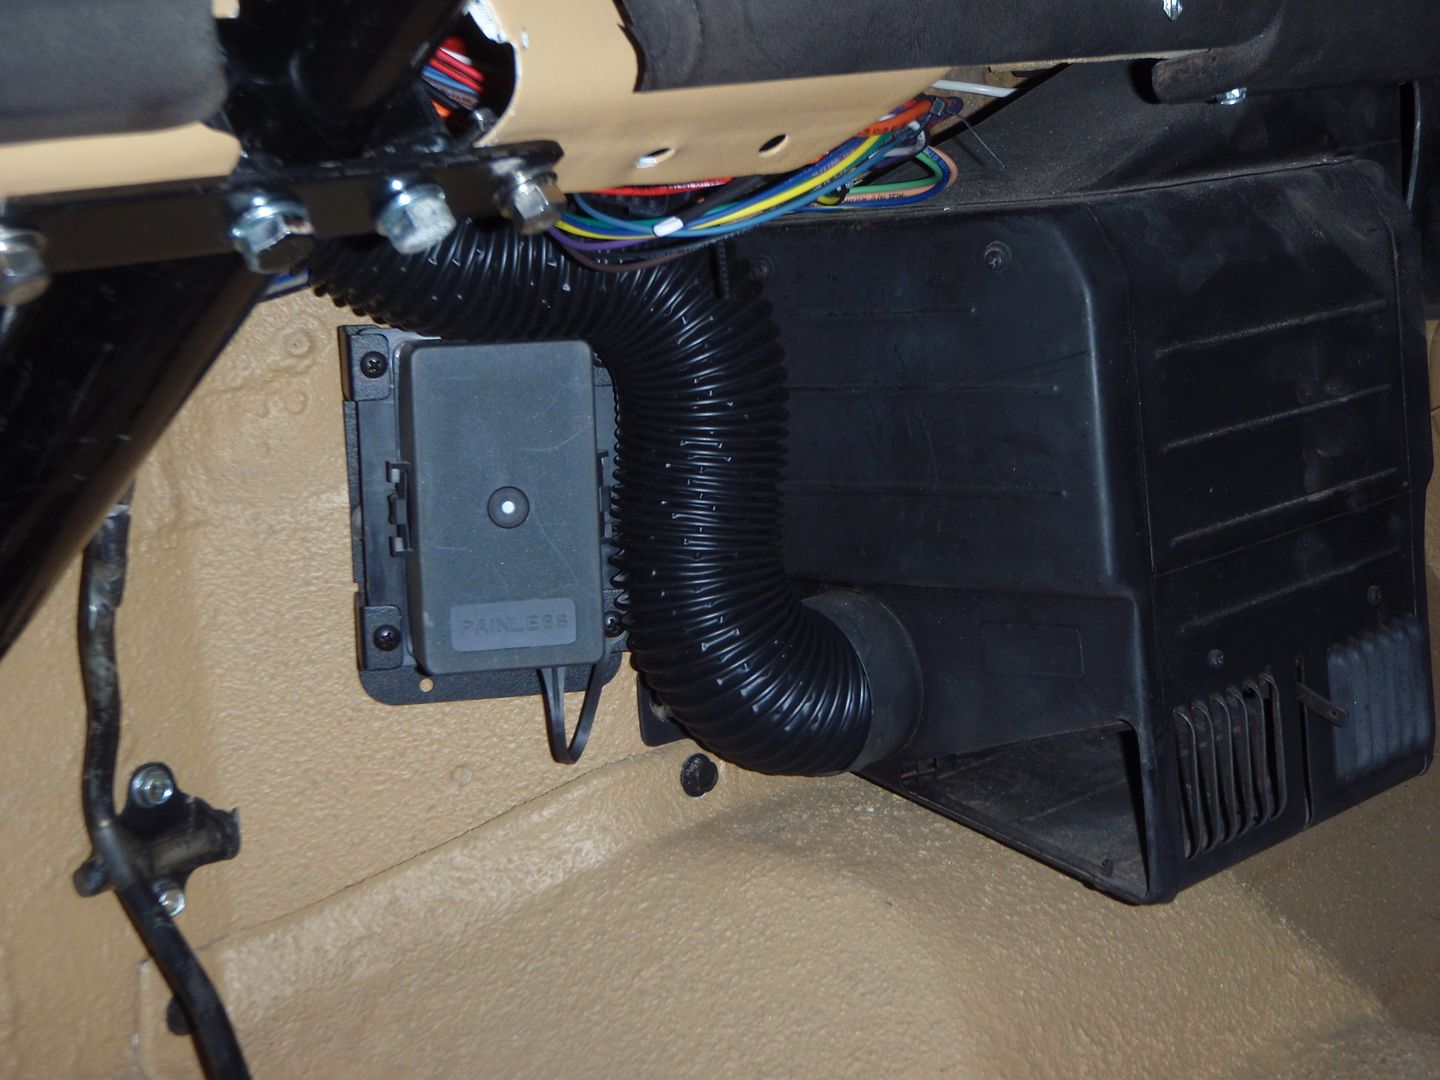
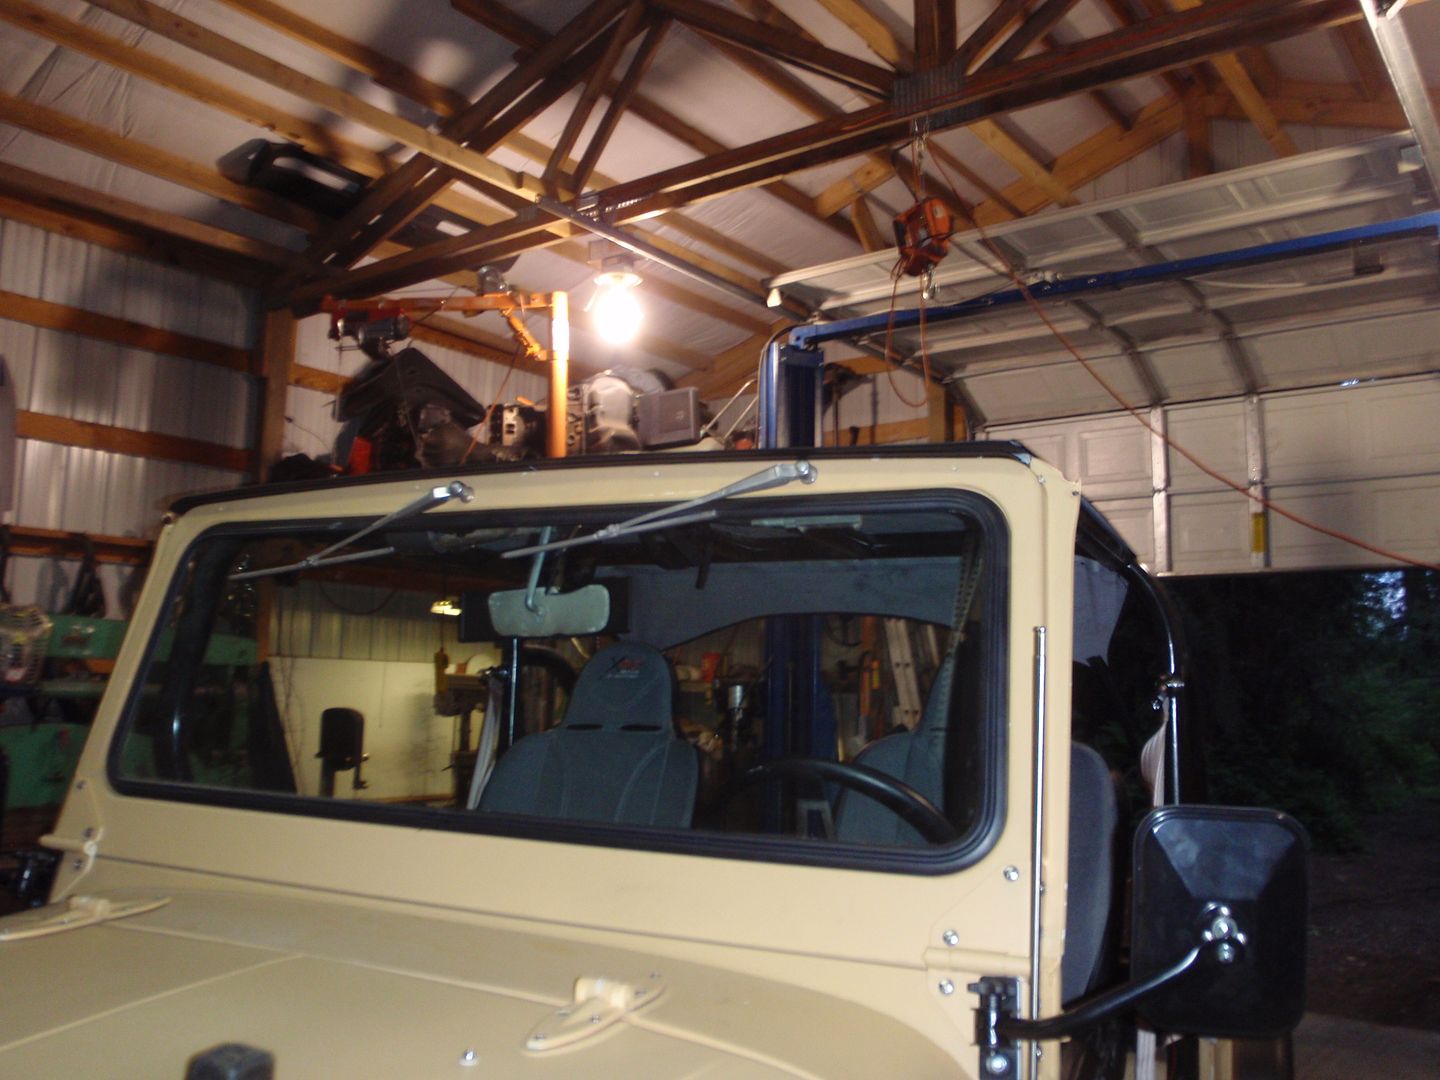
And circle back to a question of how the defroster works… here it is

Then onto installing the bikini
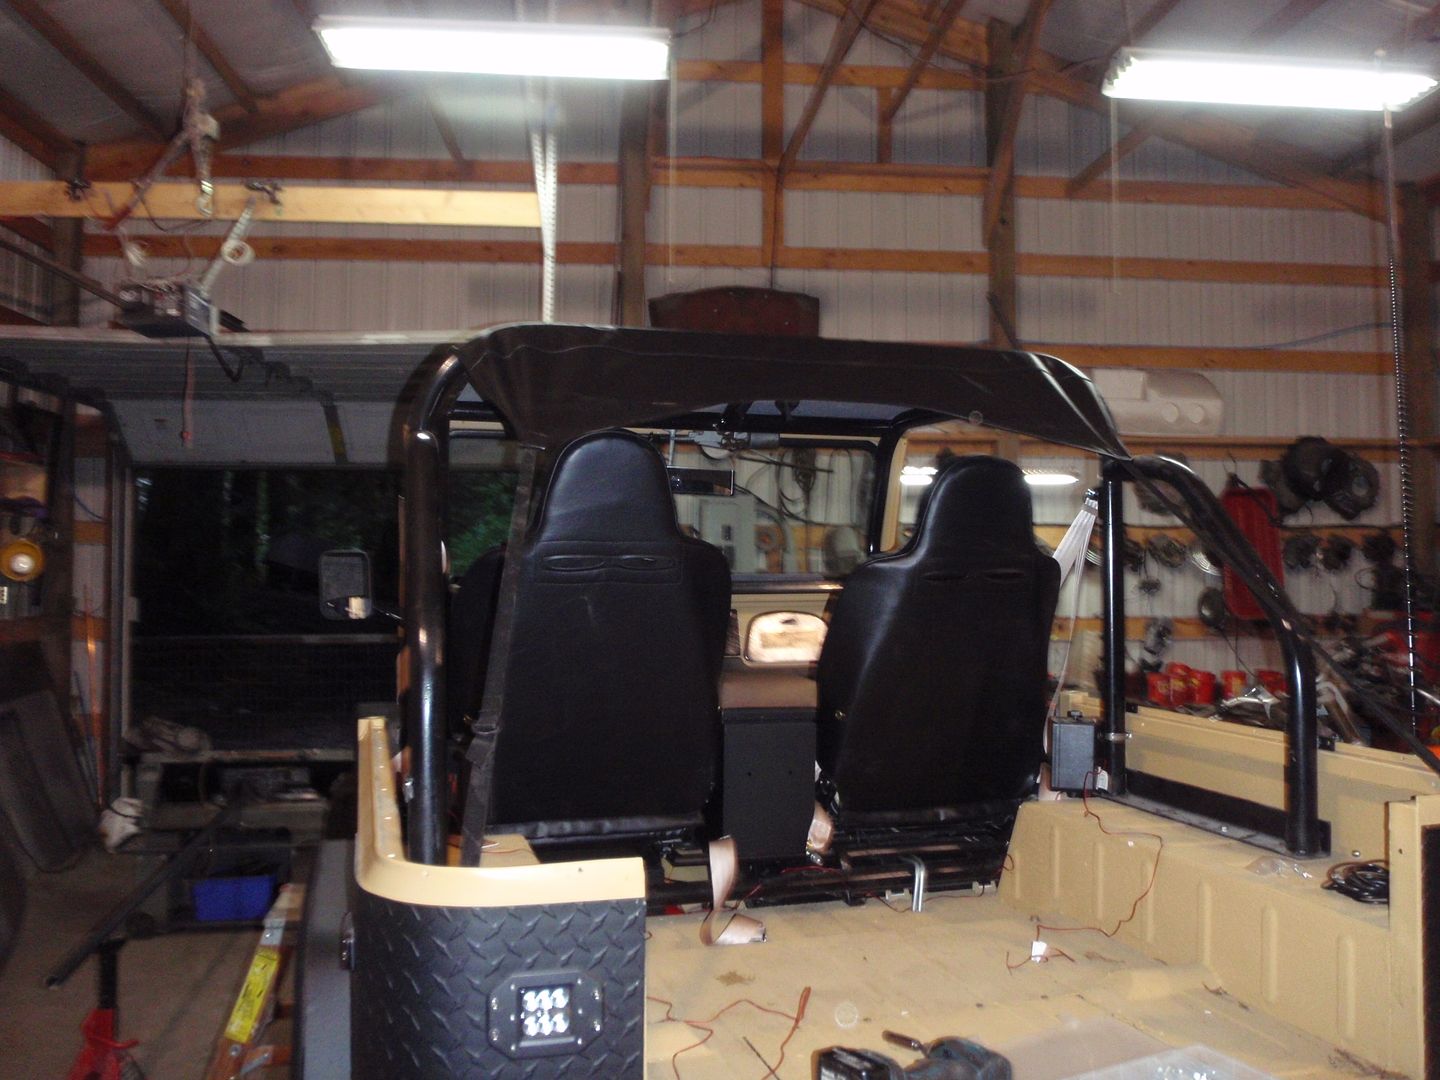
Nice n tight top

Then onto starting the dash
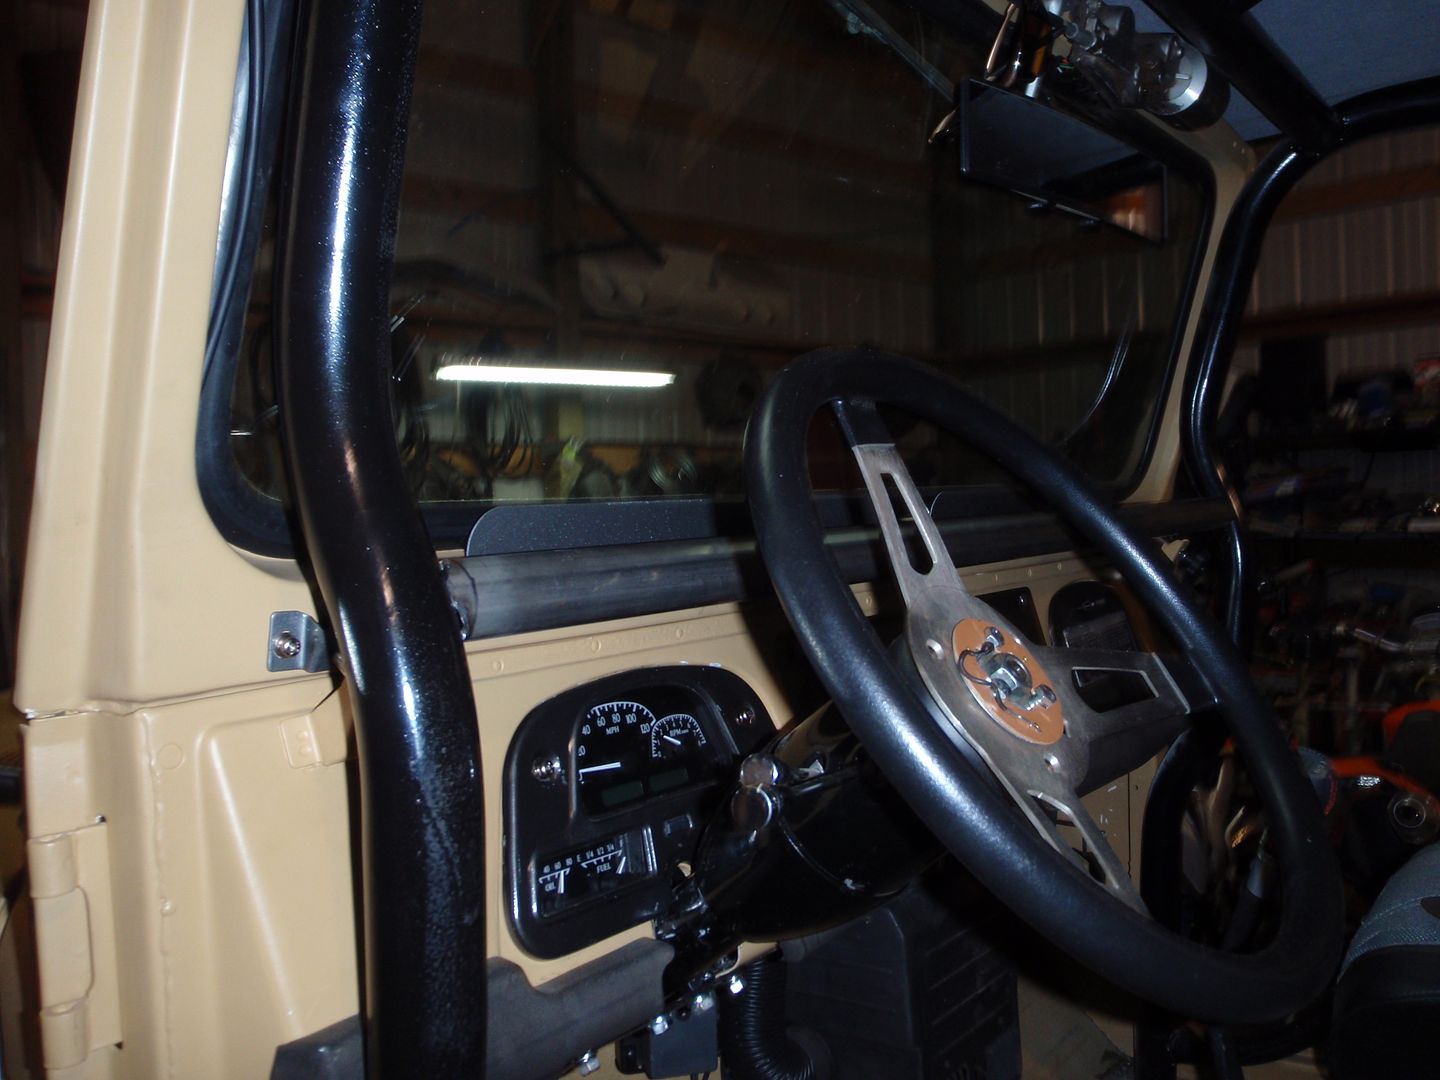
this won’t be the final version, but it is for testing to see where I want it to be. Eventually it’ll have a shield in the middle, lights and maybe a touch of padding
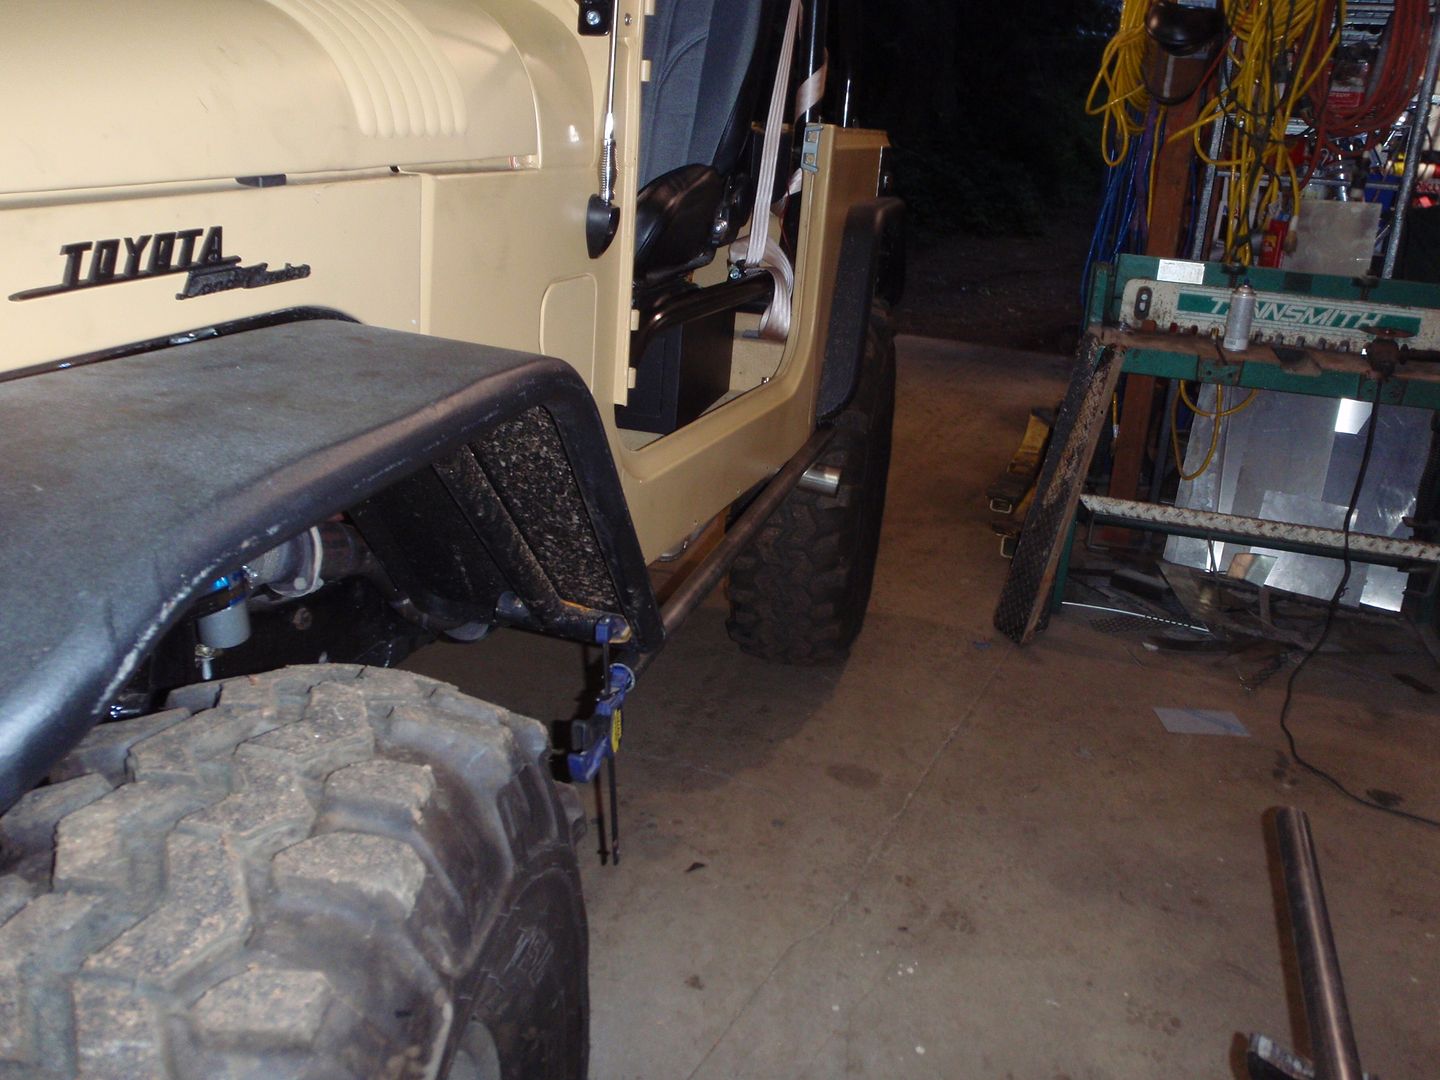
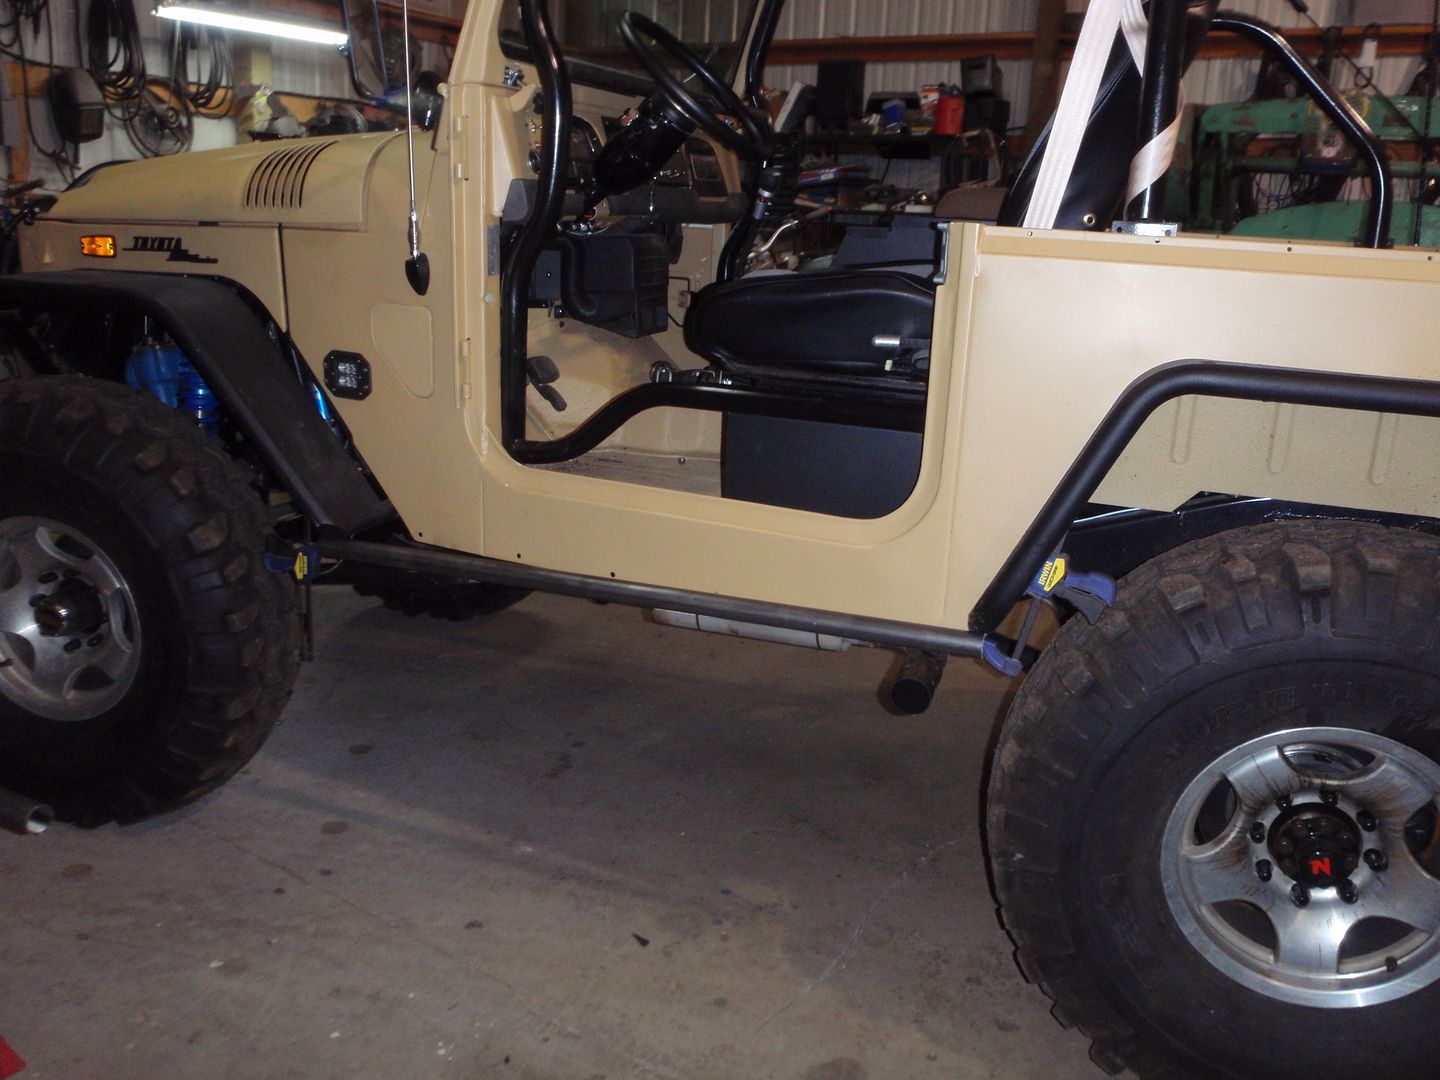
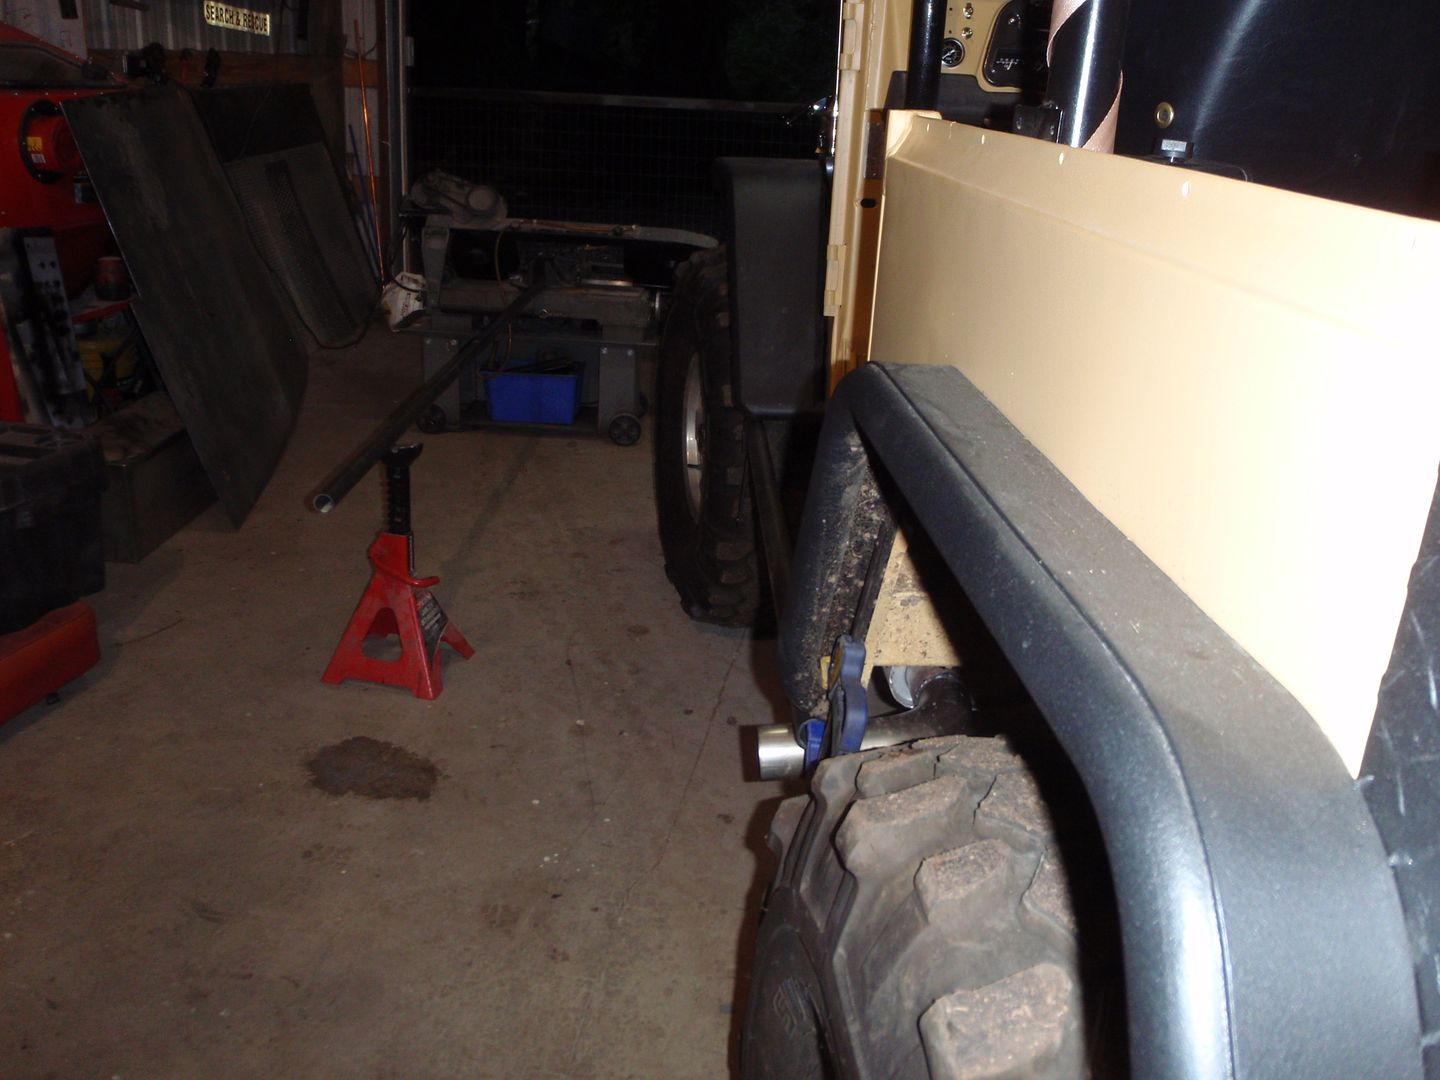
Rocksliders/step
Maybe this?


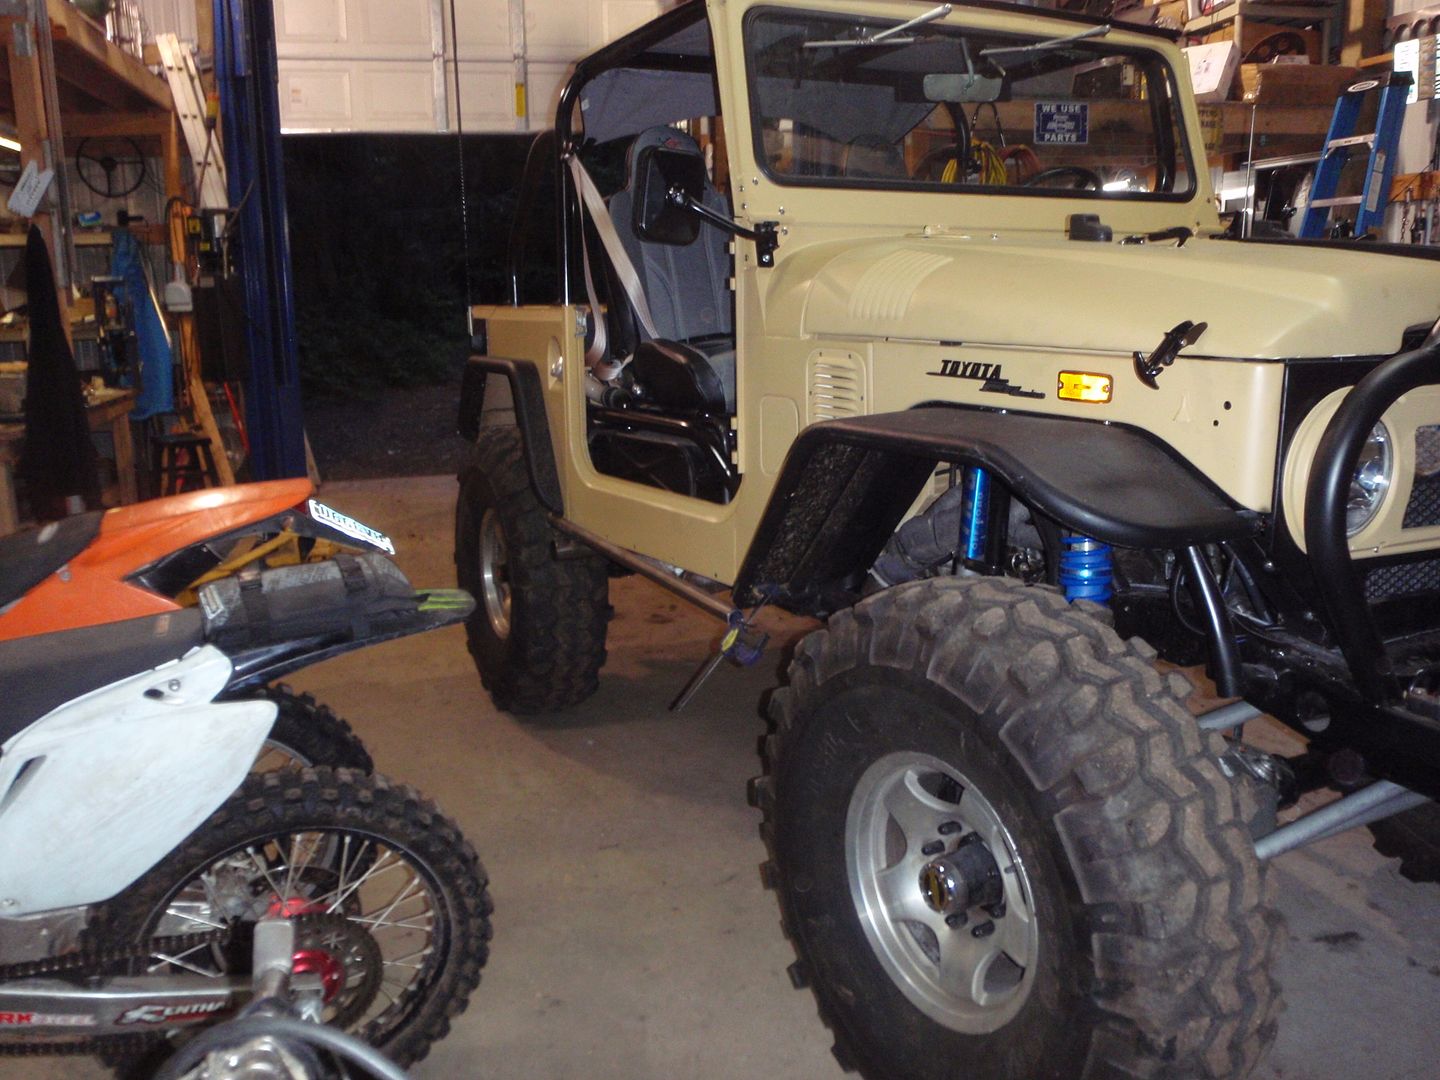
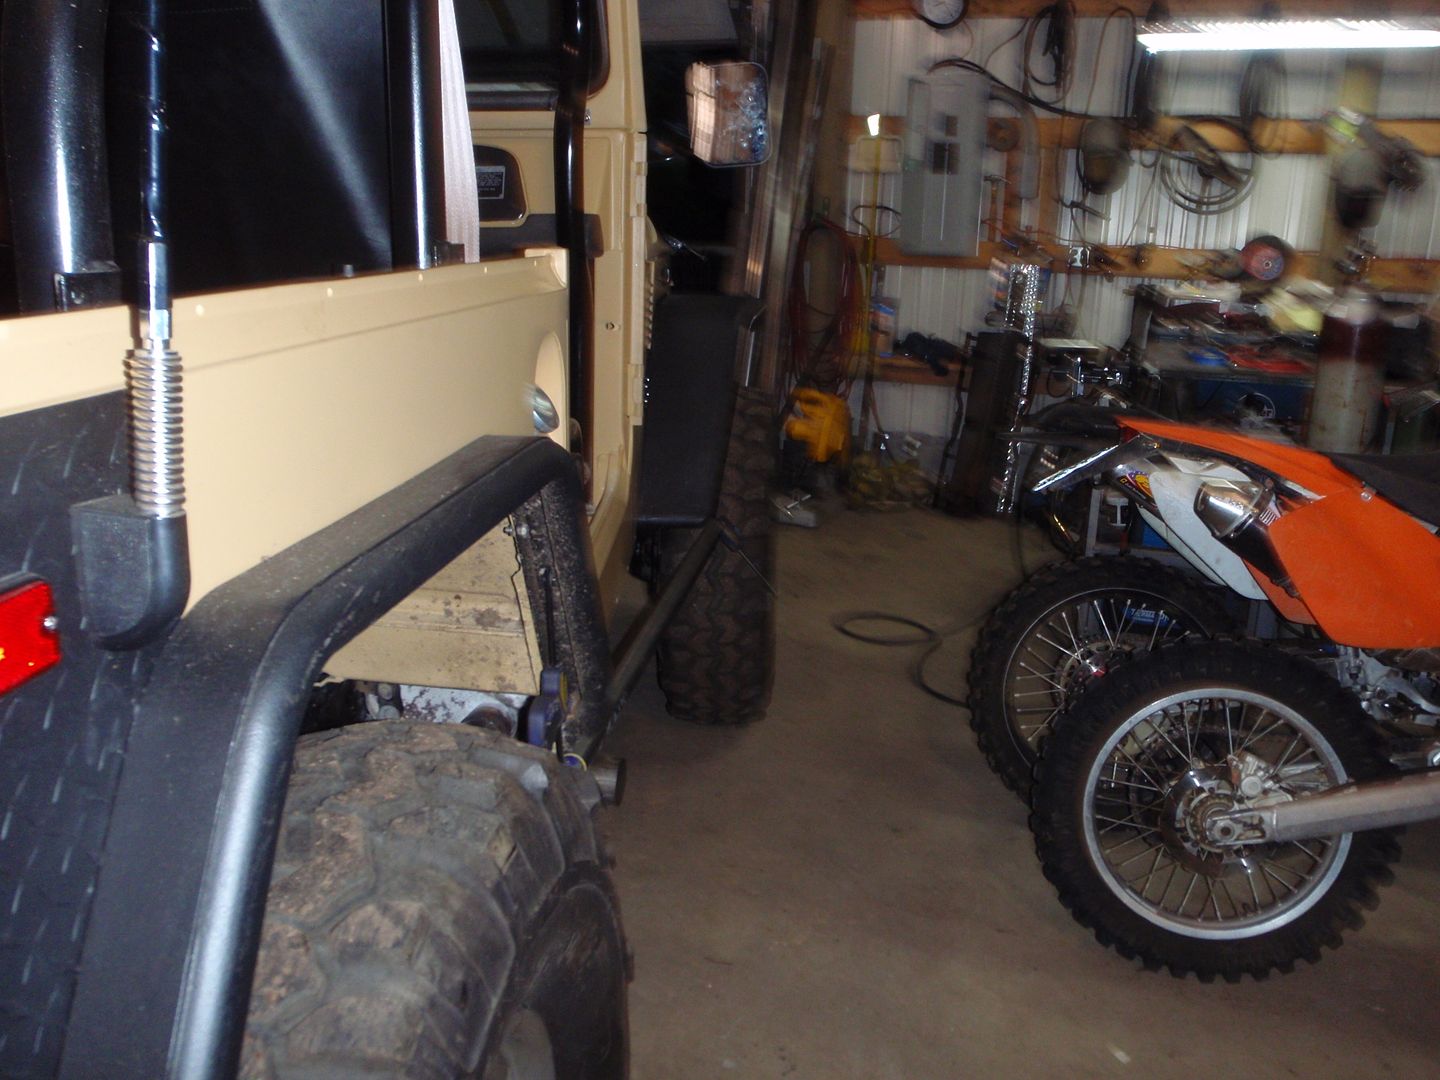
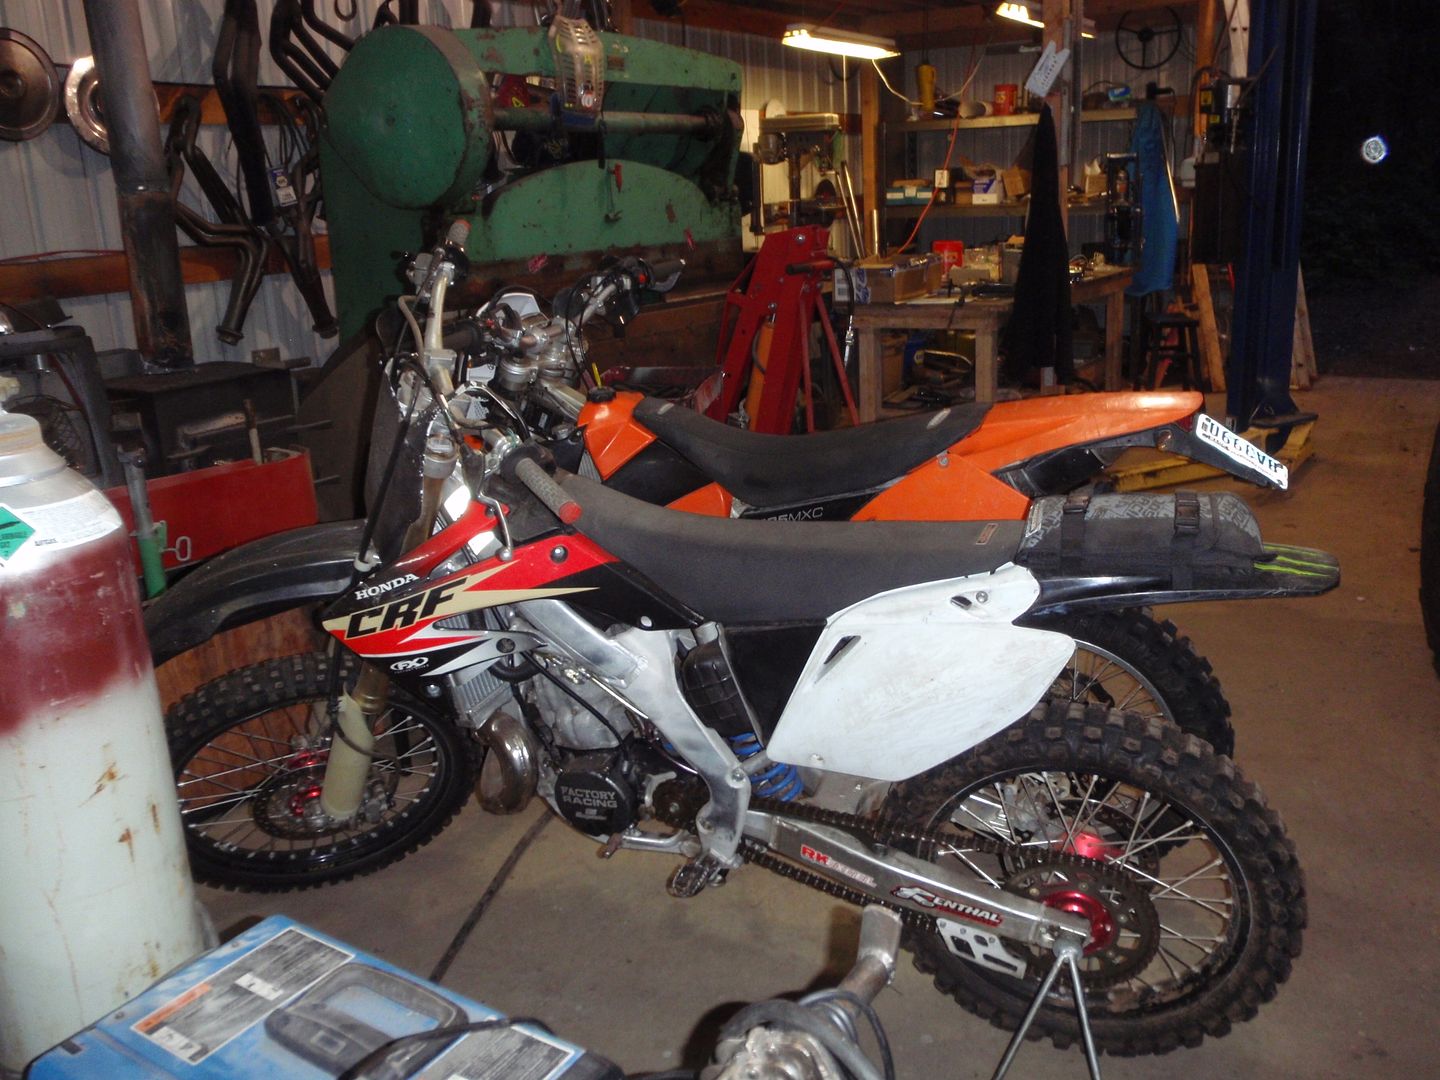
My motorcycle is feeling lonely
 

SuperBuickGuy

Well-Known Member
Messages
3,403
Location
Woodinville, WA
Time to make the exhaust less redneck


I put the insulation on top because the top of the muffler will get up to 500 degrees


but it wouldn't last long on a mud day, so something a bit more permanent was required


to quiet the exhaust a bit I'm going to reduce the outlet size, but in my tons of drop steel, no 2" stainless pipe... ugh. I'm going to make the insert removeable, but first I need to build the slider/steps so I know where it should come out. who knows, I may even make the exit square....
 

SuperBuickGuy

Well-Known Member
Messages
3,403
Location
Woodinville, WA
work all day, hard to tell a difference
first some dash action


weld blankets are awesome


and a shelf


and some handle fixing

then some CB work


seatbelt fix

fixed


and music


my goal was get the sliders done... oh well, I'm closer
 
Top